BWCA Canoe & Hiking Trip 2023

This year’s trip was a return to a familiar locale…

Duncan and Rose Lakes!

BWCA Route Map, Source USGS
BWCA Route Map, Source USGS (Click to Enlarge)
Video with Loons and Beavers

Complete Photo Gallery

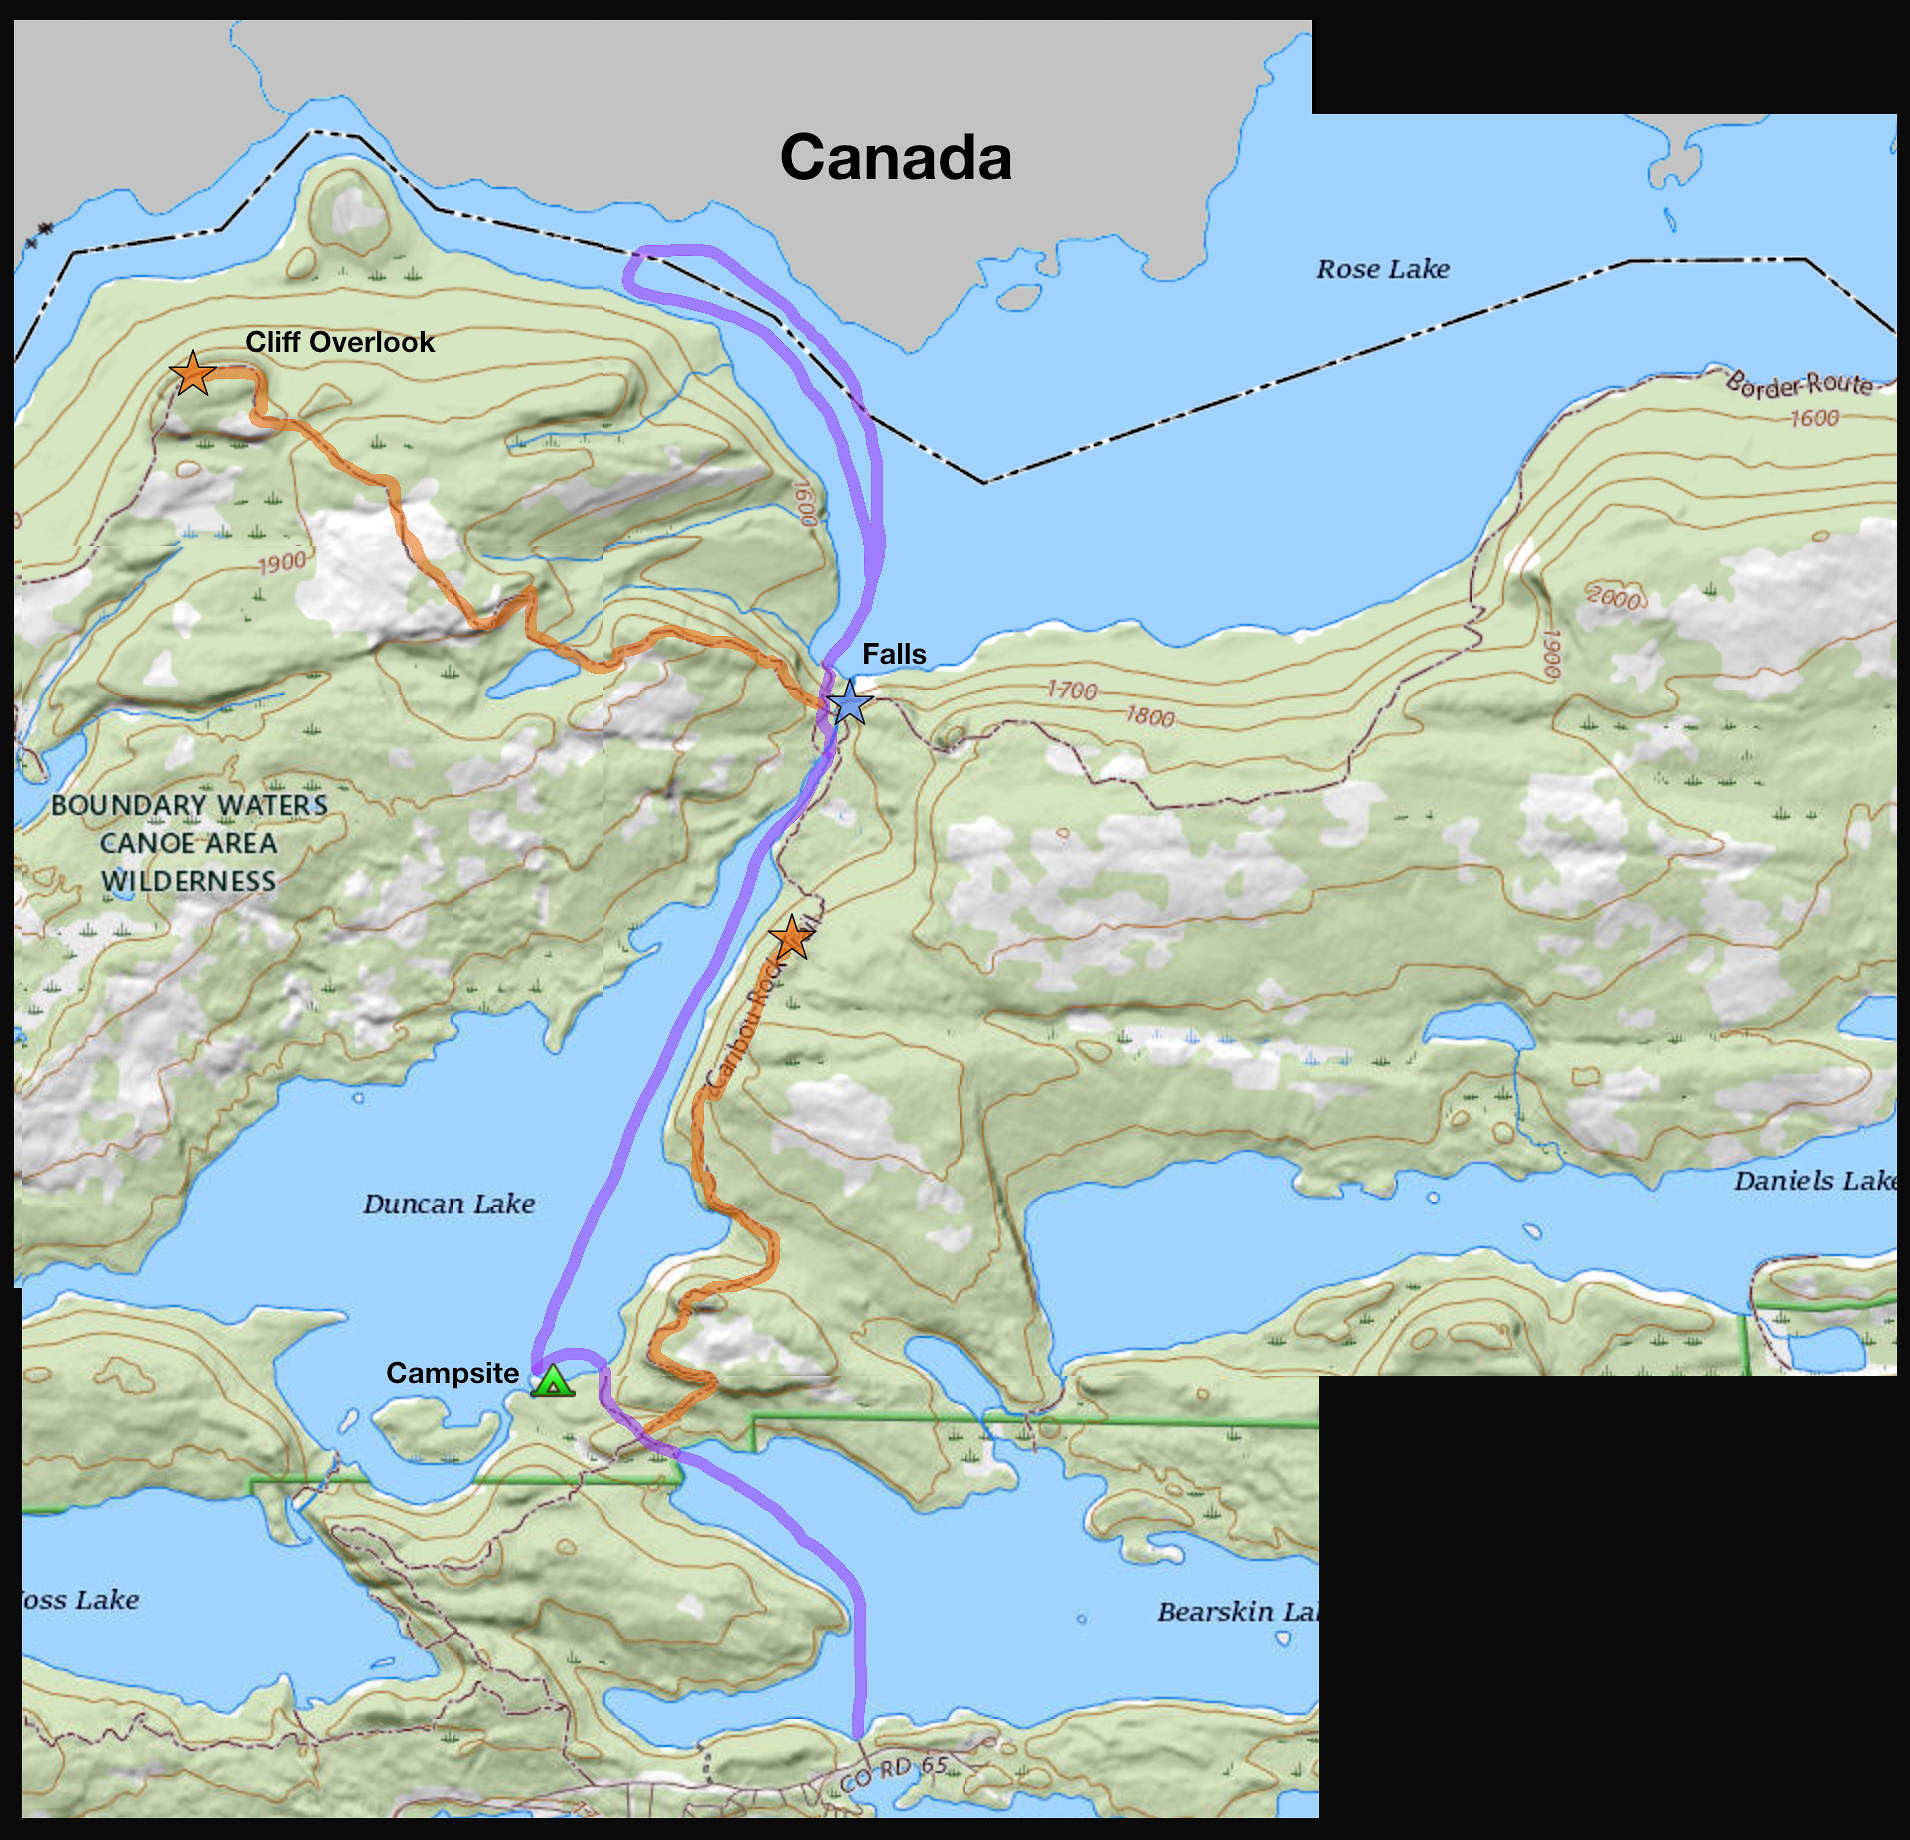
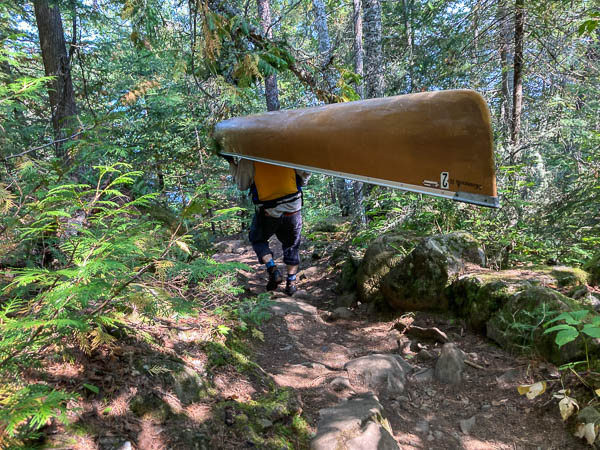
Day 1 (Portage to Duncan Lake)

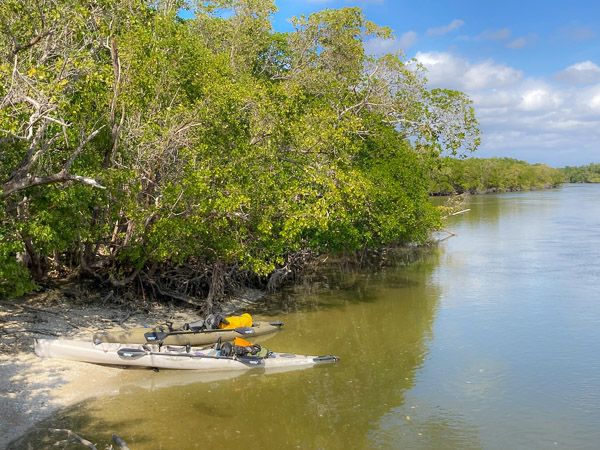
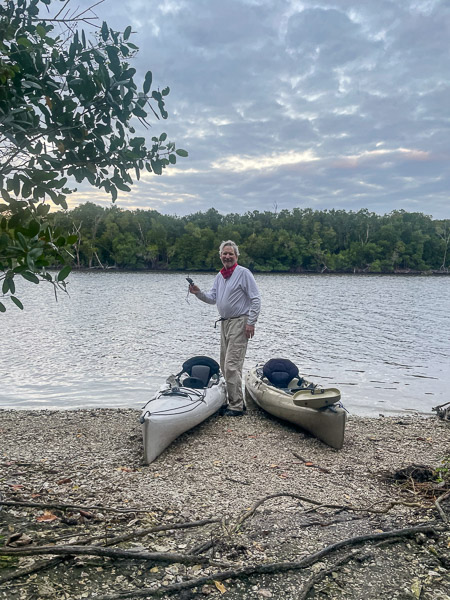
We started at Bearskin Lake and paddled across to the Duncan Lake Portage.

Starting Out
Starting Out

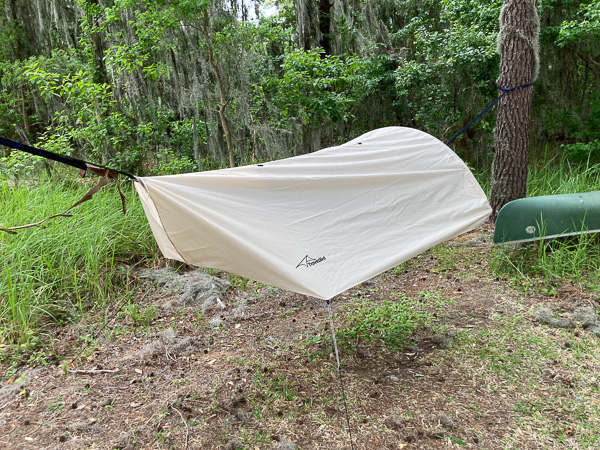
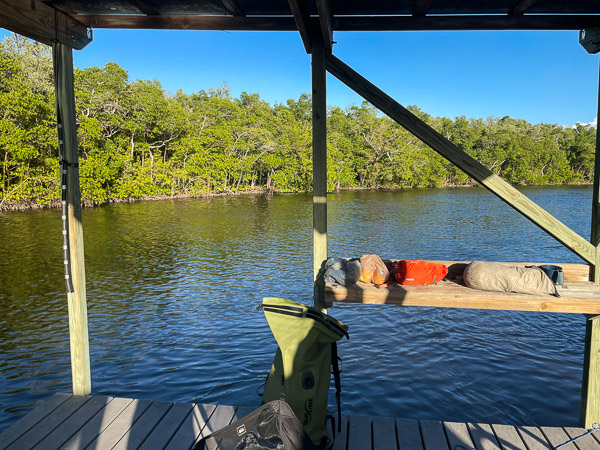
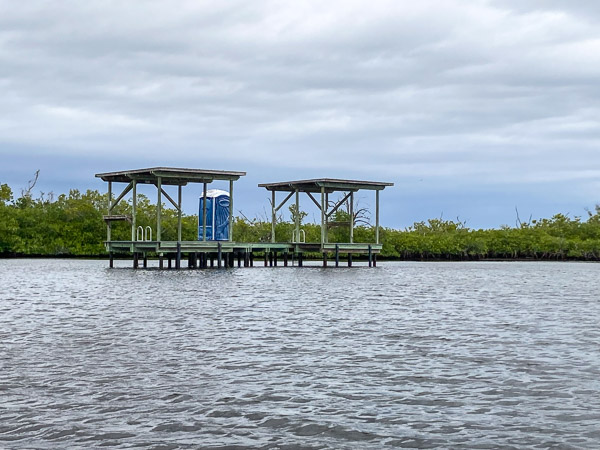
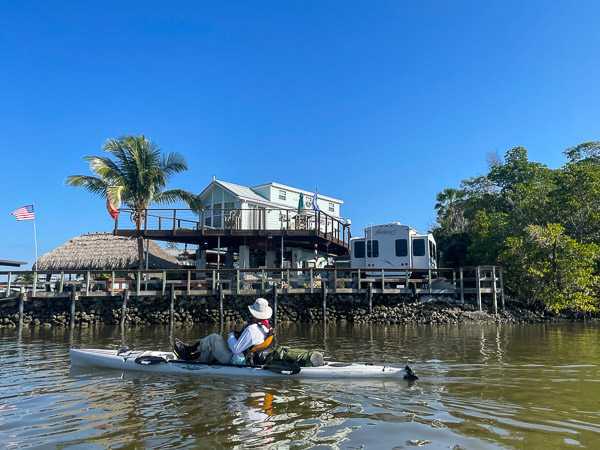
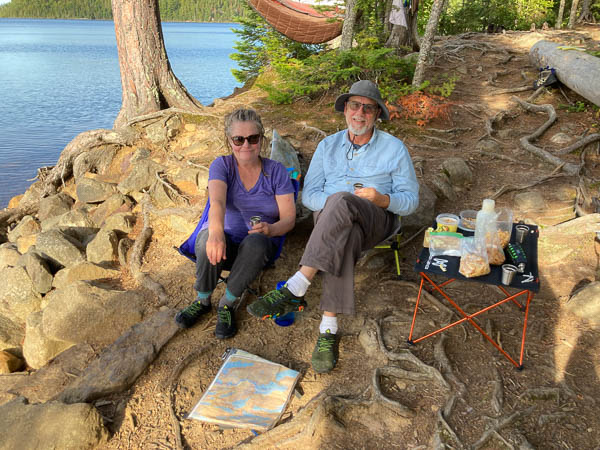
After exploring options on the north shore of Duncan we decided to stay on the campsite closest to the portage on the south shore (conveniently vacated by the prior group as we waited).

Duncan Lake Campsite

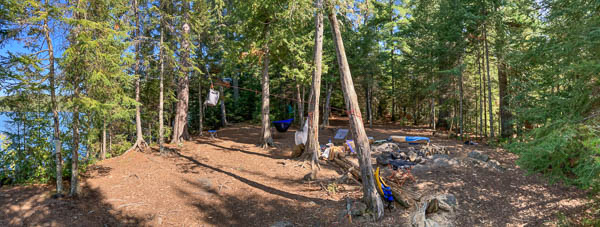
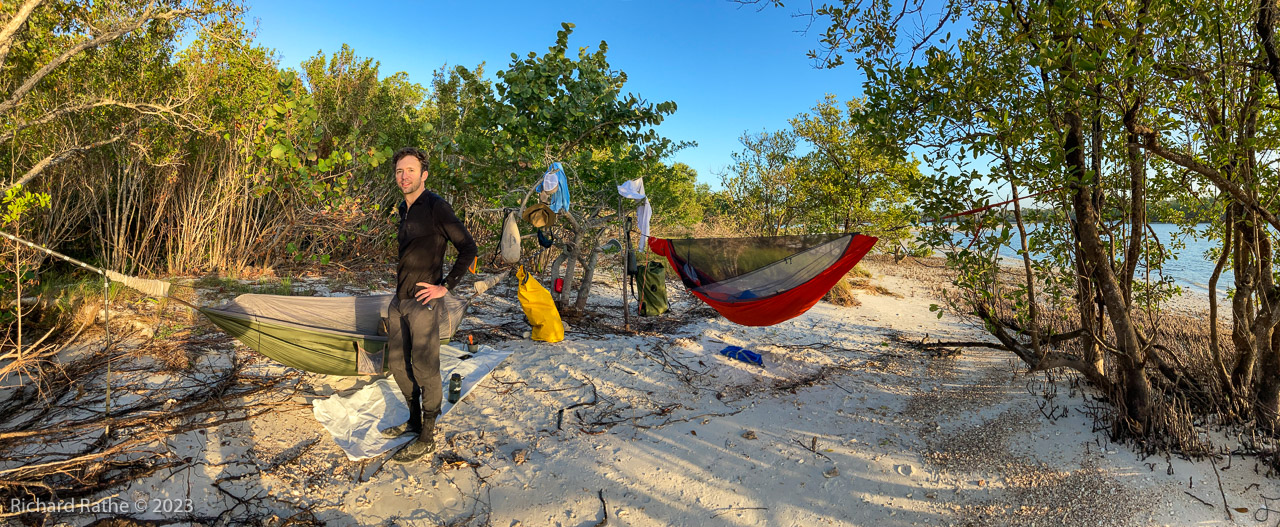
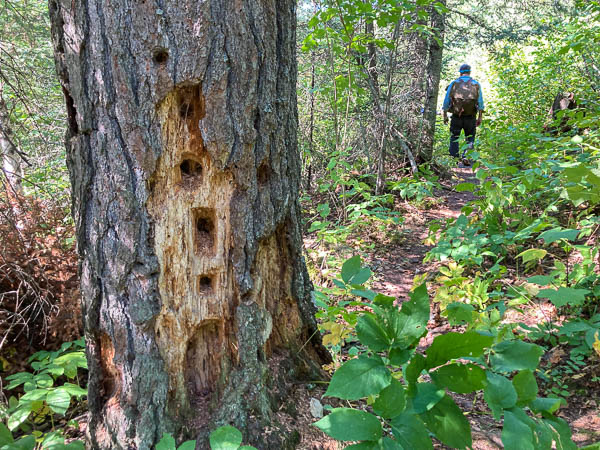
Overall this was a great site and not affected by blowdowns like the others we looked at. It had a nice fire area, lots of big trees, adequate tentsites, and a small pebble beach. (4/5 rating)

Hammock Housekeeping

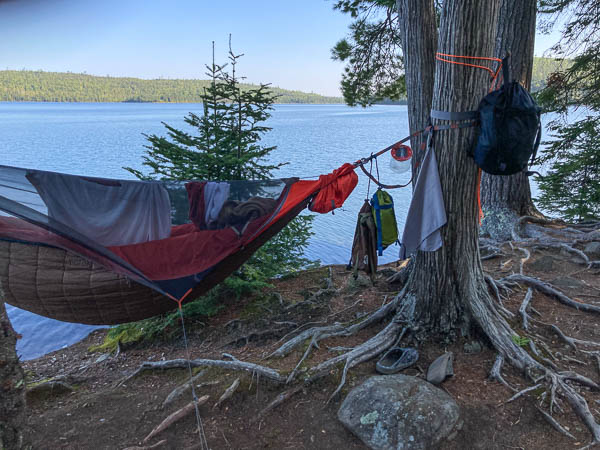
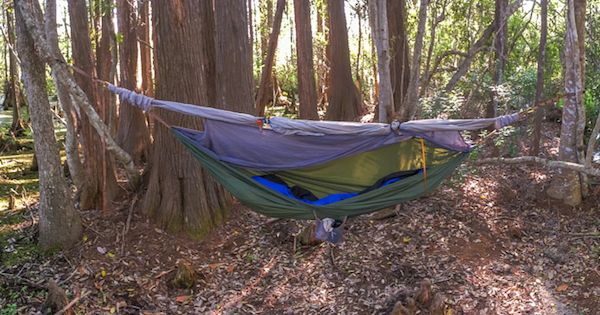
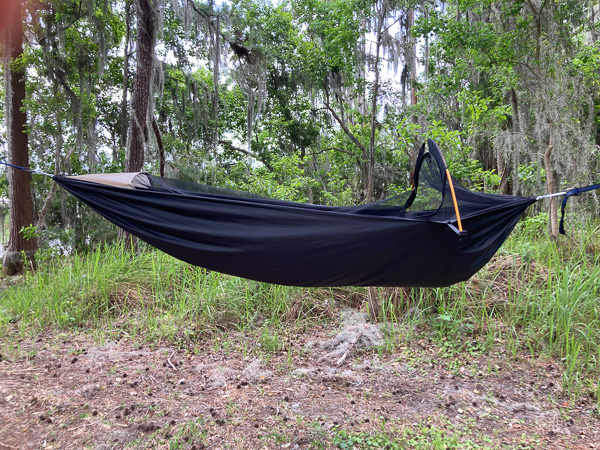
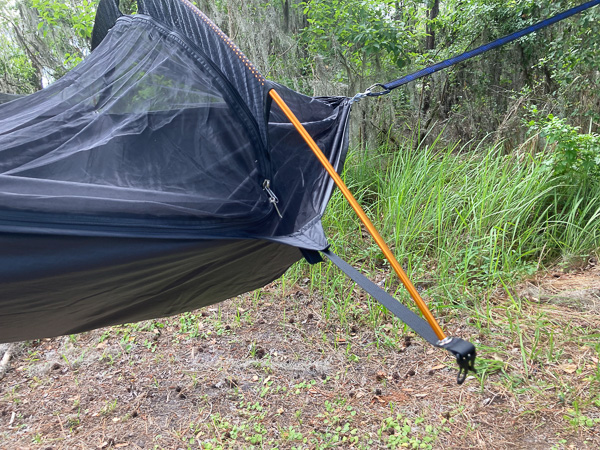
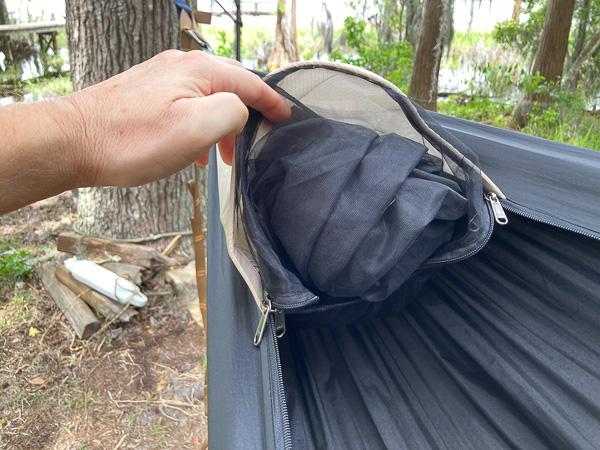
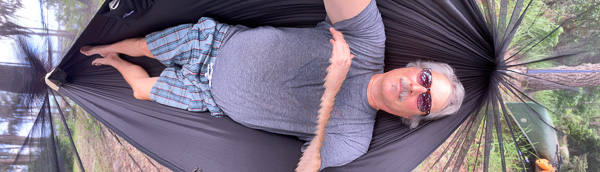
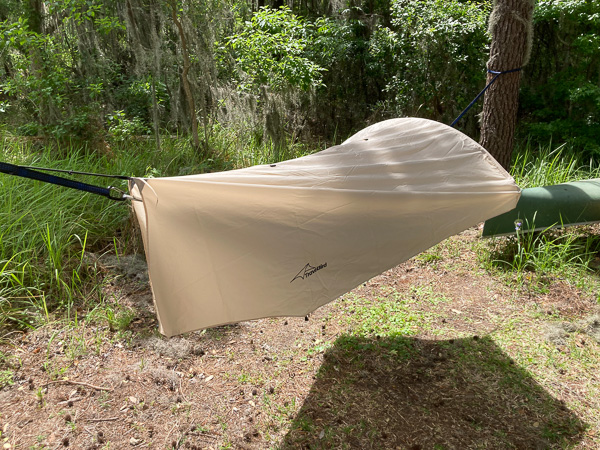
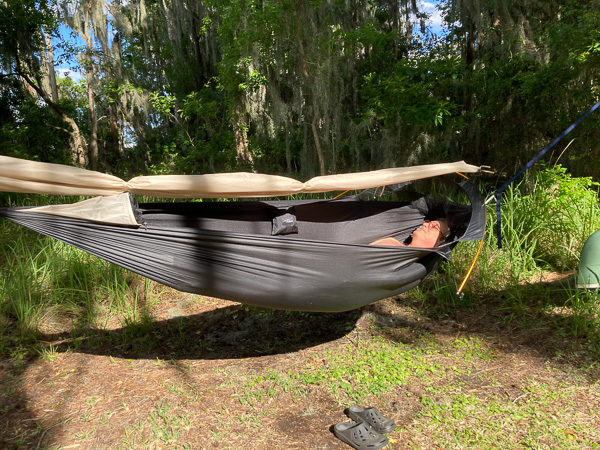
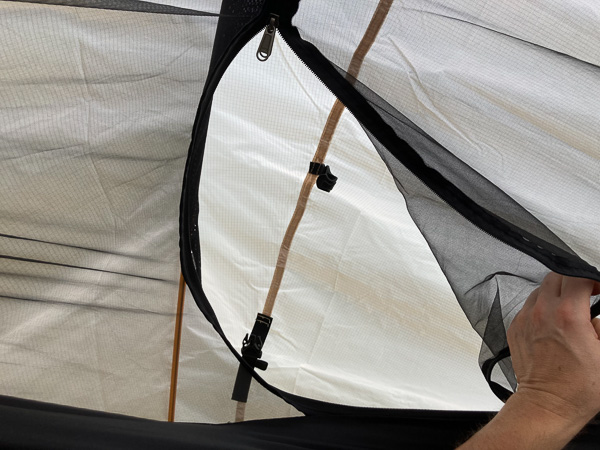
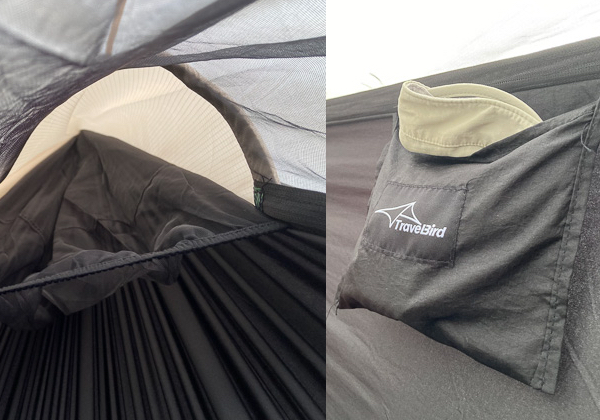
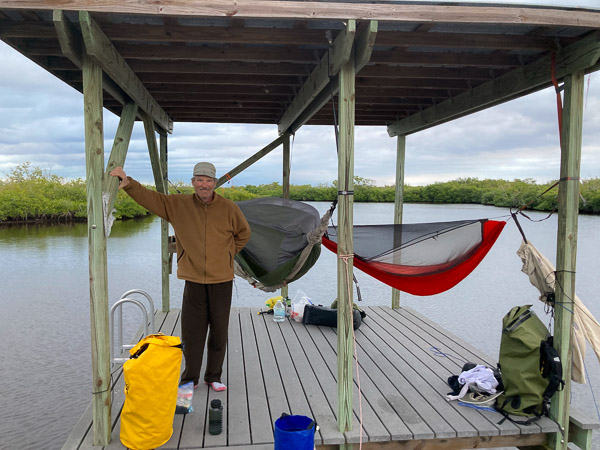
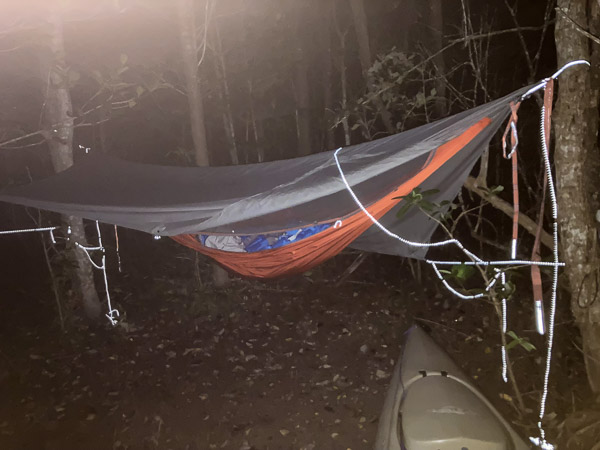
I’ve been a Hammock Camper for the past ten years. This was the first trip where I used an Underquilt and it performed very well. On the warmer nights (50s) I barely needed a sleeping bag. Going to bed felt like entering a warm bath!

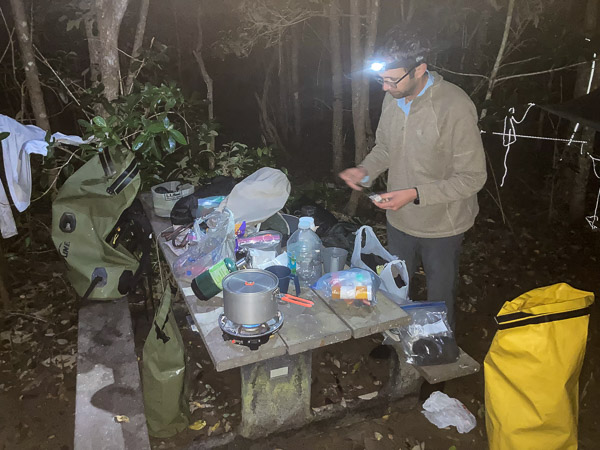
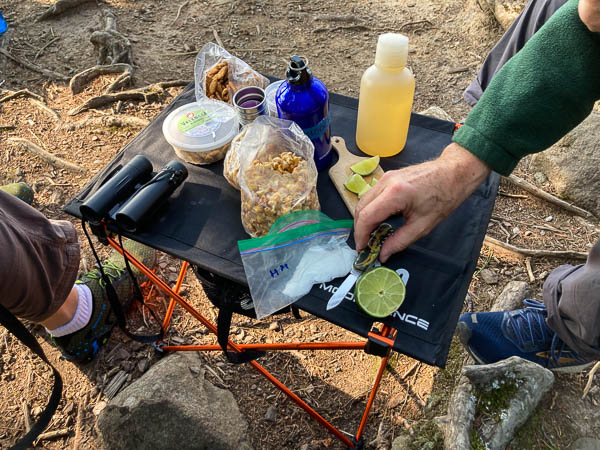
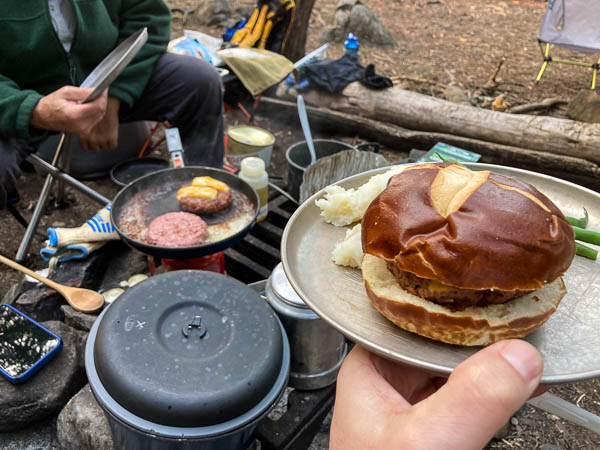
After setting up camp, we had Happy Hour and veggie burgers for dinner!

Happy Hour
Happy Hour
Veggie Burgers
Veggie Burgers

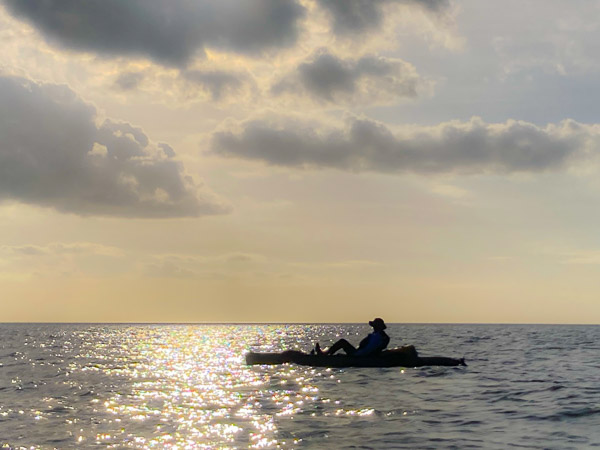
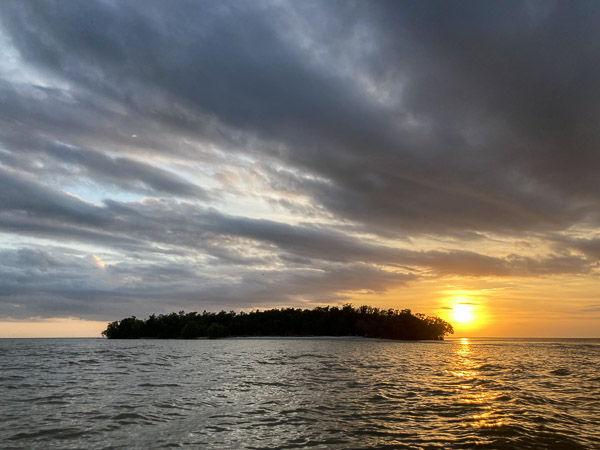
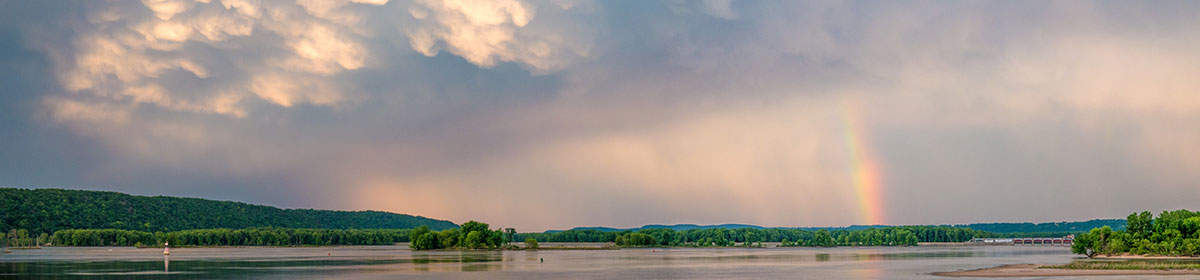
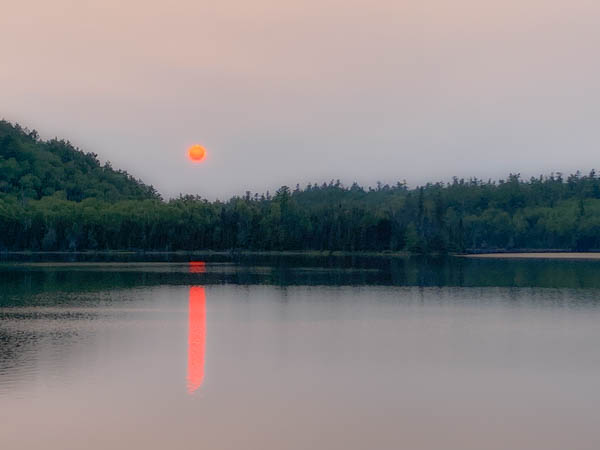
The smoke haze from the Canadian Forest Fires gave us a very red sunset that night.

Smoky Sunset
Smoky Sunset

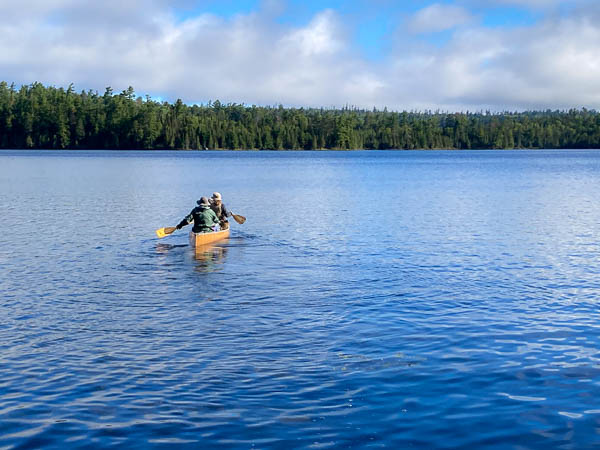
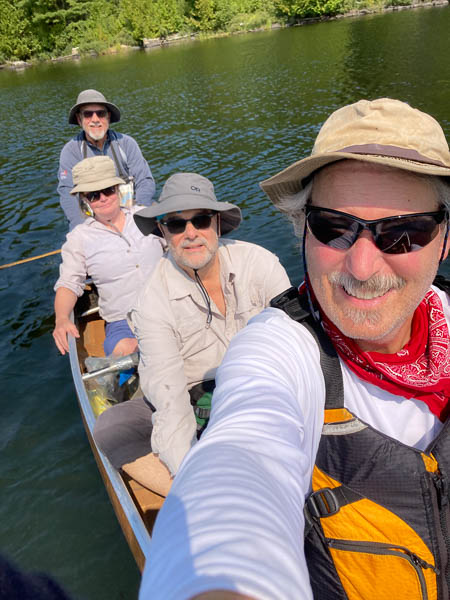
Day 2 (Canoe to Rose Lake)

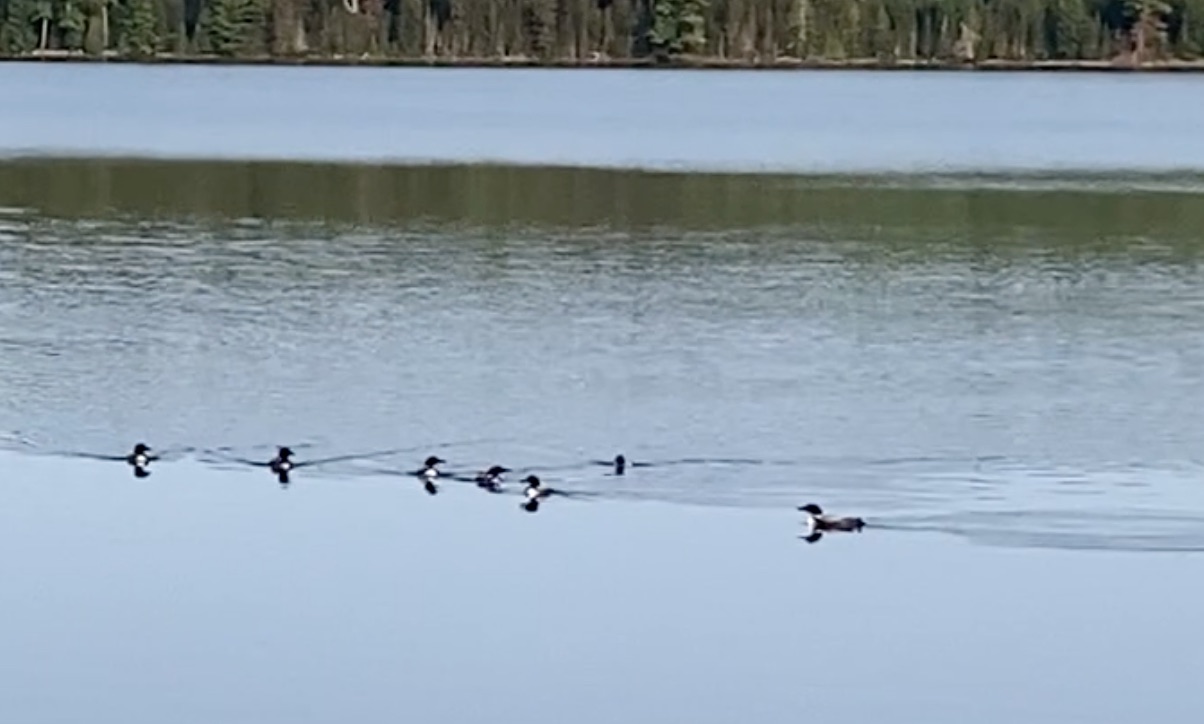
The next morning we were treated to the largest gathering of Loons I’ve ever seen! We counted nine in all. It started with three or four calling and others flying in over about twenty minutes. Then they socialized and fished together for at least an hour. I called it the Loon equivalent of a breakfast club!

We read that at this time of year Loons are after fish called Cisco or lake herring. These are very oily and help the birds fatten up before they fly a thousand miles to the ocean for the winter.

Loons Gathering
Loons Gathering

We paddled down the long eastern arm of the lake to the famous “Staircase Portage” to Rose Lake.

Down the Staircase Portage

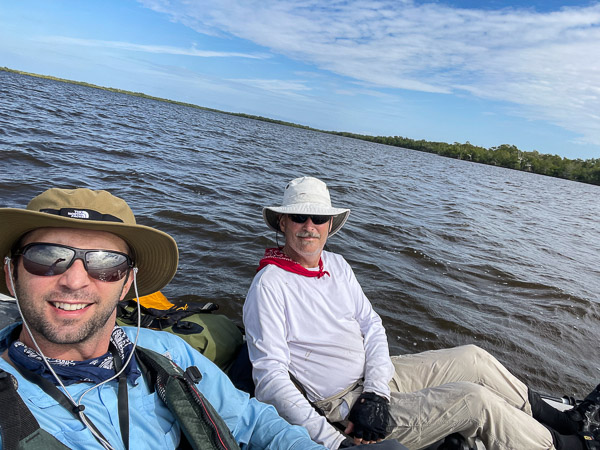
We consolidated into one canoe to cruise around Rose. We saw where Ross and I camped during the The Boys 40th Birthday Trip back in 1996.

Group Photo on Rose
Group Photo on Rose

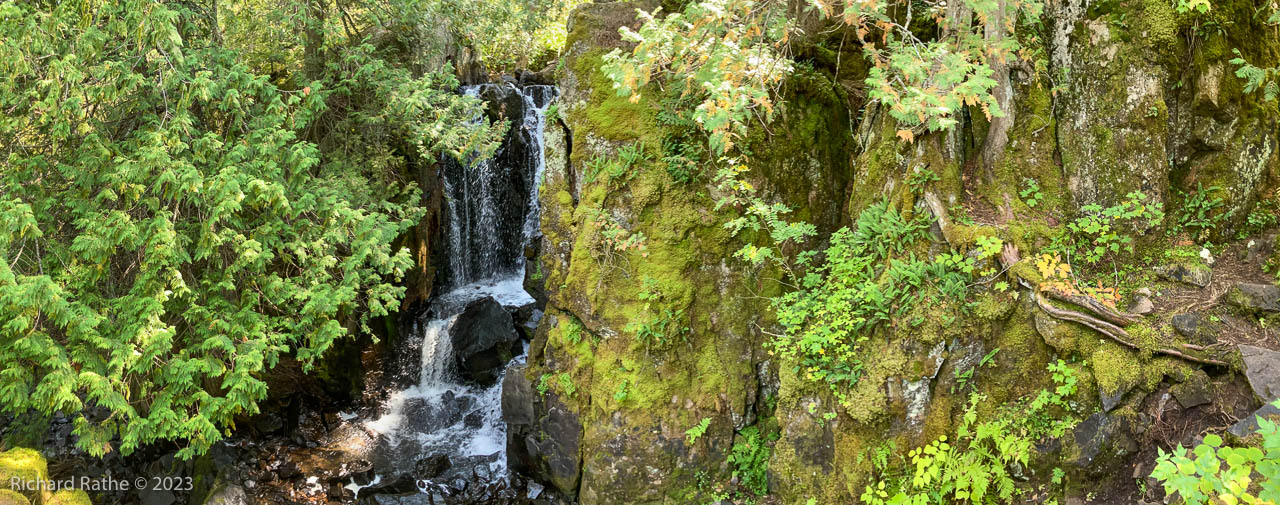
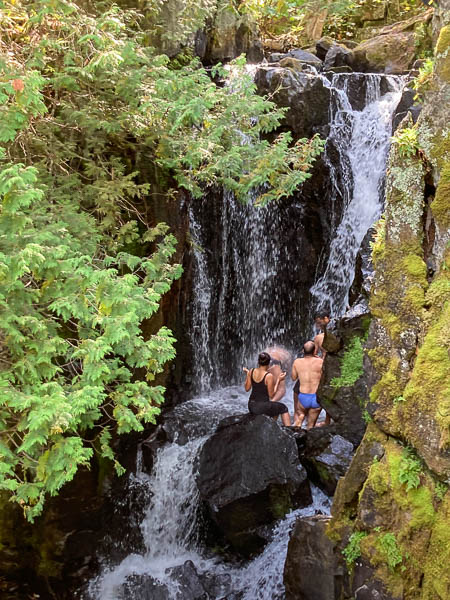
We stopped by Rose Falls to have lunch before heading up the stairs and back to Duncan.

Rose Falls
Rose Falls (Click to Enlarge)
Swimmers in Rose Falls
Up the Staircase Portage
Happy Hour Again
Happy Hour Again

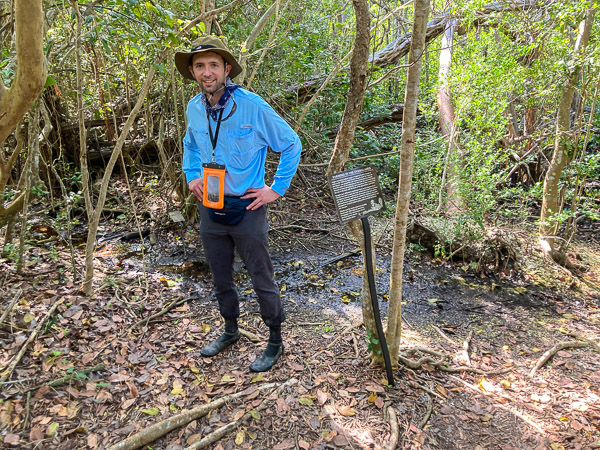
Day 3 (Caribou Rock Trail, 4.3 Miles)

Group on the Trail
Group on the Trail

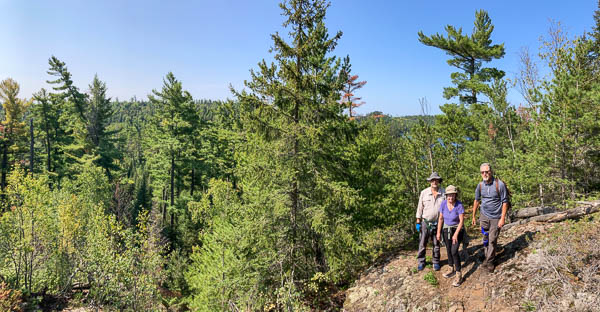
The next day we decided to hike on the nearby Caribou Rock Trail. This would ultimately take us to Rose Lake, but we did not go that far. Afterwards we read this is one of the “most difficult trails in Minnesota!”

Steep Climb
Steep Climb
Ross Above Duncan Lake

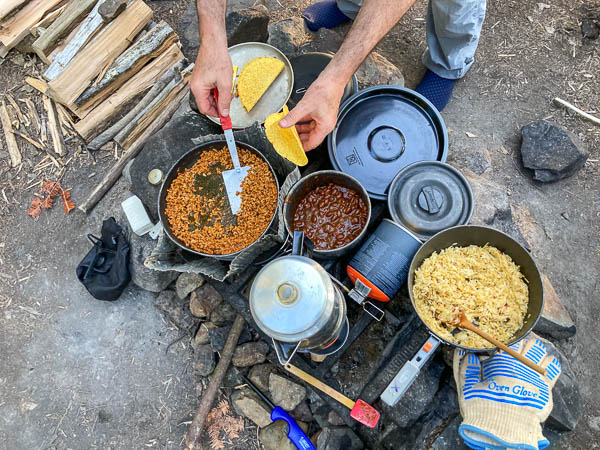
That night we recovered with an elaborate taco meal prepared by Ross.

Taco Dinner
Taco Dinner

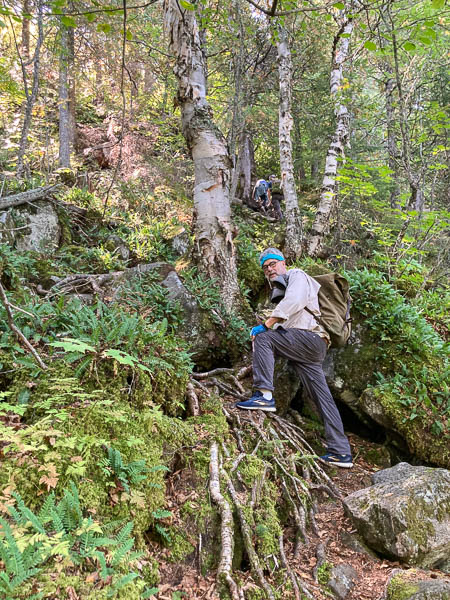
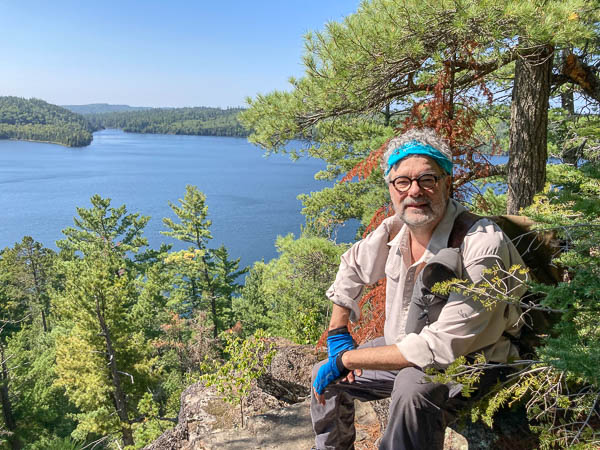
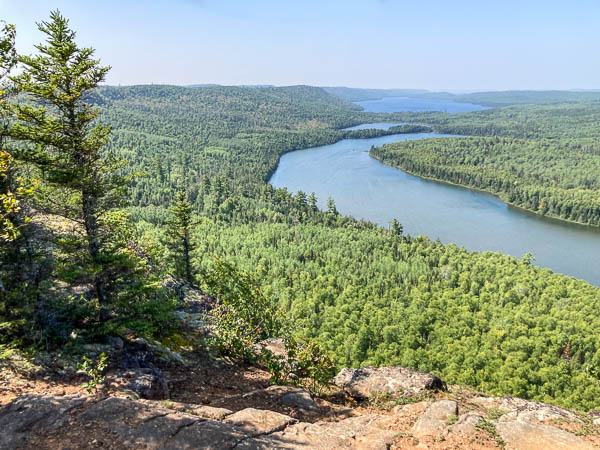
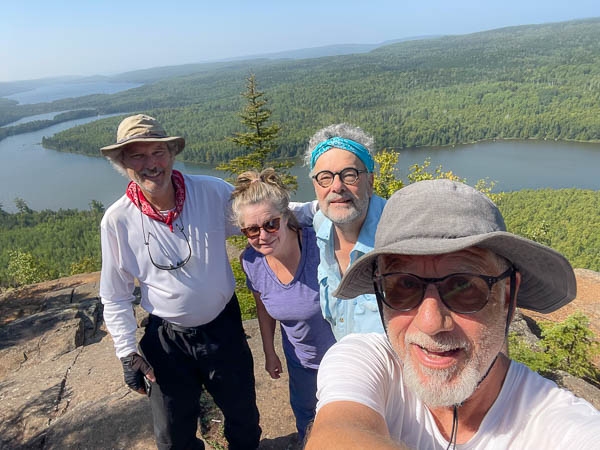
Day 4 (Rose Lake Cliffs, 6.5 Miles)

Our final full day was a mix of canoeing and hiking the Border Route Trail to the Cliffs over Rose Lake. It was difficult at times, but the view once we got there was worth it!

Rose, Rat, and South Lakes

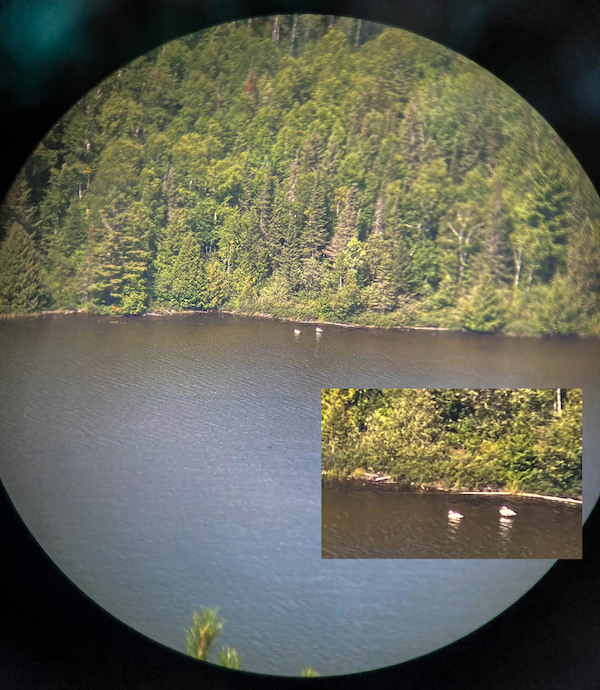
Way down on the lake we noticed two large white birds. These turned out to be a pair of [Trumpeter?] Swans! At the top I was able to take a photo through the binoculars with my phone.

Two Swans Thru Binoculars
Top of the World!
Top of the World!
Pileated Woodpecker Holes
Going for an Evening Swim!

Day 5 (Return to Civilization)

Leaving Paradise
Leaving Paradise

The next day was pretty simple. We broke camp early because the day was going to be hot (high 80s). When we later drove through Duluth the dash thermometer said it was 101!

Knots of Note

Bear Rope Hitch

Bear Rope Hitch
Bear Rope Hitch

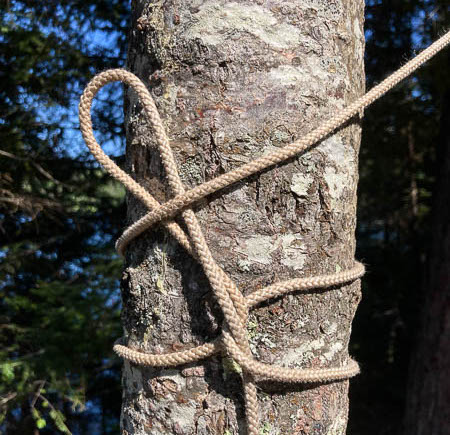
We saw this one on a video about bear ropes. It is somewhat counter-intuitive as you get started and may require two people if the rope is heavily loaded. The first loop eliminates the need to “wrap the tree” with a long rope. The second vertical loop locks under the taught working end. As a slip knot it is extremely easy to untie so you can add one or two half-hitches for more security when needed.
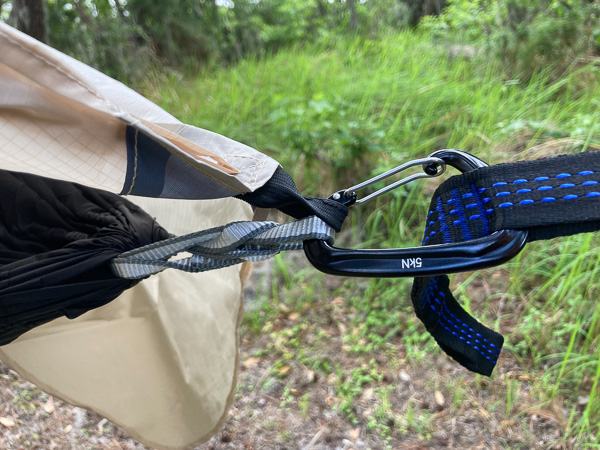
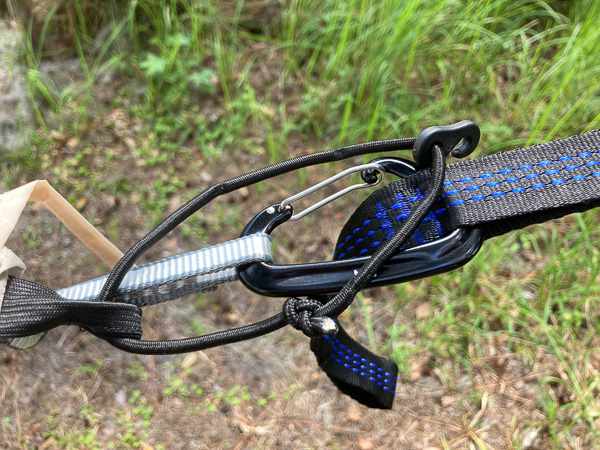
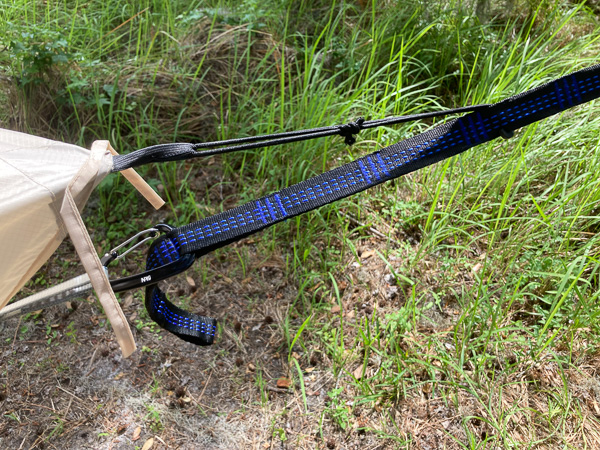
Soft Shackle

Soft Shackle
Soft Shackle

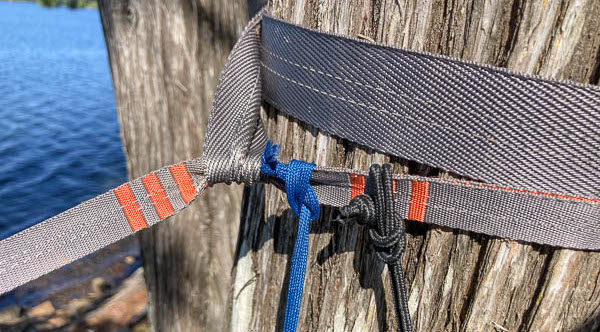
These are referred to “Aussie Bowlines”. They are specifically used to secure a loaded line to a sail or other object. The cinch cords shown here already have stopper knots on their ends so it is easy to “shackle” them to the hammock strap.

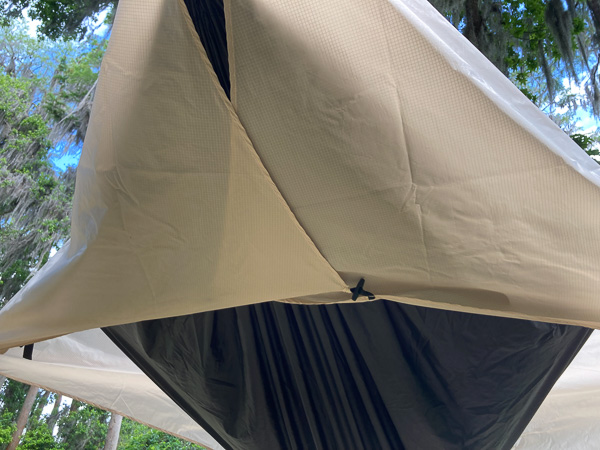
Treehugger Hitch (or Tree-Hook Knot)

Treehugger Hitch
Treehugger Hitch

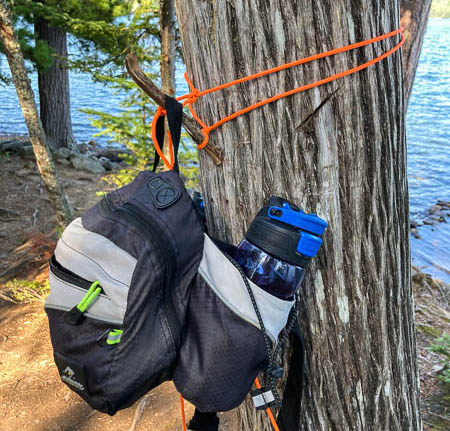
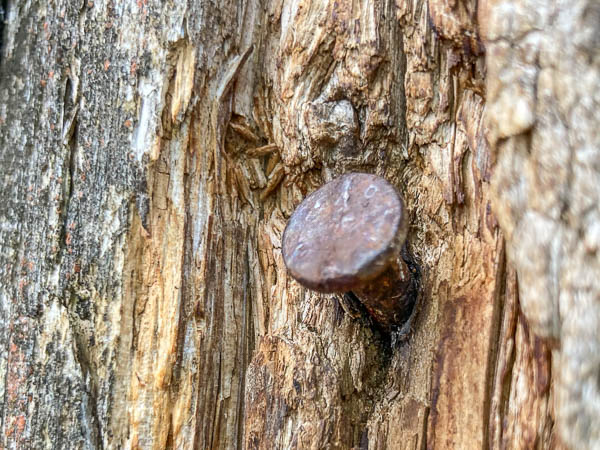
This is an idea I’ve been incubating for some time as a non-destructive “place anywhere” alternative to nails in trees or breaking branches to hang things on. Shown here is my first successful field test! It is tied using a short stick or similar object found locally.

  • Starting with the middle of the rope, wrap the tree at least twice and tie loosely with a reef (square) knot.
  • Catch the lower loop with the stick and add turns to partially tighten the loops.
  • Tie the upper end of the stick as tightly as possible in front of the reef knot.
  • Adjust everything to use the resulting hook to best advantage.
  • The excess rope will just hang down out of the way.

It performed well holding about ten pounds of equipment and it even let me hang up my hat! The main flaws with this implementation are the stretch in the second reef knot and the tendency for the loops to converge, allowing the hook to turn sideways. I plan to address these in the next version.

Once perfected this bit of knot-craft should help eliminate the need for nails in trees!

Old Nail in Tree
Old Nail in Tree

New Hammock 2023

History

For the height of this sort of deliciousness is to have nothing but the blanket between you and your snugness and the cold of the outer air. – Herman Melville (Moby Dick)

I became aware of Hammock Camping back in 2016. Luckily my first hammock was reasonably well designed and built. Seven years later that hammock has taken me many places and taught me a lot! Unfortunately it is showing some wear and I’ve been looking for a possible replacement.

My Original Hammock
My Original Hammock

One of the things I learned is to keep things as simple as possible. That first hammock was unusual–having a short tent pole spreader at the shoulder (vertical orange bar in photo above). This eliminated the need for tying the hammock out when no rain threatened, and eliminated two extraneous lines to trip over! The rainfly was a standard 10×10 foot diamond with the ridge on the long axis. It also served as the de facto ridge-line when hanging the hammock up. Deploying it took only two stakes and I added some shock-cord to help keep it taut.

Four Point Suspension

I call this the “four point suspension rule” and it works! Minimal trip hazard–most nights you just hang up and jump in. Even with the fly fully deployed it is easy to enter from any quadrant. I carry a few lengths of lightweight rope to solve minor problems as they come up.

I had to search hard to find a hammock with a single aluminum spreader pole similar to the above. Most “spreader” hammocks have non-removable, self-deploying wands at both ends. This makes them harder to pack up, since you have to fold them in a very precise way. I bought one of these a few years ago and found that it made a better bugnet tent on the ground. It works when hung, but not very well. The spreaders don’t spread, they just support the netting. Newer models appear to have wands closer to the ends and that arrangement might work better. (?)

Setting Up the New Hammock

Spreader and Netting

This “TravelBird” hammock looked promising and was not very expensive. The first thing you’ll notice is the spreader pole on the outside (my original had the pole inside the netting). When empty the whole thing tends to tip over in the wind. Not so much with gear in it. (The video instructions tell you to stake it out, but there really is no need to do this.)

New Hammock
New Hammock

Here’s a closeup of the spreader in action. You can also see the standard carabiner suspension and entry zipper. Note that these are not the supplied straps, which are two feet shorter and could not span the distance between my “hammock testing” trees.

Hammock Spreader
Hammock Spreader

Note that you can enter from either side, and the netting folds away into a pocket at the foot when you don’t want it. (Nice!) The dark netting is also better for stargazing at night.

Hammock Netting Folded

When you lay down in the hammock the spreader bends and keeps quite a bit of tension under your shoulders. I’m still experimenting with proper pitch for the most comfortable effect. My only major complaint–at only 100 inches it’s too short. It should be 104-106 inches IMO. I’m 6 foot 2, so if it works for me it will probably work well for anyone who is shorter.

Inside Hammock Pano
Inside Hammock Pano

Rainfly

The rainfly is a custom shape and the spreader supports it just like a modern tent. The problem is the inadequate ridge-line tension using the weak elastic tabs on the ends. I re-engineered this with some shock-cords that tighten the fly and allow it to rise above the netting for better airflow.

Weak Fly Attachment
Weak Fly Attachment

I added a six inch shock-cord loop and hook.

Better Fly Attachment

As you can see there is more tension on the fly. And when the hammock is loaded the fly can better maintain both height and tension.

Fly Under Tension
Fly Under Tension

The fly can be tucked on both ends to keep out blowing rain. This works very well!

Fly Tucked Under
Fly Tucked Under

I’ve found that in many situations the foot can be left lightly tied or loose. The side pull-out tabs can be tied to each other as shown below (black tabs near the ground).

Loose Footed Fly
Loose Footed Fly

If more wind is anticipated you can stake out the fly as shown below. The hammock came with thin elastic cords that I replaced with heavier shock-cords and lightweight rope. (The knots are an adjustable Taut-Line Hitch and a Zeppelin Bend to connect cord to rope.)

Hammock Knots
Hammock Knots

The final result meets the four point rule outlined above, and keeps the head and sides clear of ropes!

Staked Out Fly
Staked Out Fly

If you want to hedge your bet you can reef the fly along the ridge-line. This also makes it easy to pack up when you’re breaking camp. Note that one of the reef points was not sealed properly and caused a minor leak. I will be adding some seam sealer to address this.

Fly Reefed at Ridge-Line

Note that this is the first hammock I’ve seen where you can access and deploy part of the rain-fly from the inside!

Fly Access from within the Hammock

There are two pockets, one at the foot and one along the right side. As always, I wish there were more pockets and larger. A “loft” near the head would also be helpful.

Hammock Pockets
Hammock Pockets

Recommendations

  • PROS
  • a good hammock overall, at a great price (~$69)
  • single external pole design, fewer ropes!
  • enter from either side
  • netting folds out of the way
  • dark netting is good for stargazing
  • CONS
  • too short (needs 4-6 inches more IMO)
  • rainfly needs better suspension (easy to fix)
  • included hanging straps are adequate, but short
  • no ridge-line, so harder to hang (minor)
  • side-zipper bag included, a stuff sack would be better
  • no instructions, videos are not that helpful

Everglades Kayak Trip 2023

map source: nps.gov (click to enlarge)

This year we returned to the northern part of the park. The original plan had been a “grand tour” loop with two beach sites and two chickees. However, the forecast was calling for high winds on the last two days where we would be exposed out on the Gulf of Mexico. On the drive down I called and amended our permit to camp at Lopez River on the last night. [Photo Gallery]

Day 1 (Rabbit Key)

We left a day after the new moon (the beginning of the lunar Year of the Rabbit) so the tide was especially low. We had to motor through the mud with our legs to get out to where there was enough water to float. We would later have to fight an incoming tide going through Sandfly Pass.

Sandfly Island & Pass

We did a bit of walking around the old homestead and saw what was left of the old cistern and artesian well. Also saw our first dolphin fishing along the shore there.

Carl At The Well

Soon afterward my drive failed (while fighting the current of course!). Specifically one of the “flippers” delaminated and pulled away from the steel rod that supports it. Thus started a series of field repairs (outlined below) as we continued to limp along out to Rabbit Key.

Rabbit Key at Sunset

The best campsites have moved around over the years as hurricanes have remodeled the island. Our usual site in front of the sand spit (left point above) was taken so we explored a site further down near the high tide line. The only problem was the central tree was broken and stunted so we were hanging pretty low with ground cloths under our butts. The breeze blew all night so there were no bugs.

Rabbit Key Campsite (click to enlarge)

The next day when the tide was out we took a walk around our little isle. Because of the recent new moon the Horseshoe Crabs (Limulus polyphemus) were about.

Ring of Horseshoe Crab Shells
One Tough Mangrove!

Field Repairs

I used duct tape for my first attempt to repair my drive. This lasted about an hour. The adhesive would not stand up to submersion in salt water. Next I tried a mummy wrap with paracord. This worked better, but the bottom knot kept falling off. On the second day I cut out strips of plastic water bottle and attached these with rope using scaffold knots. [Click for Example] This did the trick and I was able to complete the trip — peddling all the way!

Selected Video Clips

Day 2 (Crooked Creek Chickee)

We waited for the tide to turn and start rising before we left Rabbit Key. This lead to an easy passage through Rabbit Key Pass and up the Lopez River to Crooked Creek Chickee. We had a nice swim, started cooking dinner, and hung our hammocks before the wind died and it got buggy.

Crooked Creek Chickee

Day 3 (Sweetwater Chickee)

The next day was mostly spent crossing four large bays. We had a bit of a cross/tailwind but no real problems. When we got to the chickee however we had a bit of unwelcome attention from an eight foot alligator that was acting like it expected to be fed. Normally gators will be curious but generally do not hang around and get progressively closer!

Sweetwater Chickee with Gator

The evening was nice with a bit of breeze and only a few bugs. We had a comfortable night except for the heavy breathing! I woke upseveral times in the night and could hear wet, sonorous breathing a few feet away from the chickee. It was not a dolphin. Every ten minutes or so there would be 2-3 breaths in exactly the same place! I thought “Gee, is that gator stalking us?!” I looked several times with a flashlight and never saw a thing. If a gator was there on the surface I should have seen its eyes reflecting orange. Very strange! In the morning the breathing was occuring and the mystery was solved. A small manatee had come to sleep next to us overnight! Very cool!!

Well-Pitched Hammocks
Sweetwater Chickee

Day 4 (Lopez River)

Apparently the Park Service has a new rule that you can’t stay on the same chickee twice in one trip, so we camped at the Lopez River ground site on our last night. I had stopped there for lunch before but never stayed overnight. There was a party already on the primary site, so we took the secondary next to the large ruin of the cistern. Both sites have nice deep shell mound approaches, and we sat down by the water while we ate our dinner and finished our box of wine. There was a breeze and it was about ten degrees cooler so bugs were few.

Lopez River Campsite Shell Mound Landing

The site itself is small and set within mangroves, with a compacted mud surface and a picnic table. The hammocks were perfect in this setting!

Hanging in the Mangrove

Day 5 (Return to Civilization)

We got up before dawn the next day to beat the incoming tide. We circled around Chokoloskee Island rather than take the narrow canal behind the causeway. As predicted the wind rose and was probably every bit of 12-15 mph with gusts. We were glad not to be out on the Gulf!

Chokoloskee Island

Even after all these years this was the first time I’d gone this way, giving us a chance to see the Smallwood Store from the water. This is where, in 1910 the alleged murderer Edgar J. Watson (see “The Watson Place” campsite within the Park) met his end at the hands of a local posse who had gathered to arrest him. The excellent historical novel “Killing Mister Watson” is based on these events.

Smallwood Store

We peddled across the lagoon and back to the ranger station without difficulty. And thus ended an eventful but enjoyable trip!

Home Again!

More Photos…