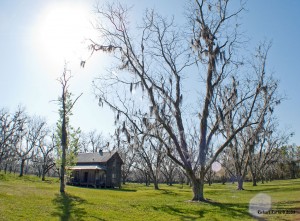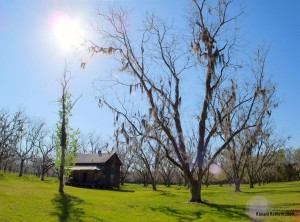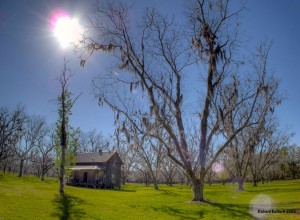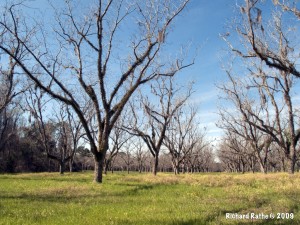
I’m learning about High Dynamic Range (HDR) photography using a Canon G10 and Photomatix Pro. The photo above is my first attempt using the Detail Enhancer tool with five bracketed exposures +4 +2 0 -2 -4. Here is the same image again, this time with the Tone Compressor tool…

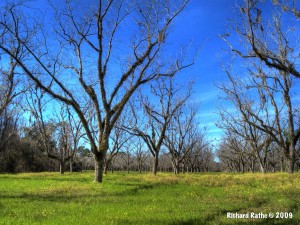
Here is a comparison photo created from a single RAW file with minimal adjustment…


One thing I discovered is that the Tone Compressor in Photomatix, Adobe Lightroom, and the RAW plug-in for Photoshop all do approximately the same thing—global tone mapping to recover “blown” pixels in bright areas and bring out detail in dark shadows.
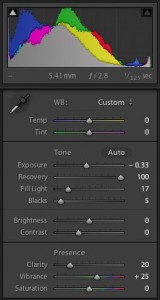
The key toning controls from Lightroom 1.4.1 are shown on the right. Recovery pulls the highlights in from the right on the histogram. Fill Light does the opposite from the left. It also has the nifty Clarity and Vibrance sliders near the bottom. The former is a type of local contrast enhancer and the latter increases the saturation of mid tones. I routinely give my photos a dash of each! The RAW plug-in has almost identical controls for importing/converting. Turns out I’ve be doing lightweight HDR for the past two years thanks to LR. Now it’s time to take things to the next level!
Finally, I just finished reading Ferrell McCollough’s Complete Guide to High Dynamic Range Digital Photography, which is a good place to start if you are ready for an in depth discussion of techniques and software.
 Let the Right One In
