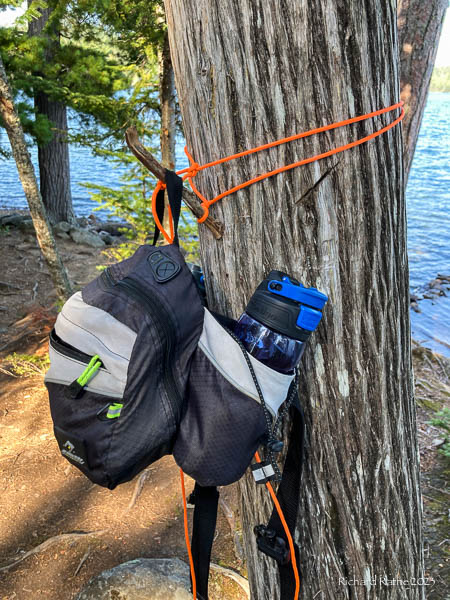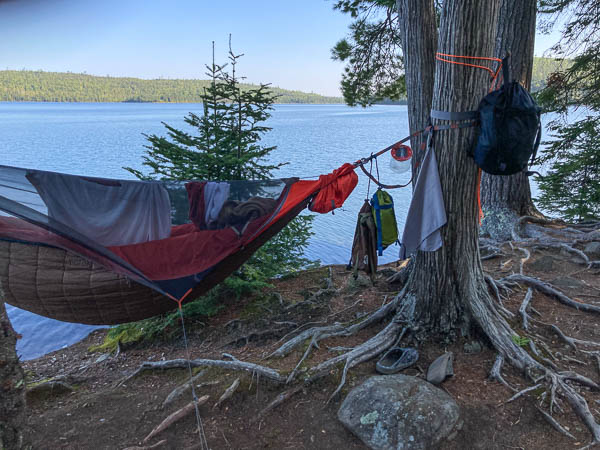
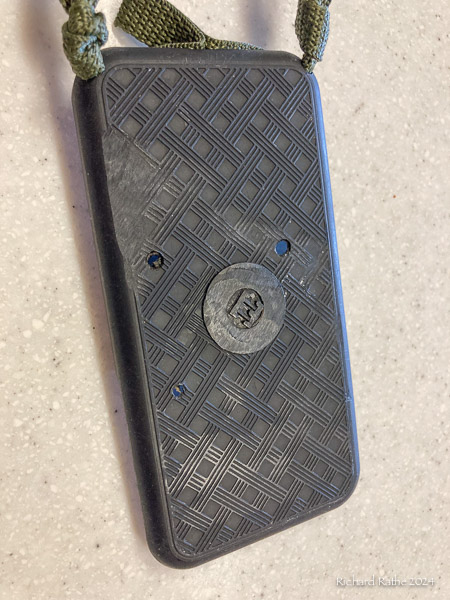
I’ve used two-part “holster” cases for my phone over the past ten years. Now that phones are nominally waterproof I converted one into a neck strap phone holder for sailing, kayaking, canoeing, etc. This is a vast improvement over the “bag” cases which protect the device from water (not needed) but degrade the camera (not acceptable).
The first thing I did was cut off the belt clip with a hacksaw. The result is not pretty but nobody’s going to be looking at it! [Aside: I really don’t like belt clips. They are often uncomfortable and a good way to lose whatever you have clipped!]
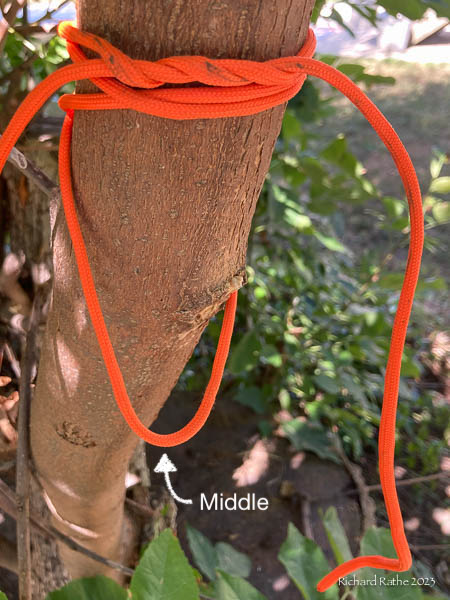
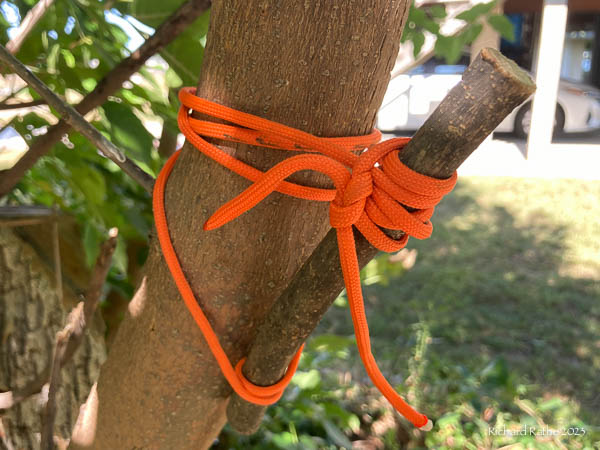
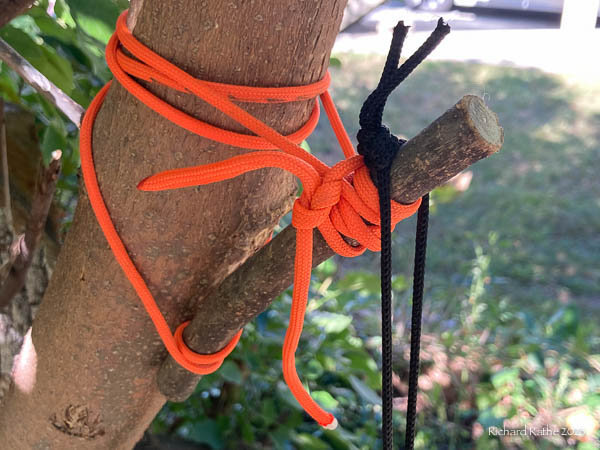
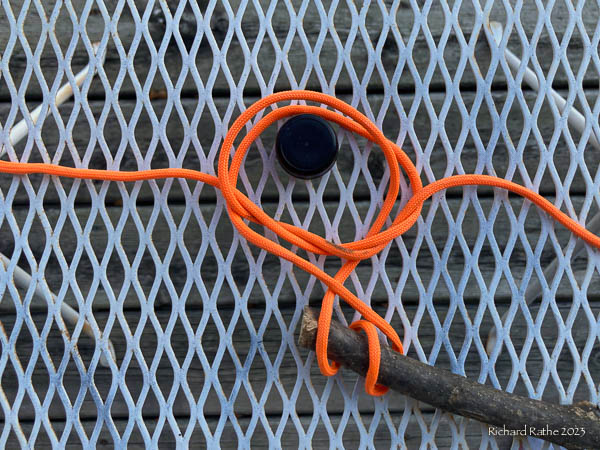
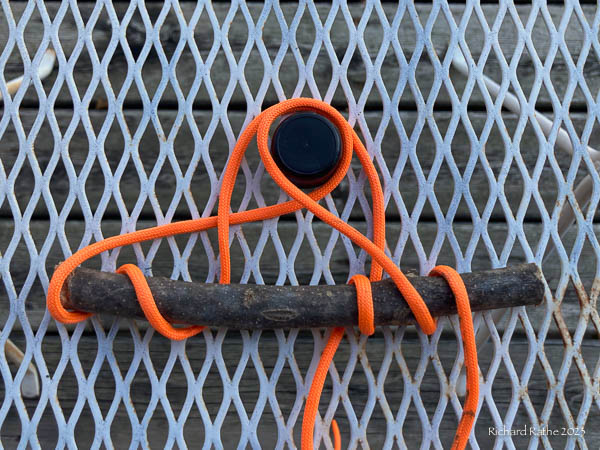
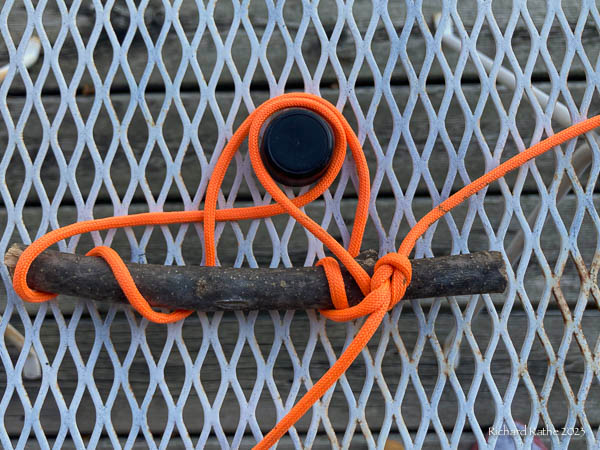
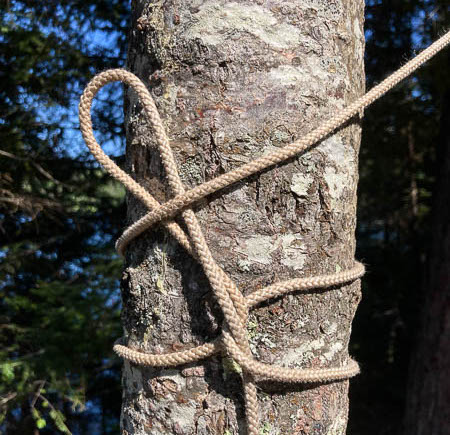
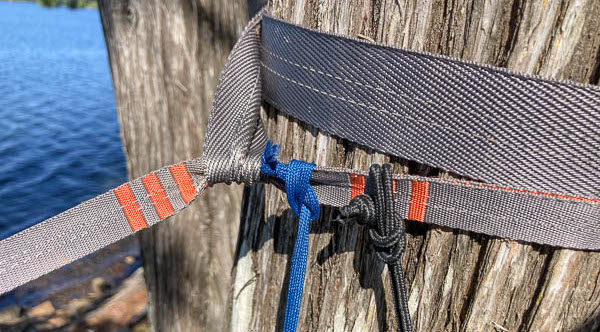
My initial effort used light paracord as shown below. The rope was a bit uncomfortable on my neck. I added a bit of clear tubing as a guard but this did not help much. Note the Breakaway Knot (sometimes called an anti-garrote knot!). It is designed to fail with a stiff pull when the strap catches on something so I don’t get strangled!
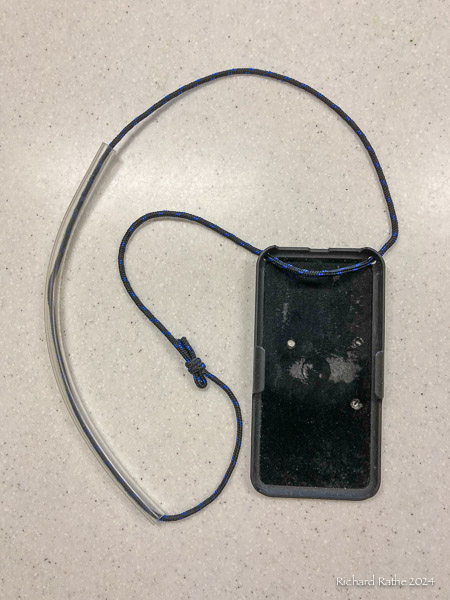
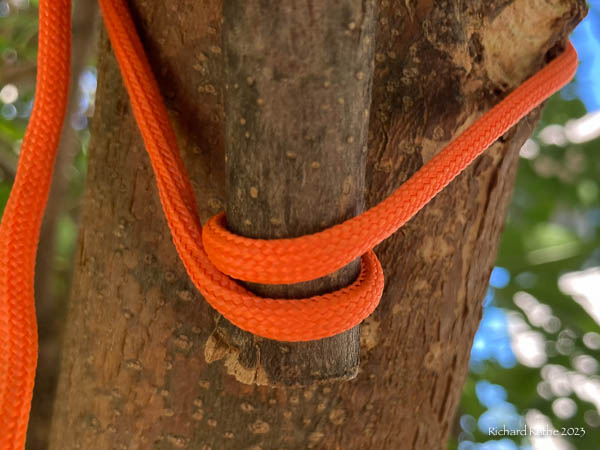
My take on a breakaway knot is pretty simple. It’s just a Double Overhand Knot (a simple knot with an extra turn) with a loop from the other end tucked through it. I’m not sure I’ve seen exactly this configuration before, but every breakaway knot I’ve seen has some sort of “constrictor” knot on one end with an open loop passing through it. I like this design because it is easy to tie and lies flat.
I purchased some bulk polyester webbing and tried again. This was much more comfortable! One difference I found was the knot was easier to break. Just proves that knots behave differently depending on what material they’re tied in. I think it is adequate but time will tell?!
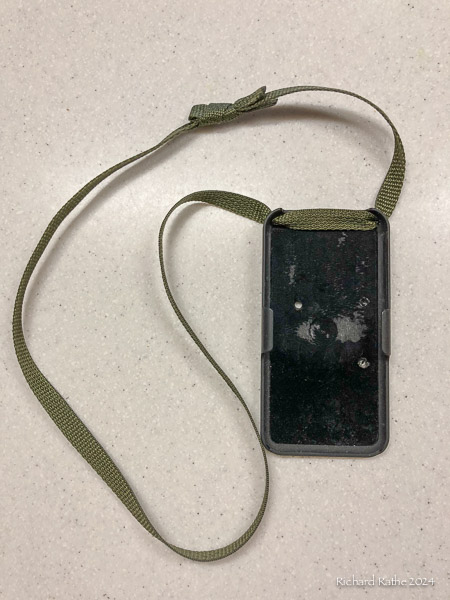
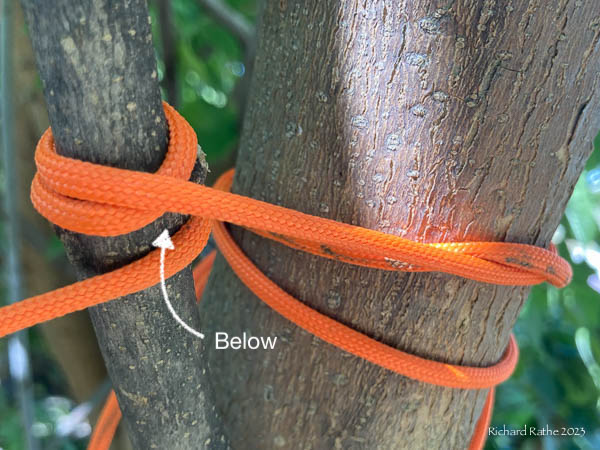
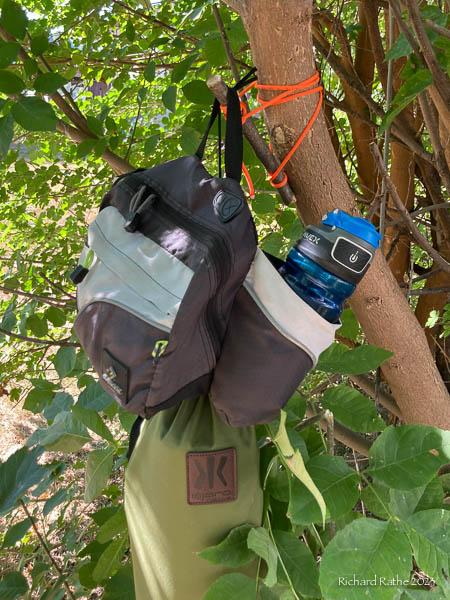
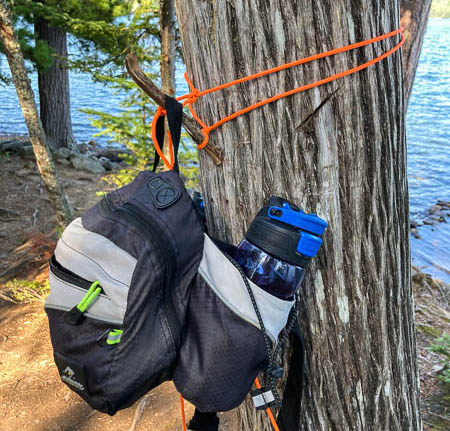
Then there’s the issue of attaching the phone securely when it is not around my neck. I reworked my design with a small sewn loop and two simple knots as show here. Turns out the little loop was unnecessary but I like the way it looks. Anything tied between the two knots would break the case material before it detached!

The phone hangs upside down so I can pick it up and view the screen right side up. The case is friction fit so I just slide the phone in our out. To take a photo or use the flashlight I just pop it up about 20%. You can reverse the phone and completely cover the screen if needed (blowing sand?) but this exposes the camera lens.
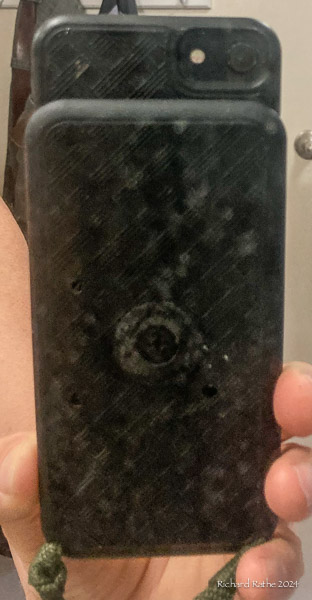
Two Thoughts: 1) There is very little written about breakaway knots, but they are clearly useful; & 2) Why, why, WHY don’t phone cases routinely cover the camera len(s)?! This particular case could have a little nub of plastic sticking down to cover the lens when the phone is fully engaged—but it doesn’t.