This was a difficult trip thanks to Hurricane Irma and multiple equipment failures. But we had good time in spite of the challenges. [Gallery]

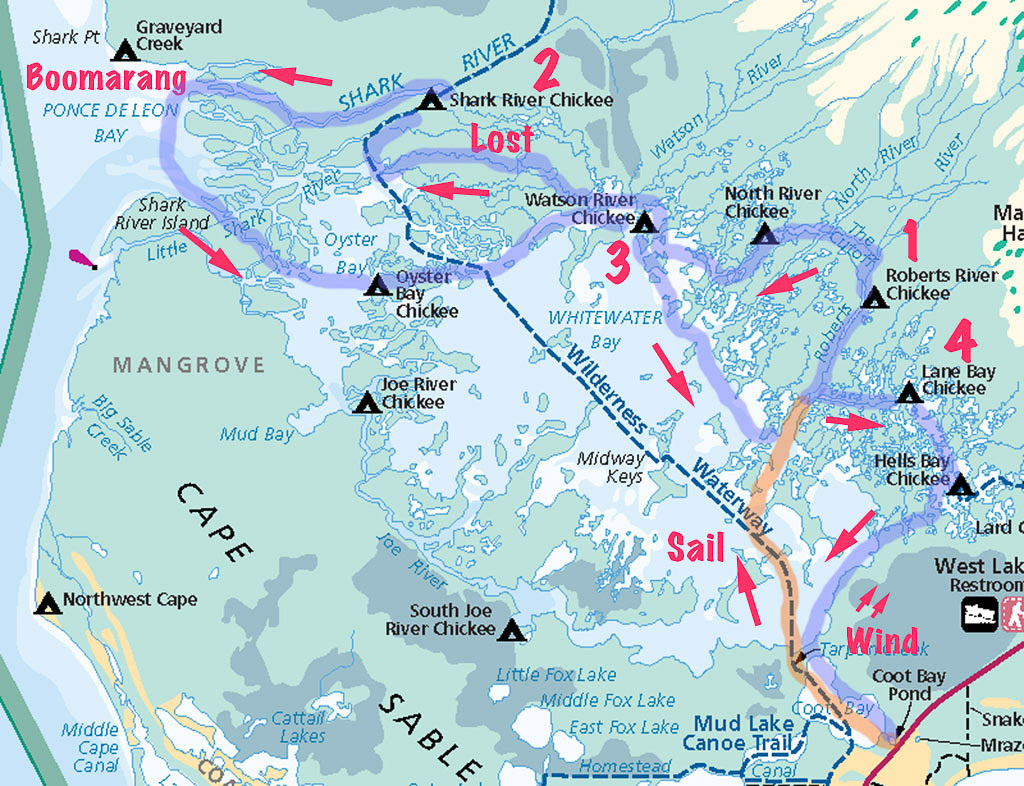
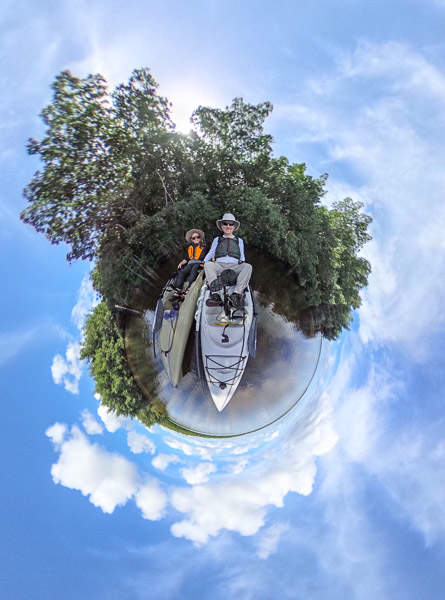
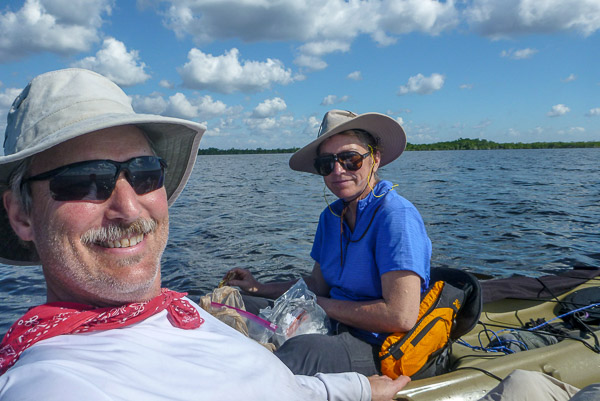
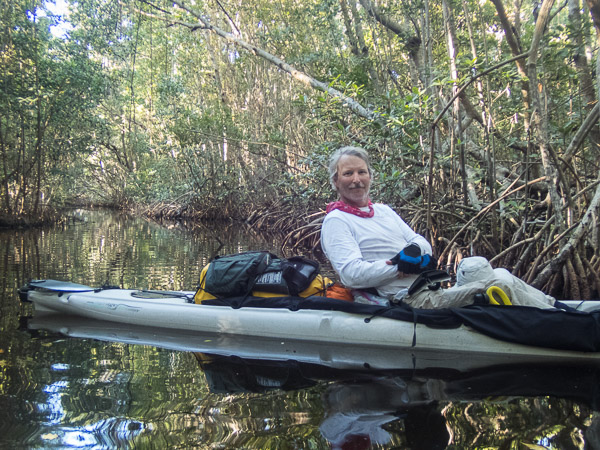
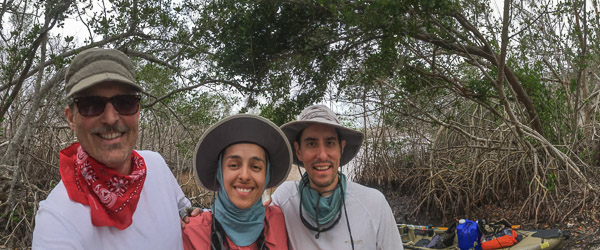
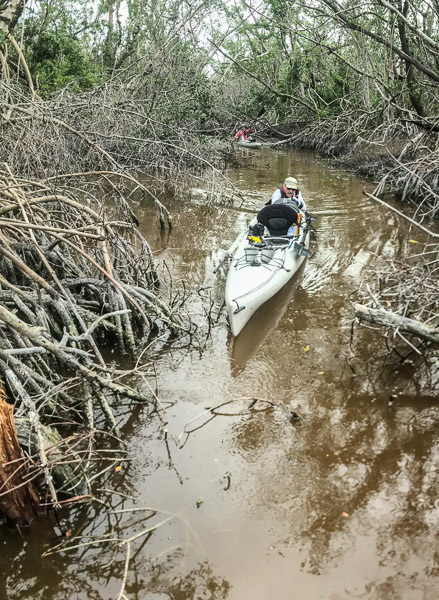
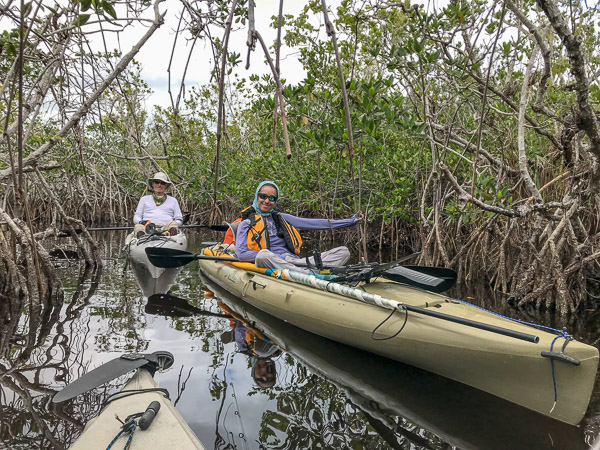
My fellow kayakers were Carlos and Nia Morales (also from Gainesville). Here we are smiling before running the gauntlet on Coot Bay Pond Creek.
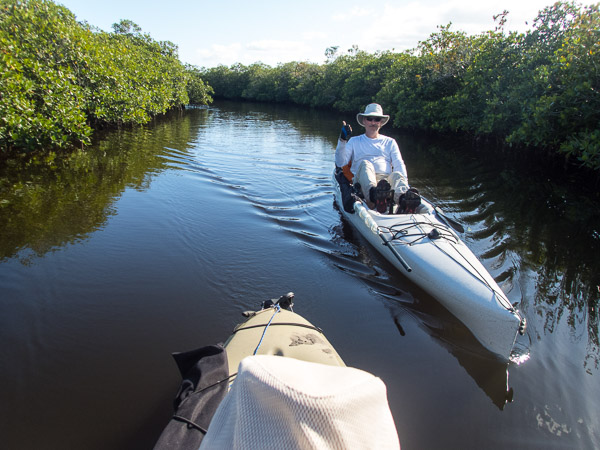
The ranger station had told me the creek was “open” but that was being generous. We spent two hours to move a two hundred yards that should have taken less than twenty minutes! I spent more time out of the kayak than in…
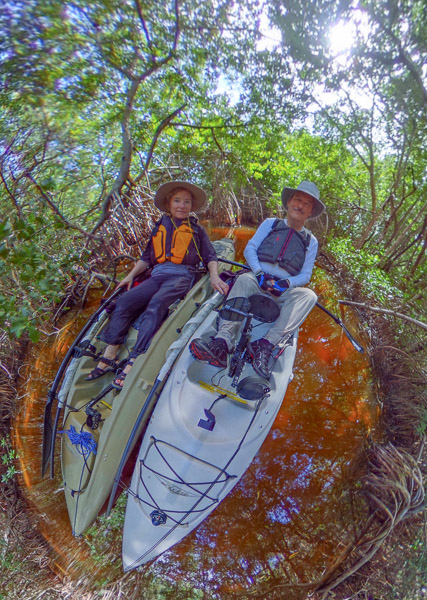
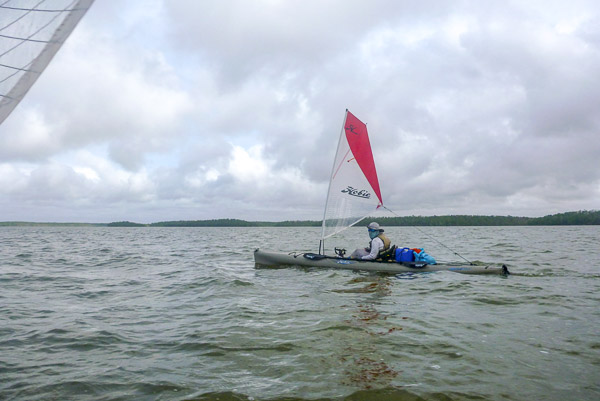
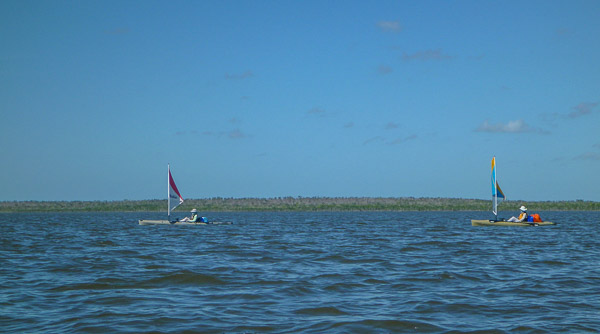
Once on Coot Bay we attempted to sail but the wind was too strong and variable.
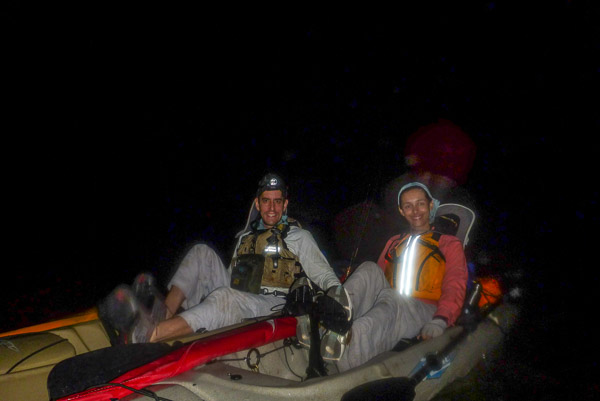
We had a long day and travelled after dark to get to Joe River Chickee. We all slept well. It had been cool enough that there were only a few bugs.
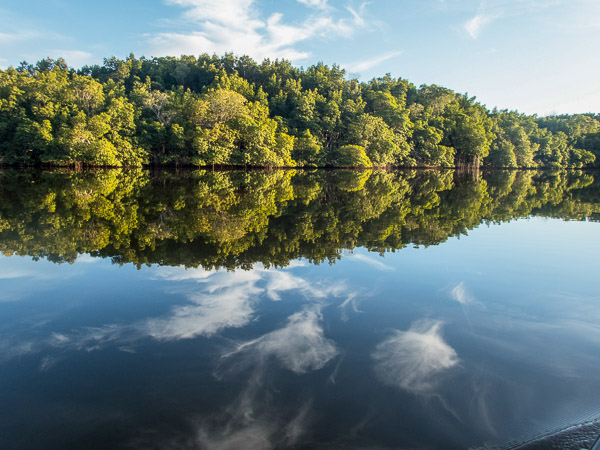
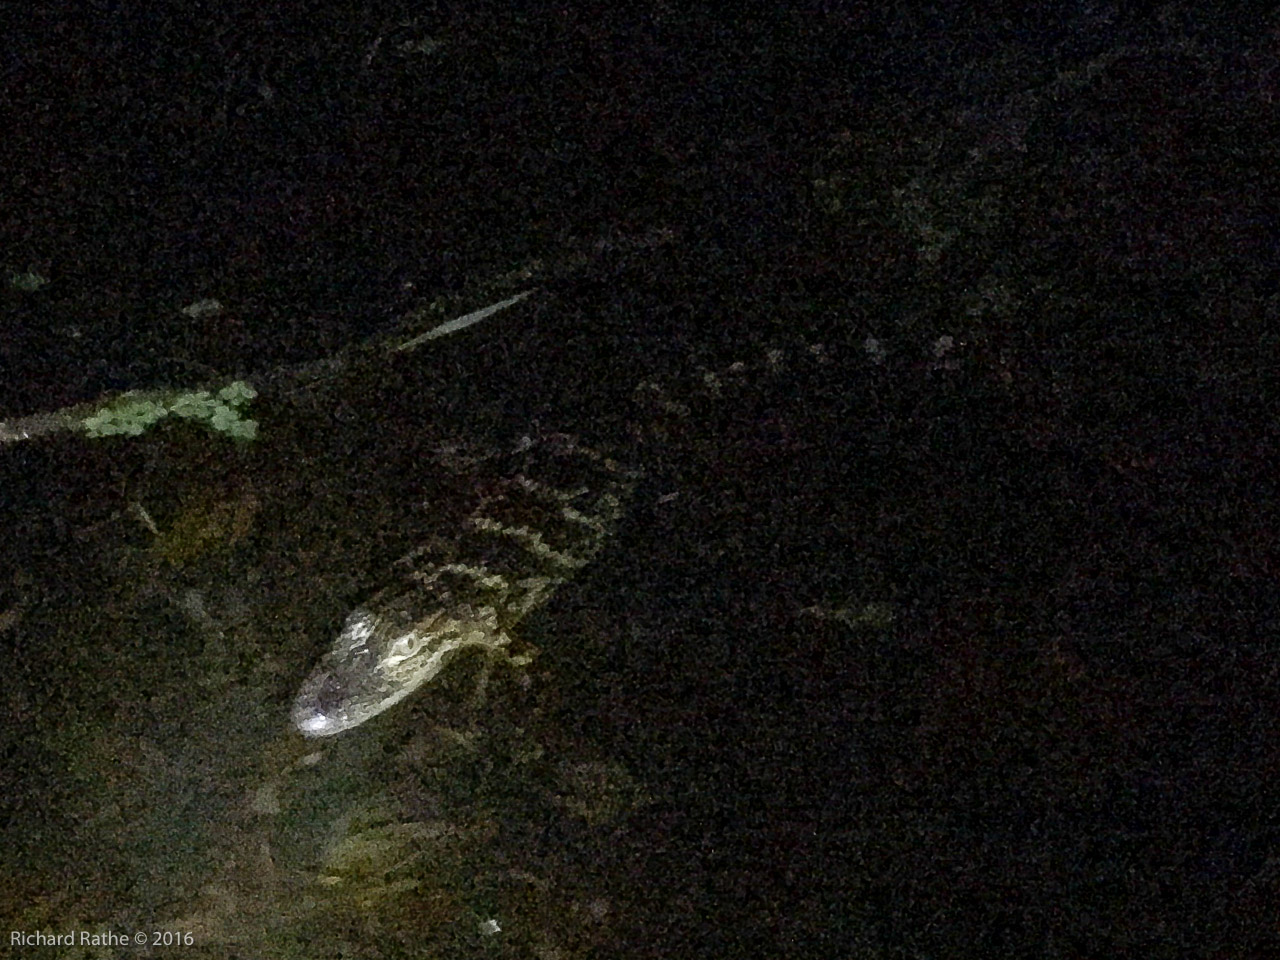
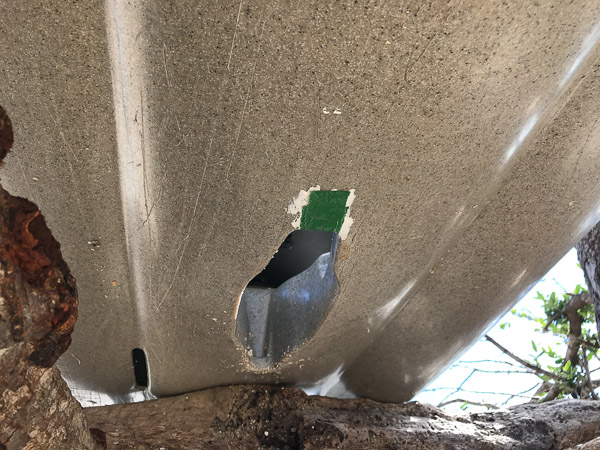
The next day we finally got to sail across Oyster Bay to the Shark River. (Our two oldest boats had developed serious leaks at that point.) We made it out to the Gulf and had a nice night camping at Graveyard Creek.
There was a new sand bar and many uprooted trees due to Irma. This was actually beneficial since the last time I visited the site it was very overgrown. Carlos did a field repair and we let it cure overnight.
The next day the weather finally cleared as we headed up Graveyard Creek itself on our way to the Shark River Chickee.

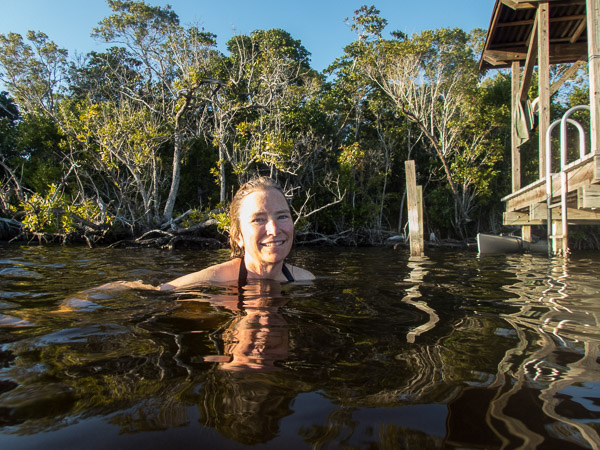
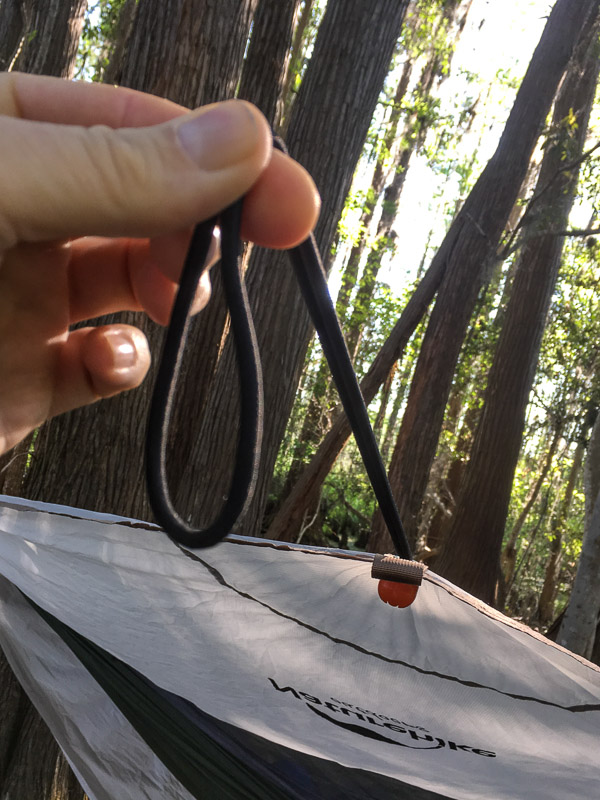
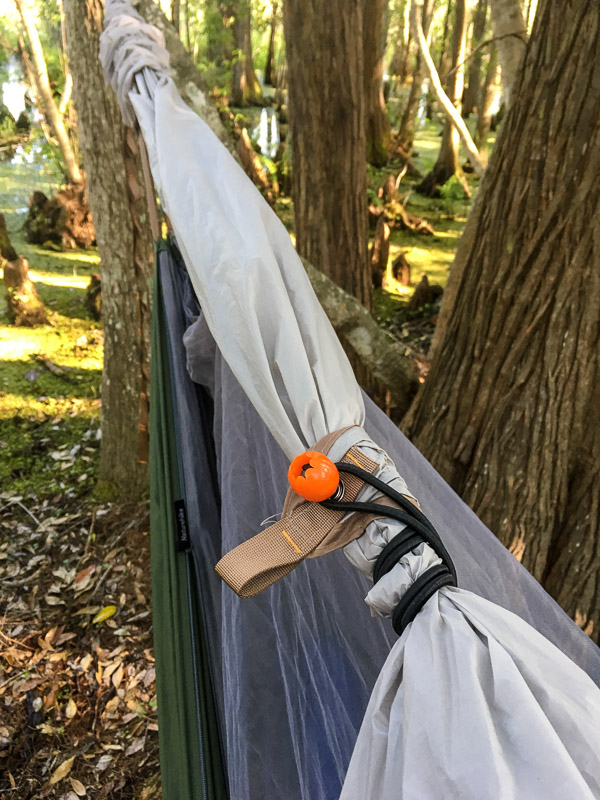
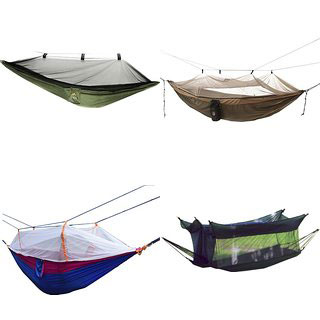
This was the year for hammock camping, which worked better on a chickee than I thought it would. I slept out in the open with a few bugs buzzing around.

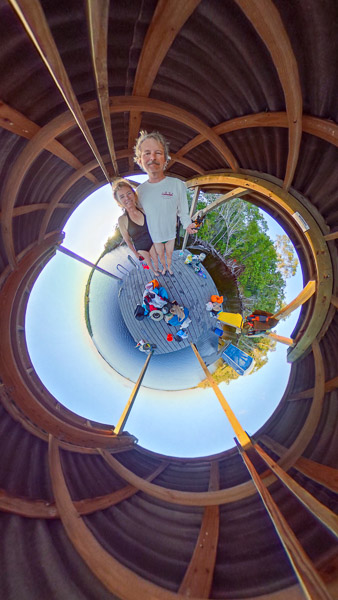
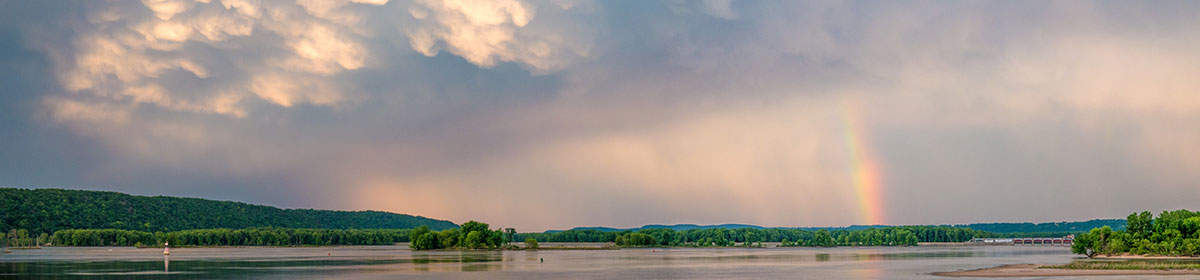
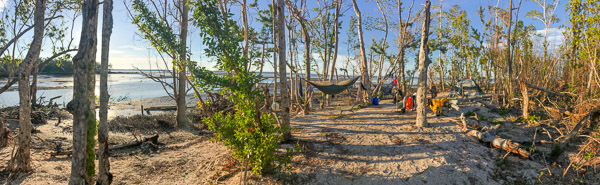
Here’s a pano of our boats tied up to the chickee…
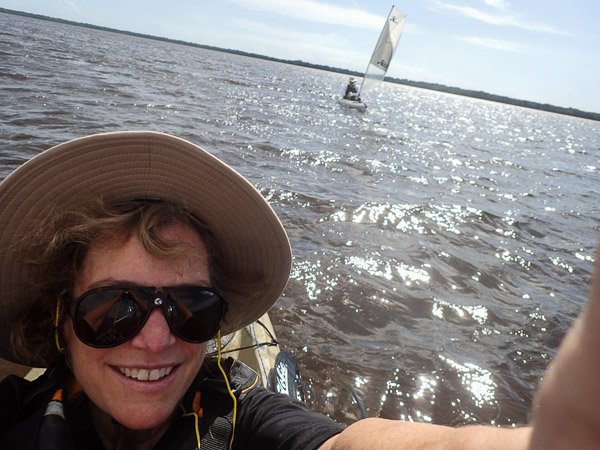
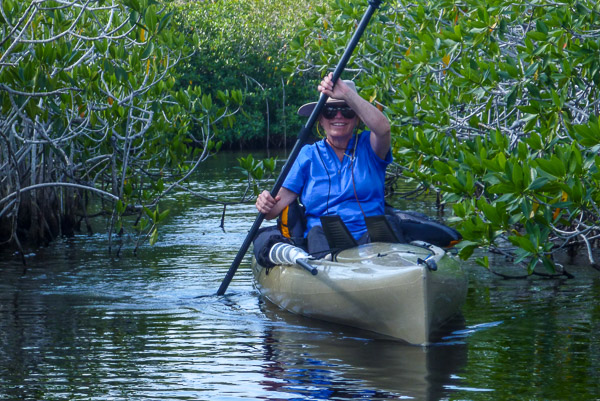
The next day we navigated our way through The Labyrinth and over to the Watson River Chickee. The next day we got to sail down Whitewater Bay.
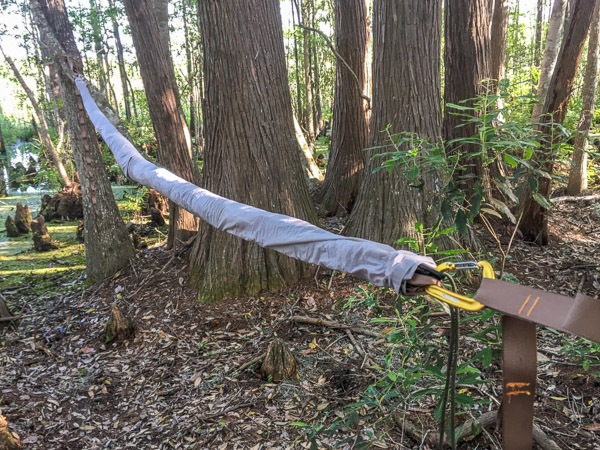
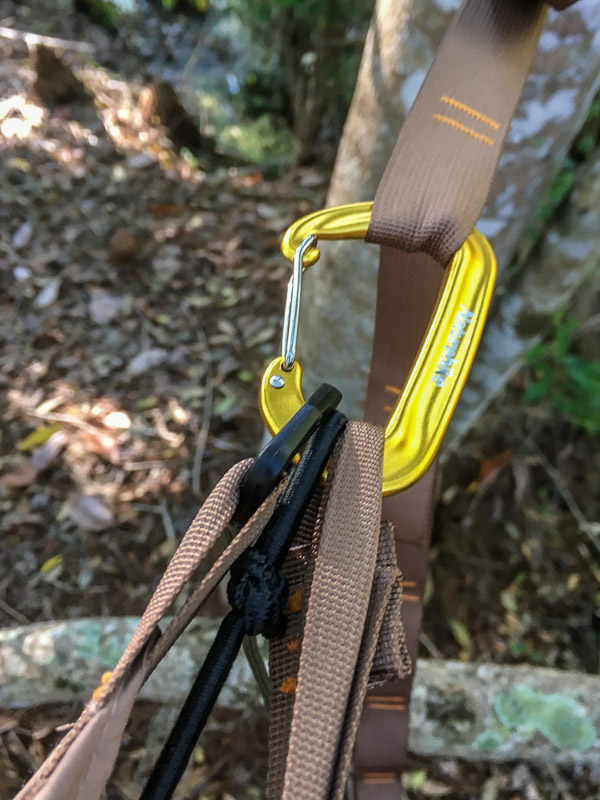
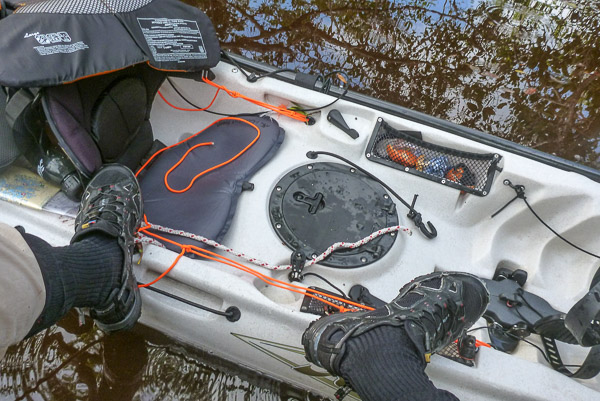
At that point my boat started to leak again and my seat suspension came apart in three places. Here’s my temporary workaround.
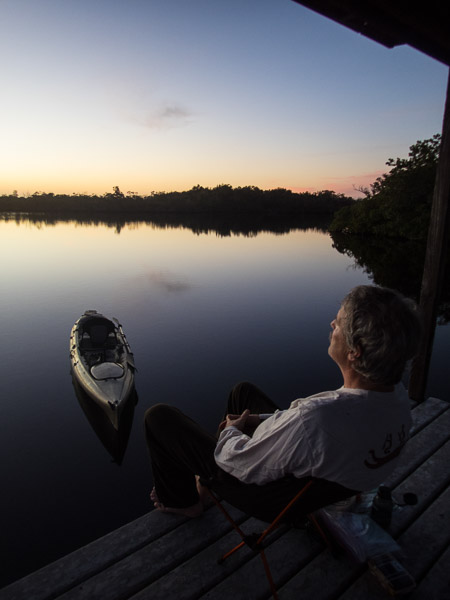
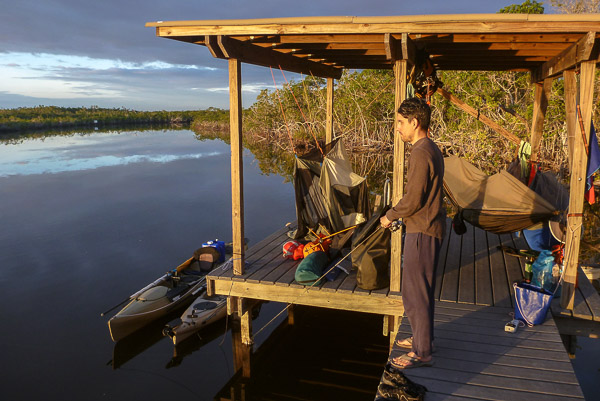
We enjoyed our last night at the Lane Bay Chickee, where Carlos finally caught some fish.
Fortunately we did not have to go back through the mangrove creek from hell! Instead we made our way along the Hells Bay Canoe Trail and exited there.
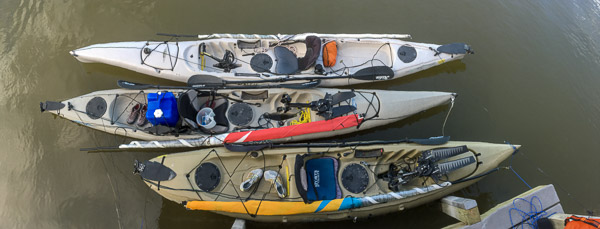
For the record, here is a list of the equipment that failed on our 2008 and 2010 model year Hobie Adventure Kayaks…
- Leaks just forward of the peddle drive on both.
- Missing rudder lock down on the older model.
- Both my seat straps snapped just hours apart.
- My right seat strap anchor point.
The seat straps were just plain worn out from almost daily use for several years. The leaks are apparently typical for older Hobie peddle kayaks. This is the one serious flaw of these otherwise resilient boats.