Review
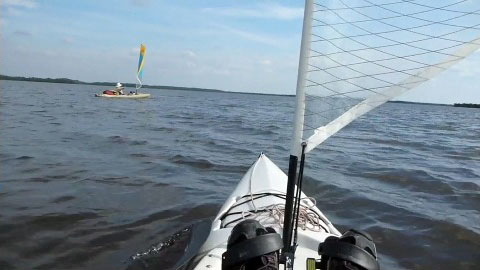
I recently purchased this waterproof camera to take along on my kayak trip to the Everglades. It cost just under $300 online. The results so far are impressive, especially the high-res video.
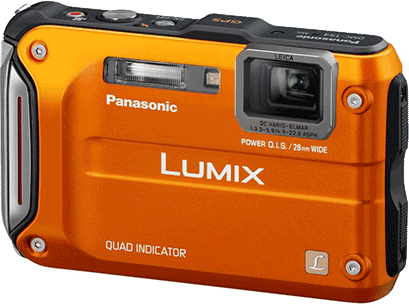
After a month I’ve become pretty familiar with its basic functions, but the PDF-only manual is thick and there are lots of bells and whistles I haven’t tried (such as time-lapse). Here is my quick review…
“Waterproof”
It seemed to survive the salt water nicely, though I did not open the battery/card door during the trip and did not use it underwater. I bought a floating wrist strap that worked well. Very nice not to worry about getting it wet! There are two caveats however: 1) It is very easy to get water or salt residue on the lens window. Inspect and clean it often. 2) There are controversies on the web regarding water damage, warranty service, and required replacement of the door seal. My impression is the company is beginning to listen to customers who had problems and is making maintenance easier.
Basic Photography
The basic functions are all there and reasonably well implemented. The location of the wide/tele buttons took some getting used to (they are on the back where you can hit them with your thumb). The Manual Mode is a bit odd in that you only have two choices for aperture (f3.3 and f10 at full wide). I thought it was broken at first. (Perhaps there are only two apertures available in full auto as well? This might be a reasonable design compromise for a small camera.) Switching to shutter speed takes another button press. This is clearly a design flaw since most of the adjustment comes from the shutter. In Manual Mode it should default to shutter speed and aperture adjustment should require the extra step!
Video
The video sequences I shot in the Everglades were truly impressive. I set the camera to capture high-res mp4. The raw files fill my desktop screen and I’ve had to reduce the resolution to use them on the web and DVD. I’ve edited the best clips together into a short movie so you can judge for yourself!
Panorama Mode
Based on one example, this seemed to work well…
Handheld HDR
This is where the extra steps and awkwardness of Manual Mode became painfully apparent. The process was complicated by the fact that the “meter” hides itself between exposures, so I had to partially depress the shutter release each time I wanted to make adjustments. (Perhaps there is a setting somewhere that will override this? I should probably just revert to doing the exposure math in my head like we did back in the old days before meters became common. <smile>) That said I was able to get a few decent two-exposure HDR photos without too much frustration…
To get these quick-and-dirty high dynamic range (HDR) photos take two photos of the same scene with the same aperture at 1.5 and -1.5 EV. Then combine them in Photoshop or your favorite HDR software.
Conclusion
The gallery below shows a general sampling of the photos I’ve taken in the past few days. Overall I am quite pleased with this camera and its minor faults are more than compensated by being waterproof!

