Personal insights since 2004!
@richardrathe (Mastodon)
@wisdom (Mastodon Bot)
@richardrathe (Youtube)
mdpaths.com (Newer Stuff)
rathe.medinfo.ufl.edu (Old UF)
Where I've been and what I've learned along the way…
Personal insights since 2004!
@richardrathe (Mastodon)
@wisdom (Mastodon Bot)
@richardrathe (Youtube)
mdpaths.com (Newer Stuff)
rathe.medinfo.ufl.edu (Old UF)
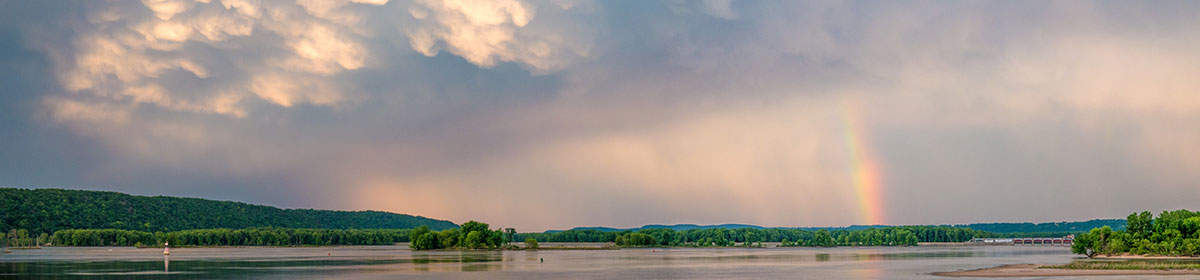
Last week I traveled with my Sister Diana to Southern Illinois hoping to experience the Total Solar Eclipse. We were not disappointed! We had mostly blue skies that day with some high stratus clouds. Nothing can really prepare you for the moment of totality. We could suddenly see “stars” (actually the planets Venus and Jupiter) in the odd twilight. It got perceptively cooler and the wind changed direction.

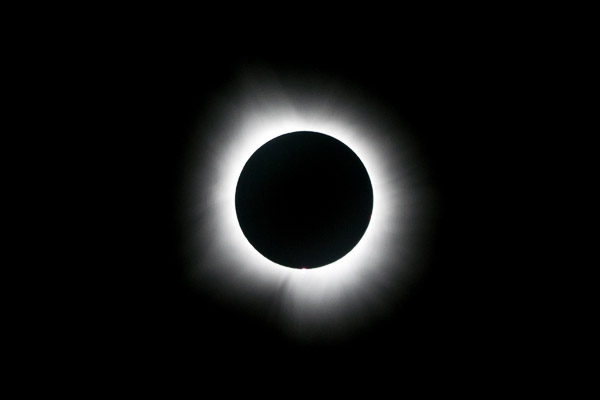
Two things stand out in the photo above. The first is the Sun’s Corona, which is only visible to the naked eye during an eclipse. The second is the little bright spot near the bottom. This was a constant feature throughout and on higher resolution photos appears to be a Solar Prominence (a plume of hot gas streaming from the surface).
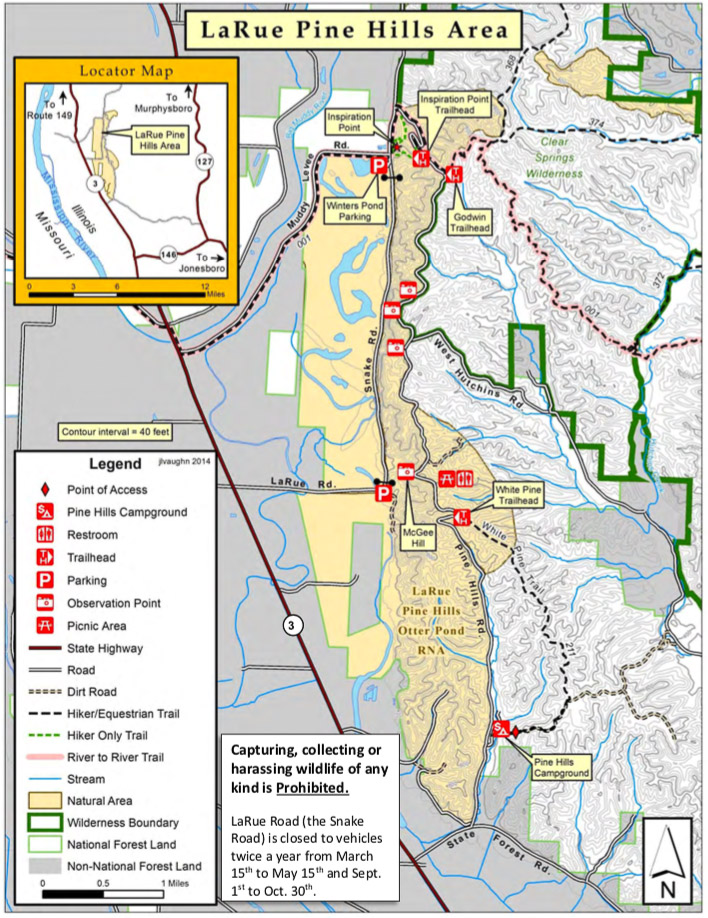
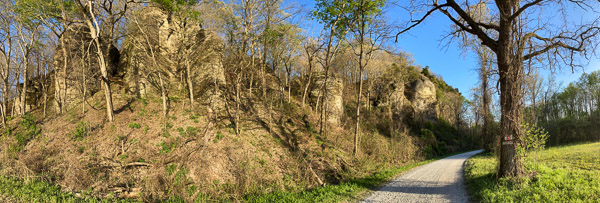
I read about the “Snake Road” a year ago and intended to got there at some point. The Eclipse was over by 2:15pm so we had the time and decided to find it. The area is called the LaRue Pine Hills Natural Area and consists of a crumbling limestone cliff above a flat river valley. The cliffs face the afternoon sun and offer many nooks and crannies for snakes to hole-up for the winter. Hundreds of Snakes cross the road below the cliffs in the Spring and Fall, which is closed to traffic at those times. [Photo Gallery]
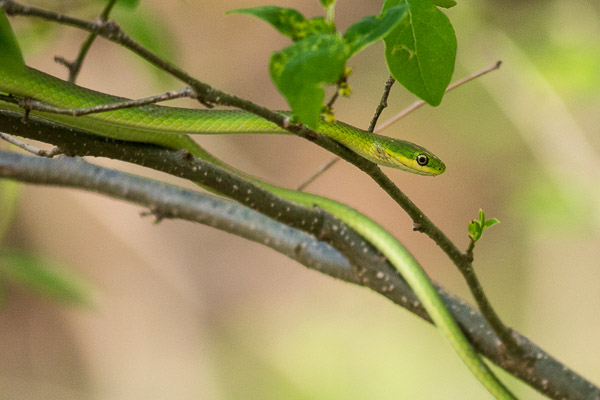
We were there at the right time of year, but the wrong time of day to see snakes. Luckily we did see a Green Tree Snake before we started to climb the cliff.
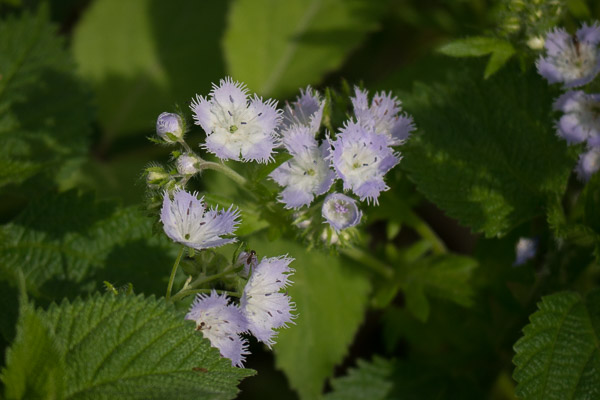
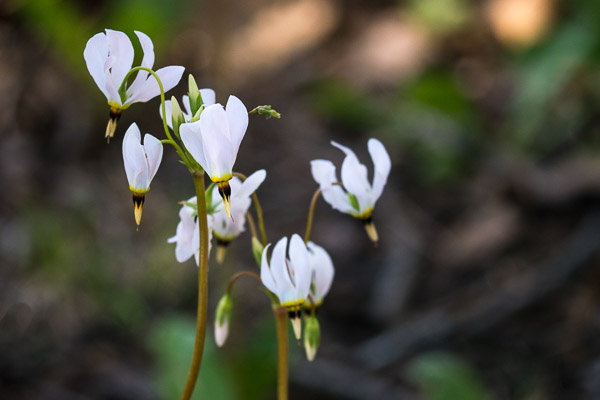
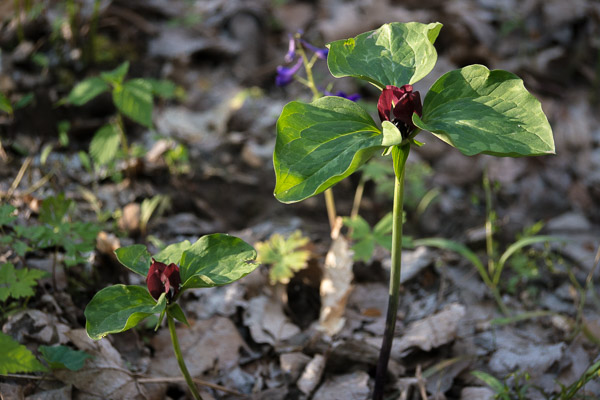
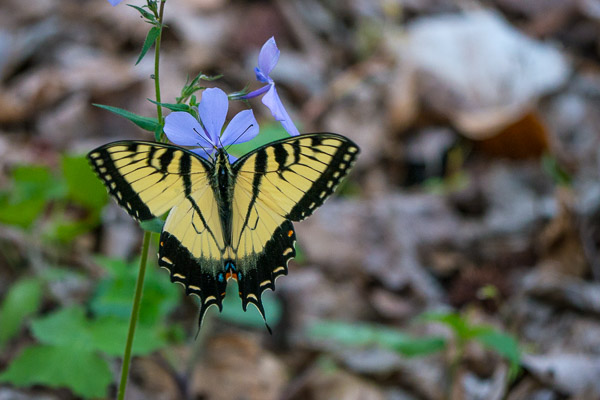
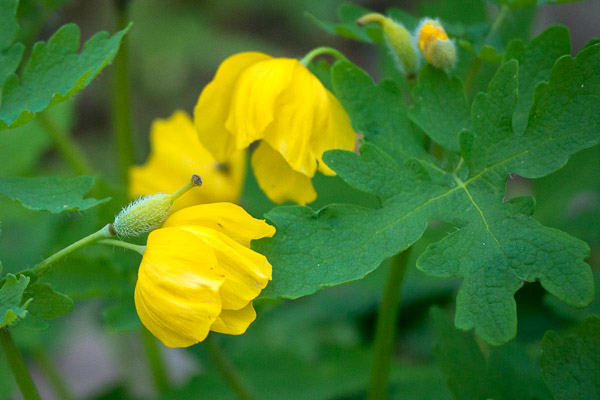
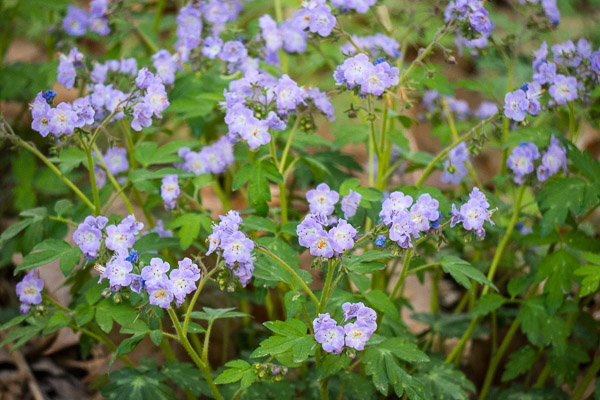
We left the road on a side trail where we saw several different types of wildflowers in bloom as we ascended to the ridge line.
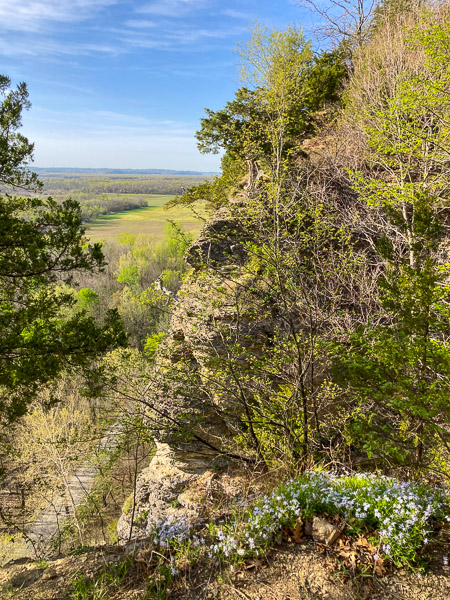
Somewhere near the “top” we paused to take in this spectacular view! The blue flowers in the foreground are Cleft Phlox.
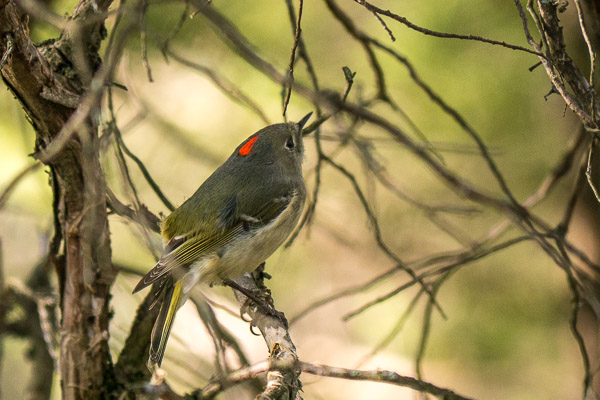
A small bird in the dense undergrowth caught my eye. This turned out to be a Ruby-Crowned Kinglet which allowed me several minutes to take pictures. First time I’ve seen its “crown” in the wild!
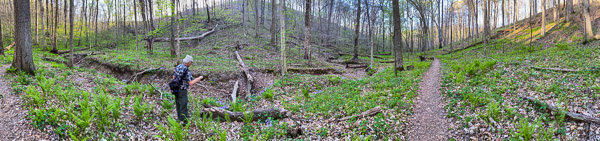
We then descended into a long ravine behind the cliffs bedecked with wildflowers and ferns.

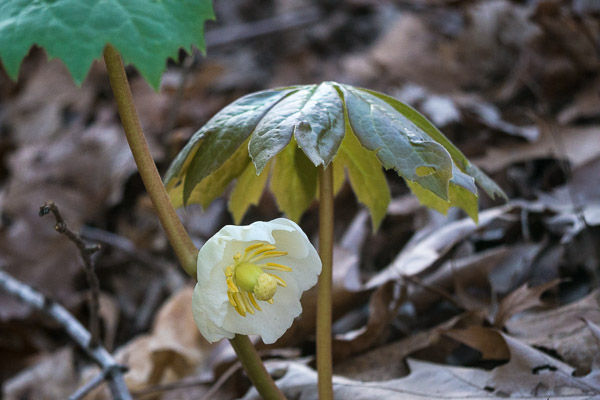
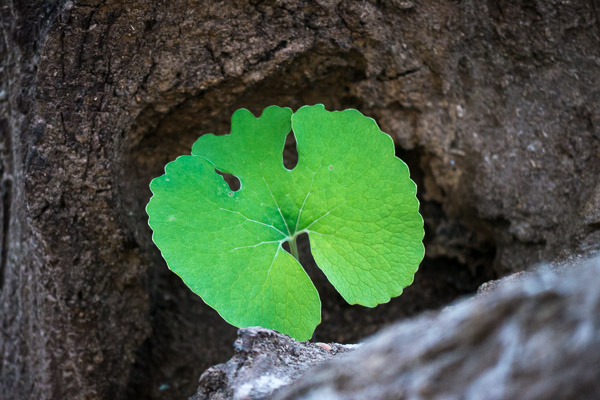
While not yet in bloom, the distinctive leaves of Bloodroot were everywhere, including this hollow log.
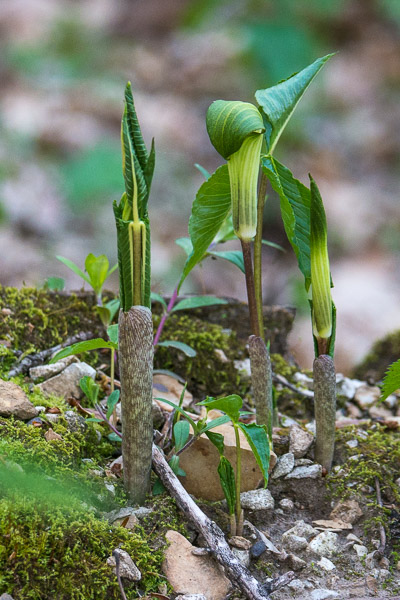
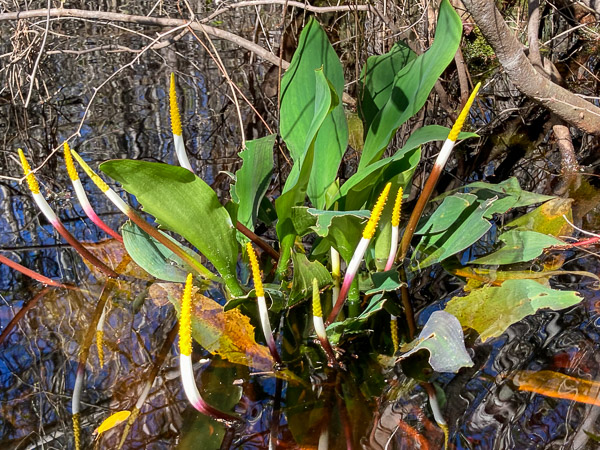
These emerging Jack-in-the-Pulpit reminded us of tube worms on a coral reef.
Finally we came down to the frontage road and had a pleasant walk back to the car.
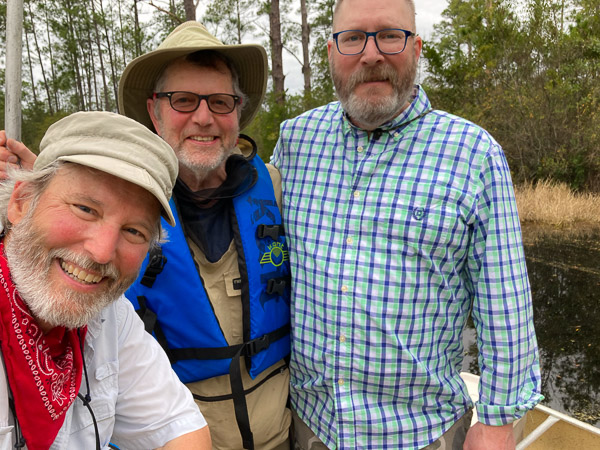
After doing the Green Trail to Bluff Lake and Round Top three years ago—this year we set out to retrace My First Trip in 2004 on the Red Trail and cut back via Floyds Island. My old friend Peter from Minnesota and youngest brother Bruce from Wisconsin joined me. [Gallery]
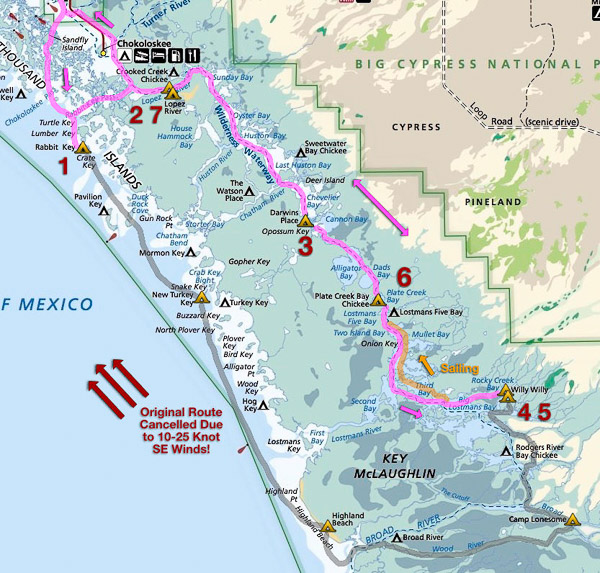
![Okefenokee Route Map 2024 [source:fws.gov]](http://richard.rathe.org/wp-content/uploads/2024/02/okefenokee-2024-1.jpg)
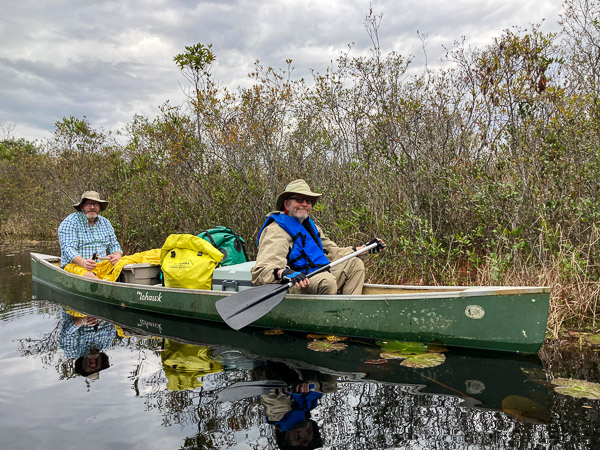
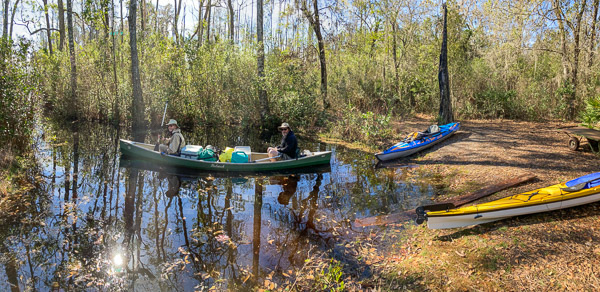
We parked at the Suwannee Canal Entrance and got shuttled up to Kingfisher Landing. Since there were three of us I used my Inflatable Kayak for the first time on an overnight trip.
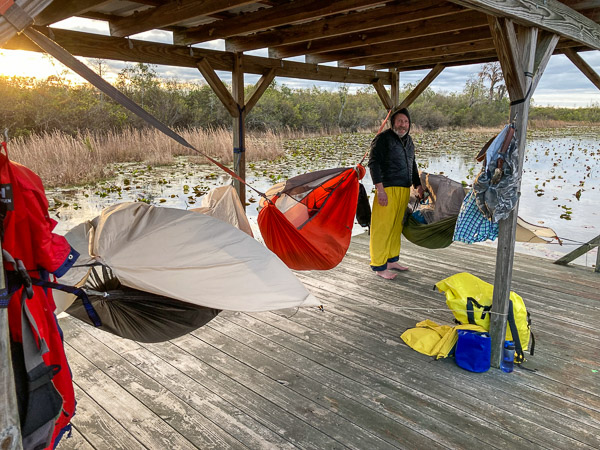
We got started in the late AM knowing there would be weather blowing in by nightfall. It rained lightly in the afternoon and then poured for about an hour. We got to the Maul Hammock Chickee an hour before dark.
It became very windy but fortunately most of the rain was over. We had a raucous night with the rainflies flapping in the gusts over 25mph! Amazingly, nothing broke and nothing blew away that we couldn’t retrieve!
The second day was much easier—shorter by about two miles and paddling with the current. (This is the actual start of the Suwannee River that flows to the Gulf of Mexico.) The trail narrows as it crosses one or more “sills” that divide up the wetlands.
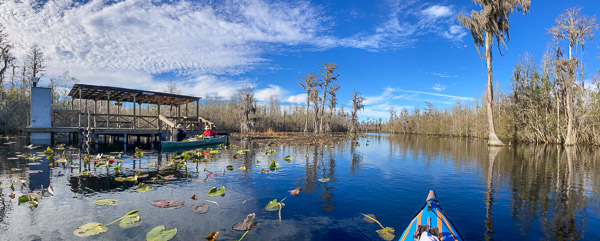
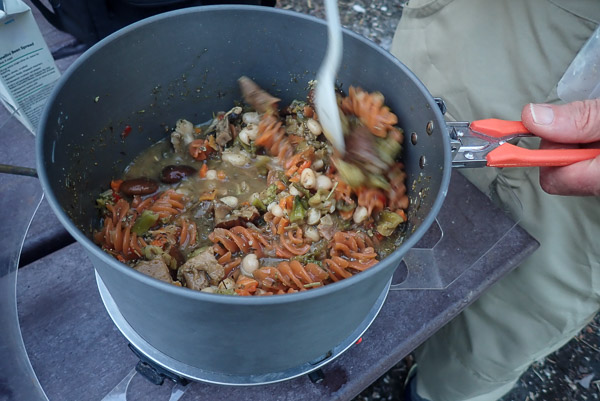
We made it to the Big Water Chickee without much difficulty and had a leisurely dinner of beans, rice, and beer!
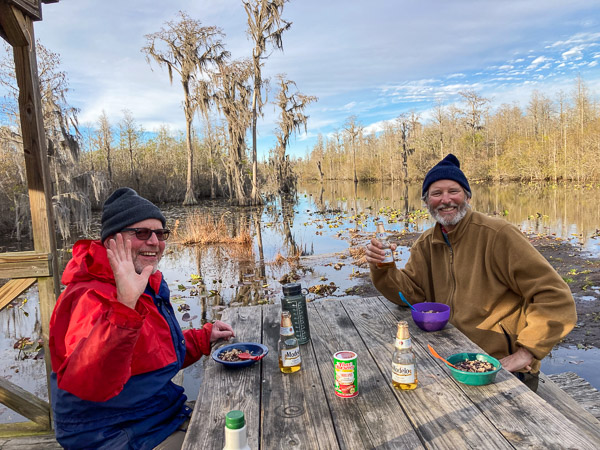
It was a cold night (38°) but much less windy.
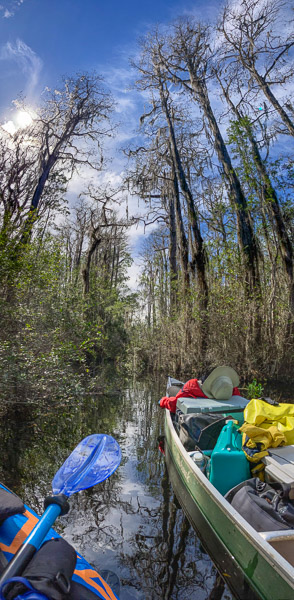
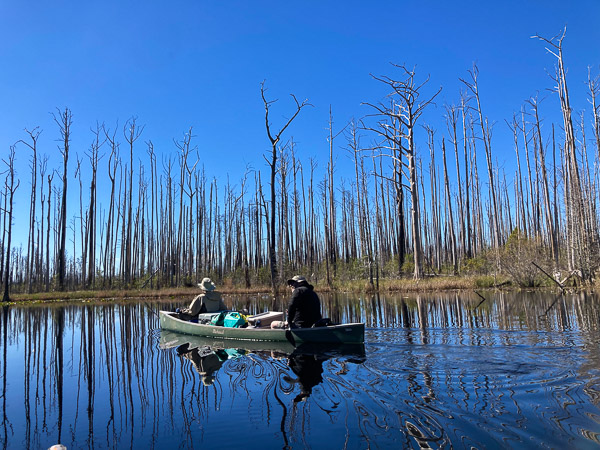
The next day was new territory for all of us. Just below Big Water we passed through an area that burned in the early 2000s—acres and acres of standing dead cypress trees. While this was sad to see, the swamp does go through periodic droughts and fire is a part of the ecology. [Fire Map]
We turned onto the Green Trail and paddled against a slight current up a narrow (but very pleasant) trail through the cypress. This ended at an embankment and higher ground covered with large pines, oaks, and magnolia trees.
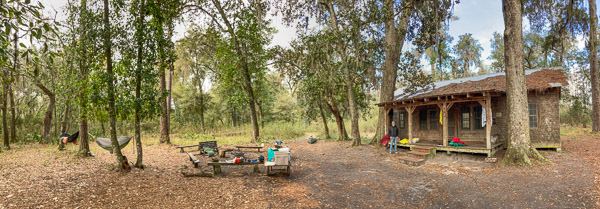
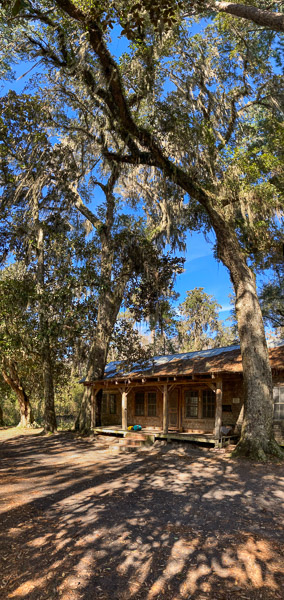
The campsite sits in front of a three-room cabin built about a hundred years ago. It is flanked by two huge oak trees, one of which is encroaching on the porch. There are several moldering documents on the wall (one of which is reproduced here). There is also a fascinating registry book dating back to 2021 completely filled with stories, poems, and drawings.
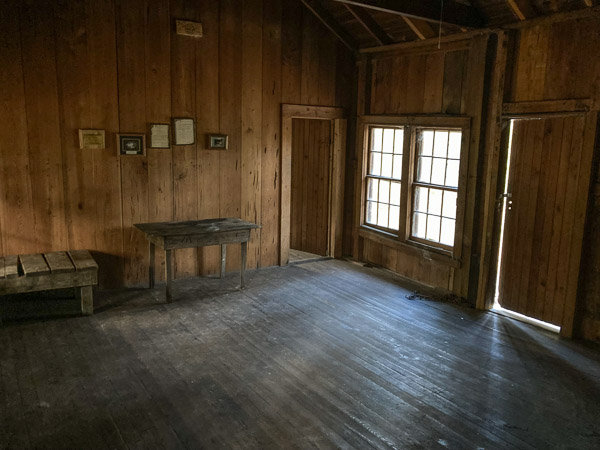

This article on the Human History of the Okefenokee Swamp makes interesting reading!
Our last day began with portaging boats and equipment to the opposite side of the island (0.2 mile). (There is a convenient cart at the site to assist with this!)
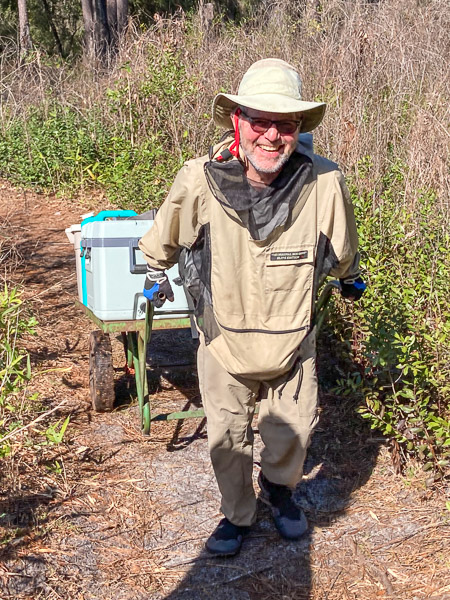
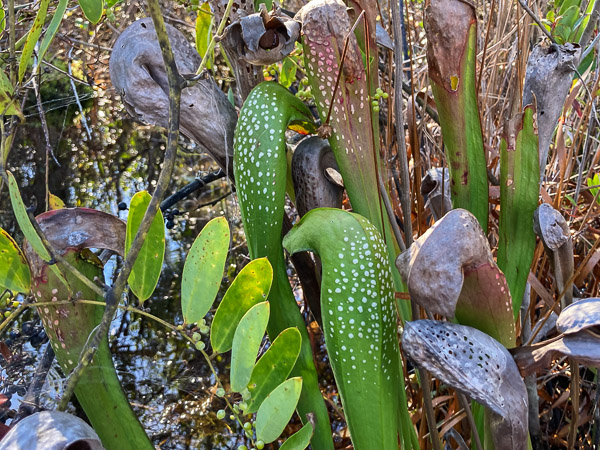
I’ll mention that we saw numerous Pitcher Plants on this trip, most of which were dried and left over from last season.
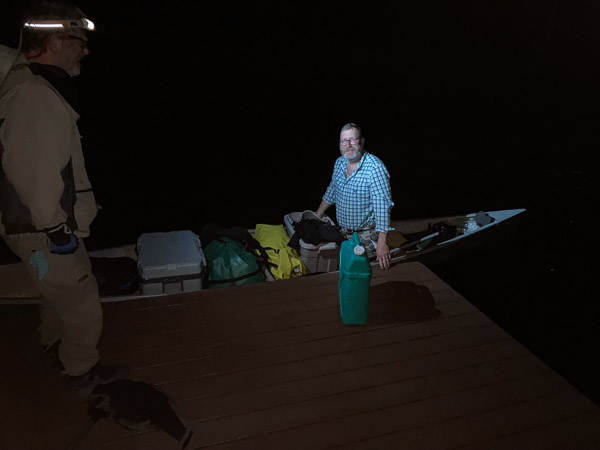
This was a long day but worth it given the time we had. We pulled into the take-out about an hour after dark. The Suwannee Canal facility is setup for after hours arrivals with an on-demand street light over the boat ramp and an automatic gate to let us out.
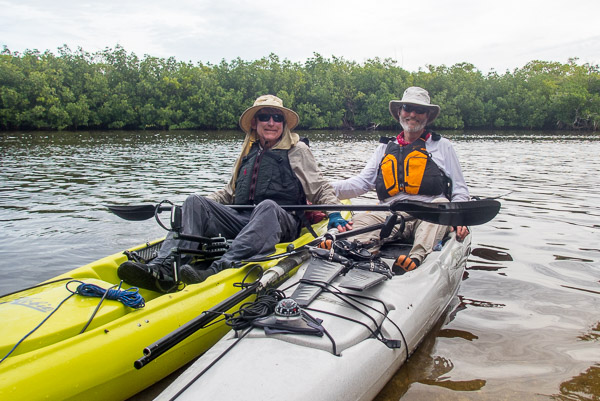
This year we planned an aggressive trip—going down the Gulf Coast to access the narrow Wood River and then loop back through the various inland bays. Yet again we were thwarted by adverse winds… [More Photos…]
We set out from Everglades City on a rising tide. There was a small craft warning that day with wind gusts to 25 knots. It was a mostly offshore so the waves were a modest one foot. Once out in the Gulf, we hopped from small island to small island. We had no problem making it to Rabbit Key.
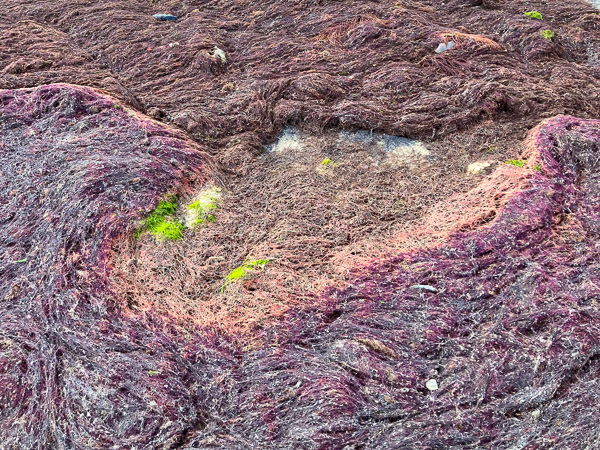
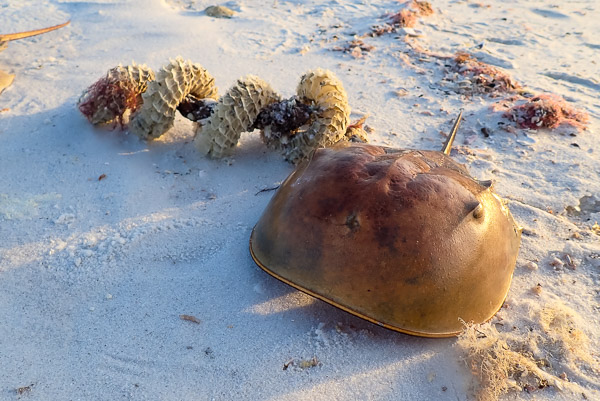
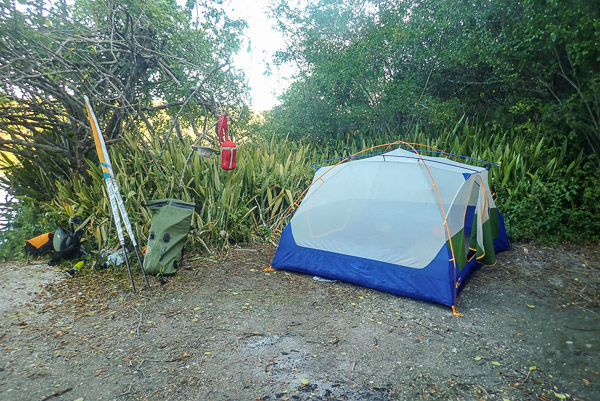
The best campsite is now on the north end just above the large sand spit. [The passage between Rabbit and Lumber Keys appeared to be gone BTW.] When we got there the tide was going out, so after unloading our boats we went for a walk around the island (always a fun thing to do!). The only unexpected change was a thick mat of red seaweed (or algae?) on the side facing the Gulf.
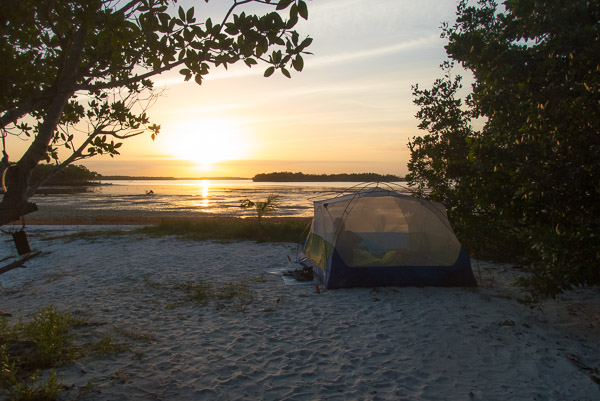
Our tent this year was new and came with thin wire stakes. I bought some large, flat sand/snow stakes and they worked exceedingly well. The only issue is they required a mallet or rock to drive them into the compacted shell debris under the sand.

The next morning started calm, with the tide went out. This gave us plenty of time to get up, walk around, have breakfast, and get things packed. As the tide rose the wind came back with a vengeance (it was predicted to decrease each day?). We checked our radio and the forecast had changed to increased winds for the next two days. We were going to be more and more exposed on the coast so we decided to divert inland (just like last year.).
We headed back to Rabbit Key Pass to get into the Lopez River. We must have been taking lots of waves from behind because my boat began to fill up with water. At first I thought this must be a leak below the waterline, but it turned out to be the waves over the stern (a relief actually). Only baseline leakage for the rest of the trip. No big deal!
Near Chokoloskee I had cell service so I called to amend our permit. It was very odd. The person I talked to could tell me the Lopez River Campsite was open, but could not actually change the permit. I think this is a real problem with the conversion to recreation.gov, there is no flexibility or local control anymore. [They also no longer handle “walk-up permits” at the Visitor Center.] This is NOT an improvement IMO!
The campsite was indeed unoccupied, but out of the wind, so it was buggy. We got my boat out of the water to check for leaks (there were none). We had an early dinner and went to bed at dusk.
The next day was basically a long crawl across several large bays against the wind (and sometimes the tide!). Other than a few fishing boats ducking behind islands, we did not see anyone else. Our target was the ground site at Darwin’s Place, thinking it would be unoccupied. So we were surprised to meet a husband and wife from Tennessee who had come that day from Sweetwater in a canoe!
They were very nice and had no problem with our unexpected arrival. Fewer bugs because there was a breeze into the evening. We were pretty much exhausted so it was a quick dinner and into the tent. We both slept very well!
At this point it was a bit too far to Camp Lonesome (to get back on our original itinerary) so we decided to go directly to Willy Willy, stay two days, explore, and see what that area had to offer.
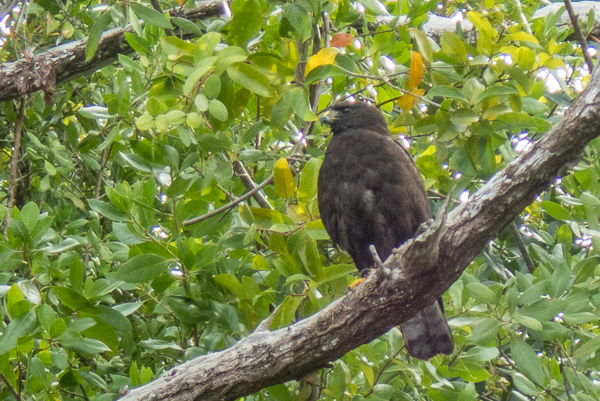
On the way we had to traverse two long creeks. As we were about to enter Alligator Creek, two dolphins came out and made big wakes right under my kayak. Along Plate Creek we encountered a medium-sized hawk with nearly all black plumage. I later keyed this out as a Zone-Tailed Hawk, which is normally found in the Southwest!
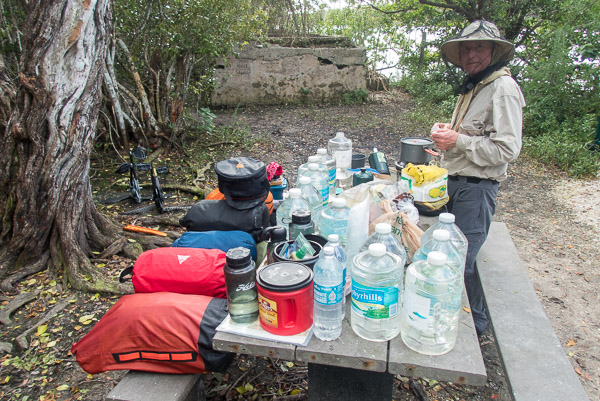
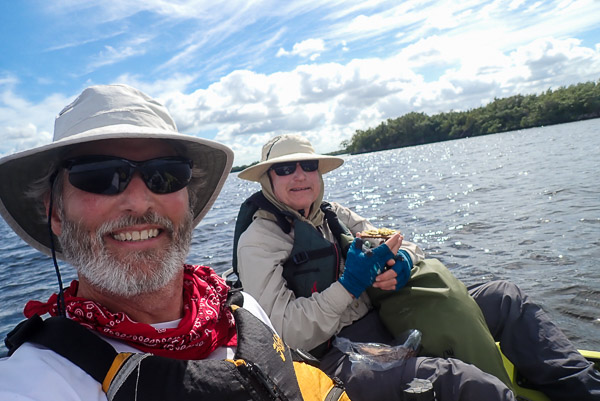
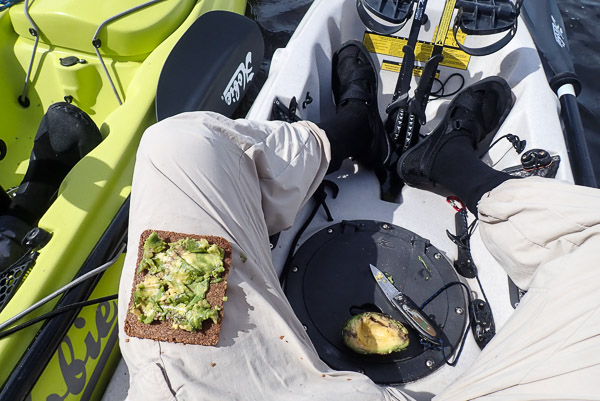
The wind was still there, but a bit less. The high overcast abated and the sun came out. Midday we rafted together and ate lunch on the float. (Up until this point we were just chugging along eating energy food all day.) I should mention how well avocados work as trail food!
Willy Willy was not what we expected: reasonably open, enough breeze to keep the bugs off, perfectly clear (and fresh) water! As we were unloading a 6-8 foot gator approached and then submerged just below the dock. It was like watching him in an aquarium exhibit! I thought it could be a problem but he got bored when we didn’t engage, backed off, and we didn’t see him again after a few hours.
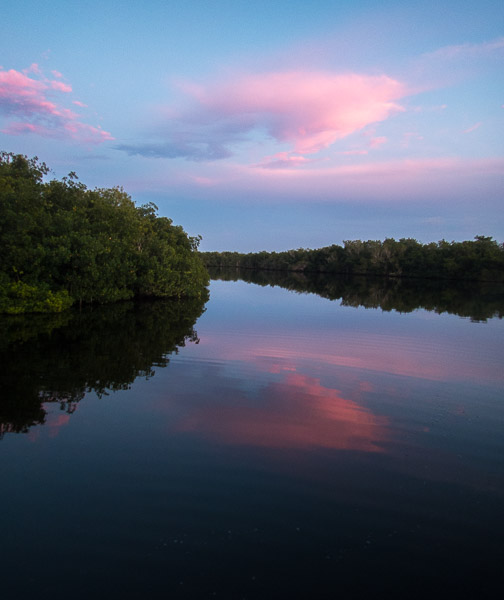
We had a beautiful counter-sunset and it was the full moon.
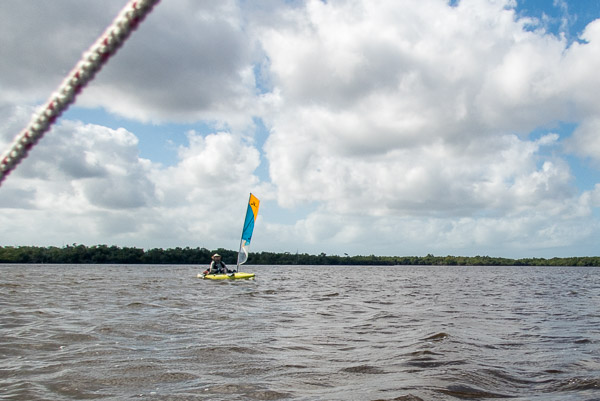
By the third day were finally back on our permit and headed north. The wind had diminished but not changed direction so for the first and only time we got to sail most of the day!
We got to the Plate Creek Chickee easily and early. The light breeze continued so there were no bugs. There were two gators cruising around but neither approached us in an aggressive manner.
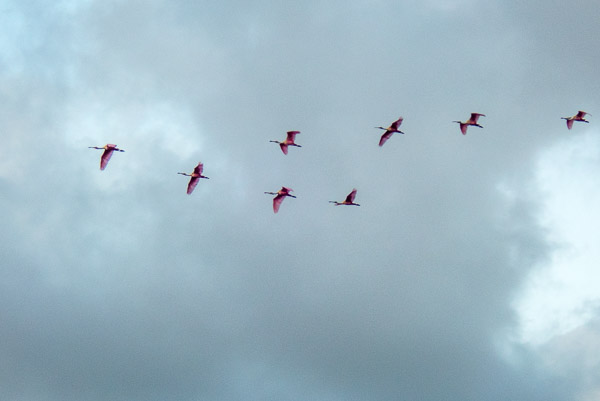
Just at sunset we started to see small flocks of Roseate Spoonbills all headed in the same direction to rooker-up for the night. Then they just kept on coming!! In one formation we counted thirty five. We estimate we saw about eighty of these rare birds before darkness fell.
The tent (without fly) fit the chickee well. (My old tent was more hexagonal, so effectively occupied more floor space.) The breeze fell just at dusk and the bugs moved in so we were more than ready to get inside and close the doors! We woke to a thick fog in the morning.
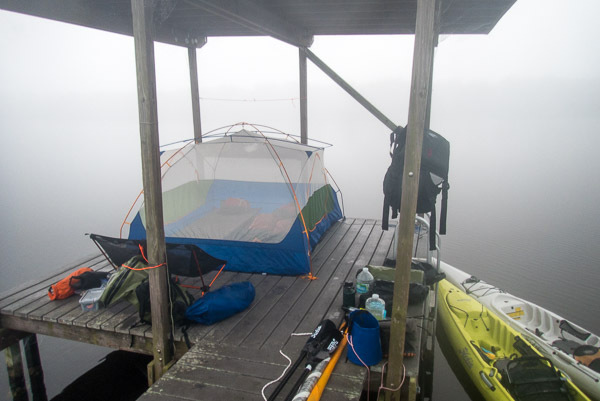
Again we listened to the marine forecast on our radio. A cold front was coming and sometime that day the wind would shift from SE to NW and might be a steady 25 knots! We decided to make haste through as many large bays as we could before the change and camp at either Crooked Creek or Lopez River.
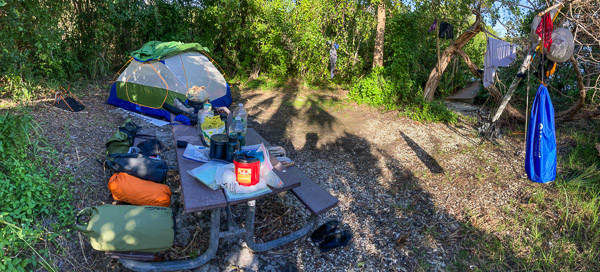
This was a good decision. After a very long, but not unpleasant day we pulled into the Lopez River Campsite (for the second time) just at dusk. We made camp and had a deluxe dinner of Pad Thai and Mango Sticky Rice. No bugs this time and much cooler. We slept well.
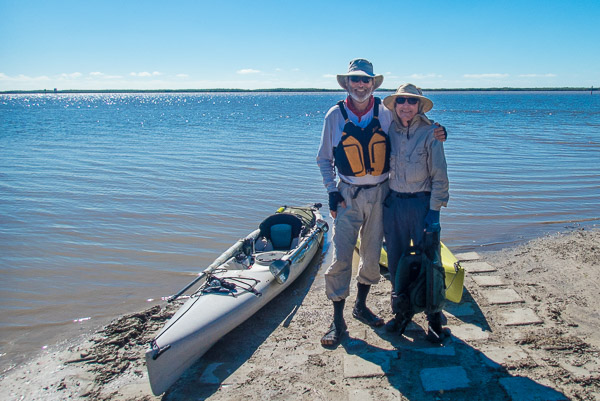
The next day there was indeed a 20 knot plus wind from the NW. We elected to take the Chokoloskee Canal to avoid wind on the bayside, and had some problems with mud at low tide. It was a good thing we’d gotten so far the day before! We were out by 2pm and met two large groups of high school students about to go out on their first canoe trips…
Our trip this year was challenging and highlights the capabilities of peddle kayaks. We logged three 18+ mile days AGAINST 10-20 knot winds without too much trouble. There is no question in my mind that we’re seeing the results of Climate Change with ever increasing energy in the atmosphere. Future trips will have to take this into consideration.
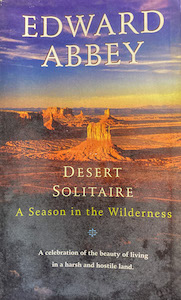
I had the good fortune to pick up this paperback copy of “Desert Solitaire” by Edward Abbey for reading material on the trip. It is an excellent book both for both the stories and the perspective on our National Park System (of which the Everglades is a part). With all the tent time I read most of it by the end of the trip.