This is my third hammock tent. I hit a lucky home run with my first no-brand hammock tent. It’s somewhat non-standard (arched tentpole, no ridge line). I have improved it with several mods and it has served me well on many trips.
My second Hennessy model was a disappointment on several fronts, most notably the ridiculous knot-based attachment to the tree straps. Give me carabiners any day! I’m also not impressed by the asymmetric cut, especially the fly.
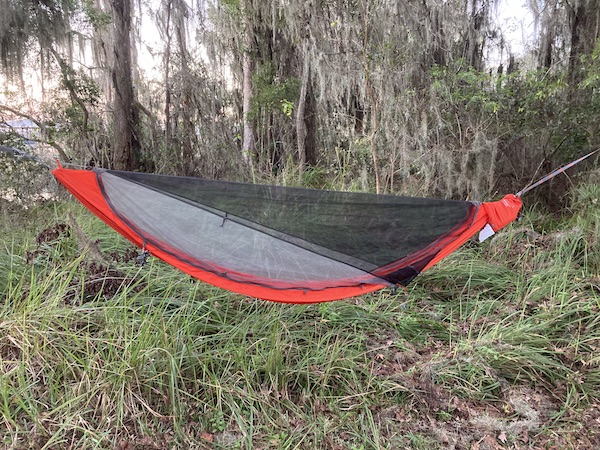
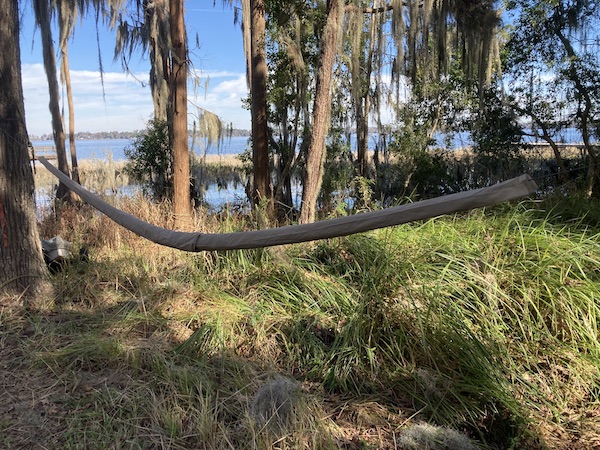
The Kammok Mantis is most notable for the superior materials used. My favorite is the “night sky” bug net material, which nearly disappears on dark starry nights. The hammock fabric feels very light and sturdy, while having a slight texture that makes it less slippery. The fly is made from an extremely light waterproof fabric. It all goes into a very small package.
The Basics

The stuff sack is integrated making setup and takedown very efficient. I’m less thrilled by the fly however, which is supposed to be folded many times and put into a little sidewall pocket in the stuff sack. The best I can do is 2-3 folds, then roll and stuff. The lines tangle unless you roll them up individually. I think a single snakeskin might improve this (see below).

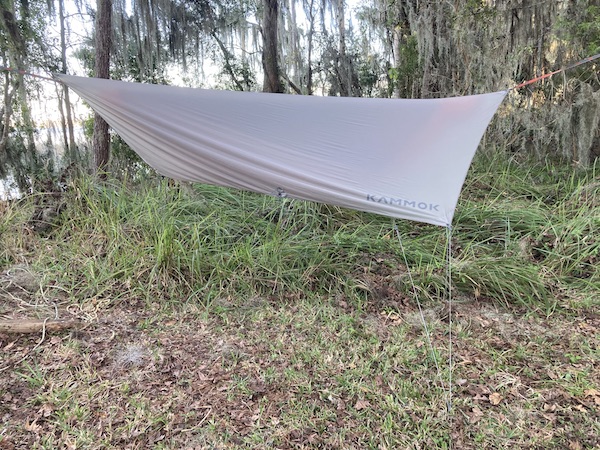
The hammock is useable without staking out the sides, but I’ll probably stake/tie out the wings in most settings. (I’m a bit spoiled because my first hammock has an aluminum tentpole spreader to keep the netting away from your face and upper body.) The fly is tapered with less coverage at the foot and SIX (!) tie down cords (in addition to the two that hold the peak). I can’t help thinking a simple diamond fly would have been better.
Critique and Improvements
The fly is too complex IMO. Staking out all six tie-downs guarantees you’ll trip over them at some point! It’s like a spider’s web. As an alternative I came up with this “tucked fly” approach. (I’ve already used it in a moderate rainstorm and it worked well!)
- Connect the fly ridge line to the highest rung on each strap (no need to go around both trees twice!).
- Stake out the hammock and the fly head to a single stake on each side.
- Loosely tie the foot ends of the fly together, and possibly to a rock, branch, waterbottle, etc. on the ground.
This improves things quite a bit. There are now only two trip zones and it is easy to access the hammock from either side. The foot end fly becomes more of a tunnel with plenty of sidewall. I think it may be more wind resistant. There is still plenty of room for air circulation…
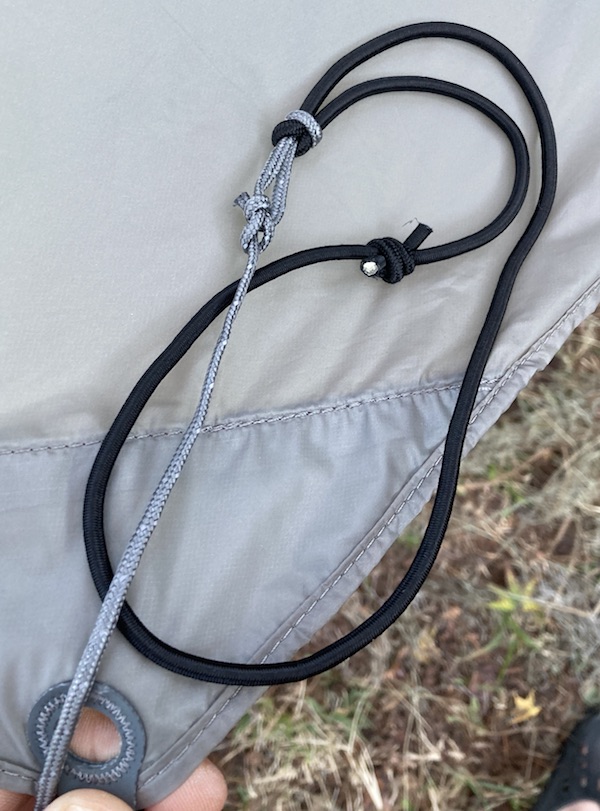
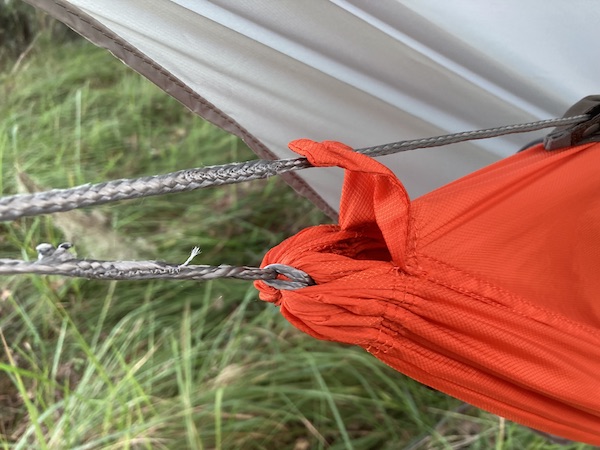
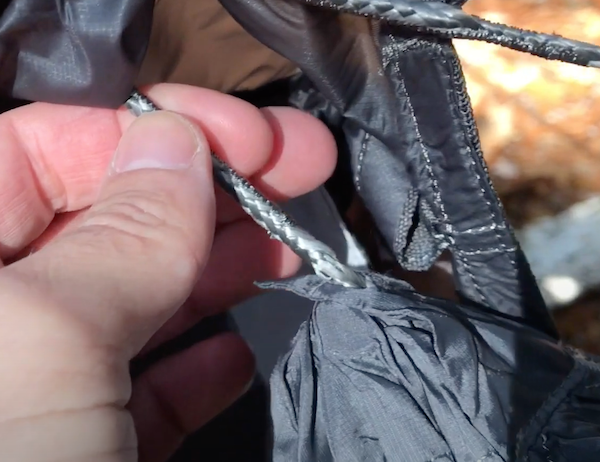
The final piece of the puzzle is to compensate for the slight dip in the fly when the hammock is occupied. (This is something I worked out with my first hammock, completely replacing the tie-out ropes with elastic shock cords.) For this hammock I simply added elastic loops to the ends of the four corner ropes. This keeps everything nice and tight and helps the fly spill wind.
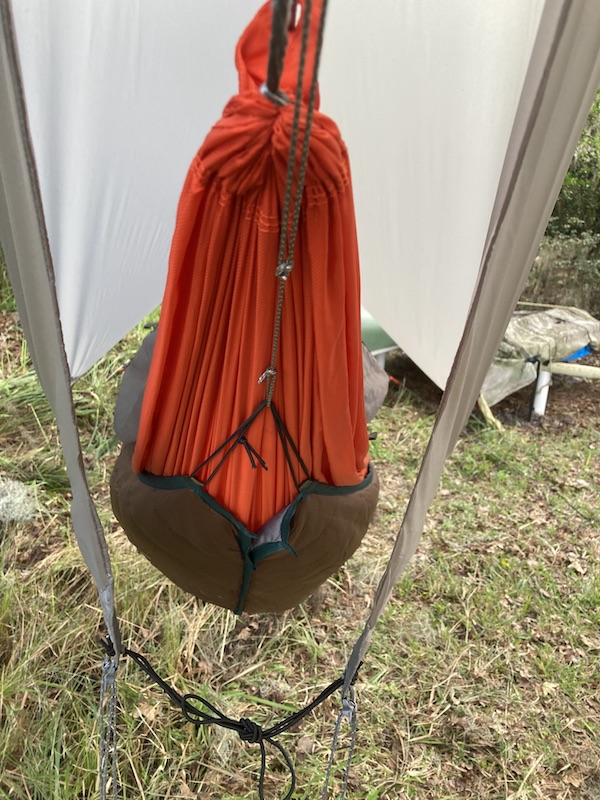
Aside: Underquilt
While not specific to this hammock, I recently purchased a generic underquilt for those cold nights. It really works well! You can see the extension cord with tensioner knot I added in the photo above. This is what it looks like with the fly off…
Conclusions
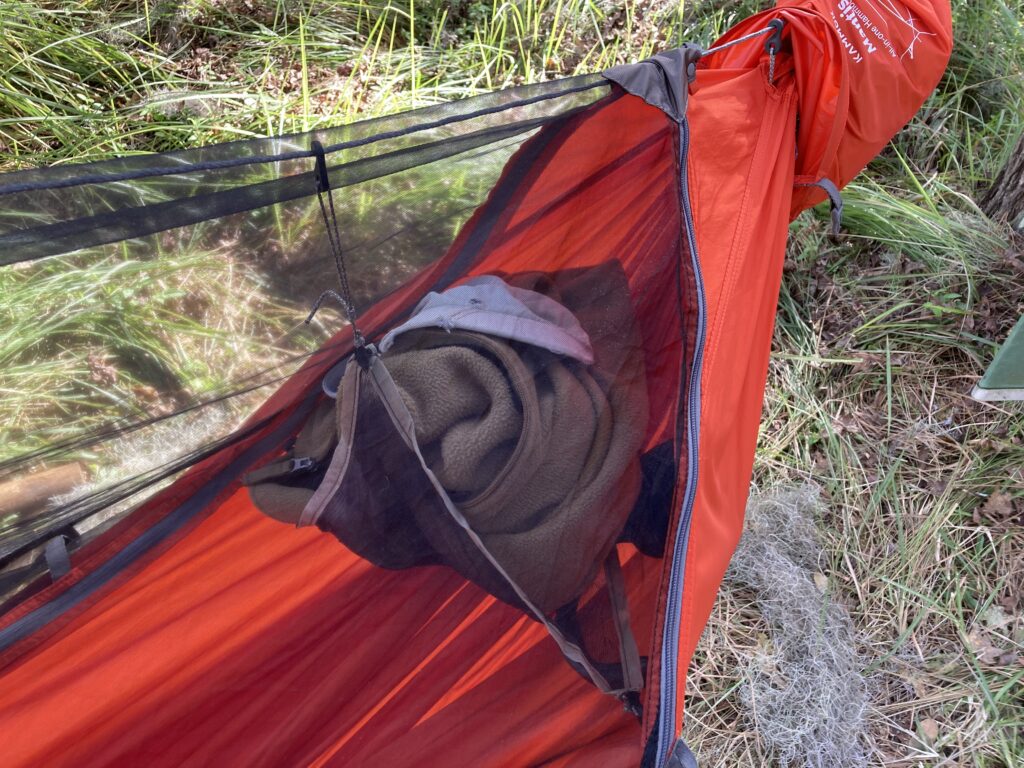
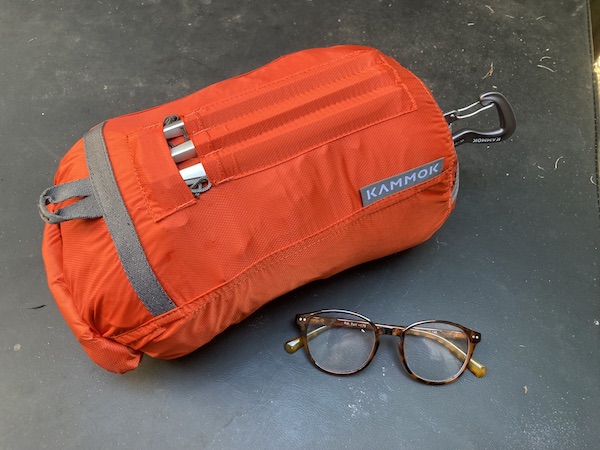
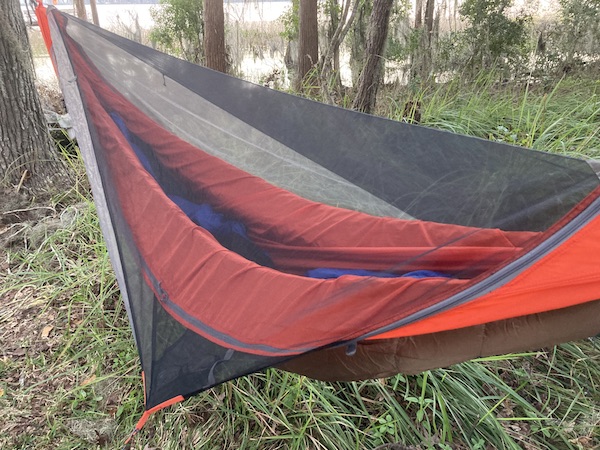
Overall this is a great hammock! It is certainly the lightest three season tent I’ve ever owned. Features I’ve not yet mentioned are: pockets for small gear in the wings (see glasses lower left above), tensioner toggle for each line, entrance from either side, completely removable bug net, and an option to replace the net with a “tent top” for winter camping.
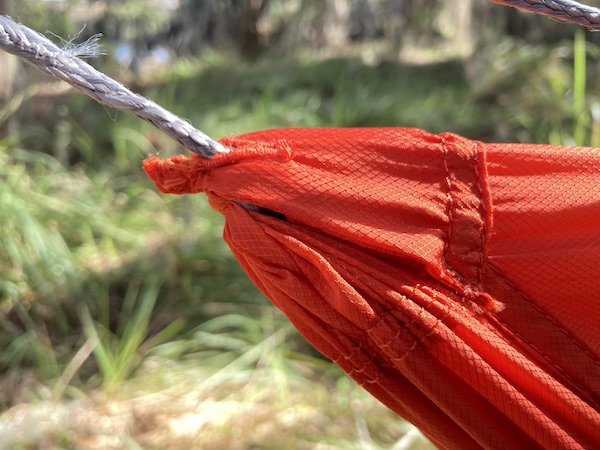
That said it came to me from REI with slight damage and a manufacturing defect. =(
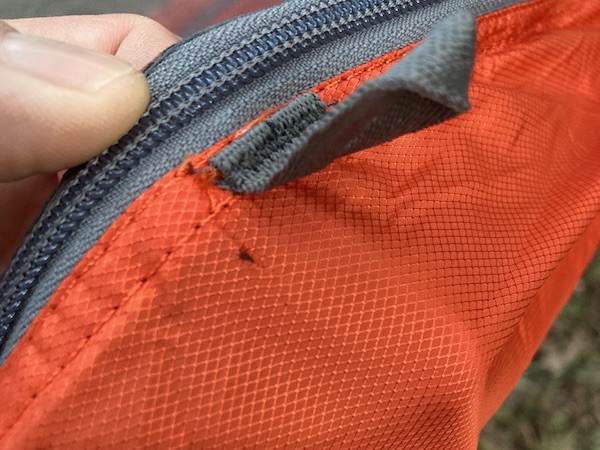
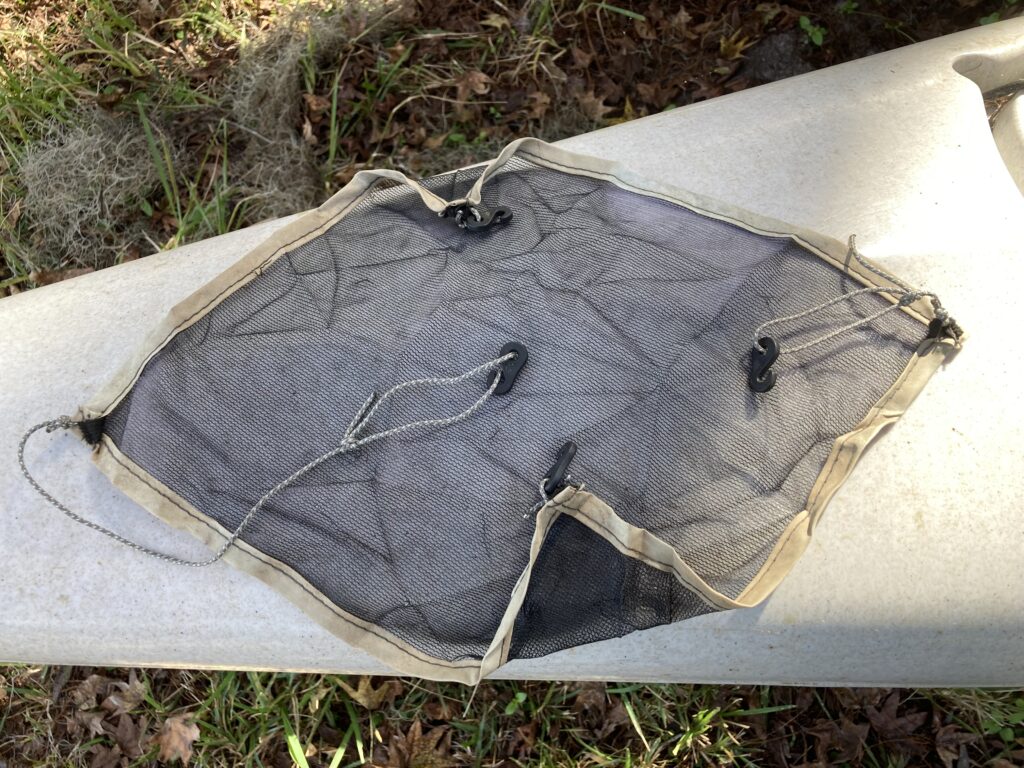
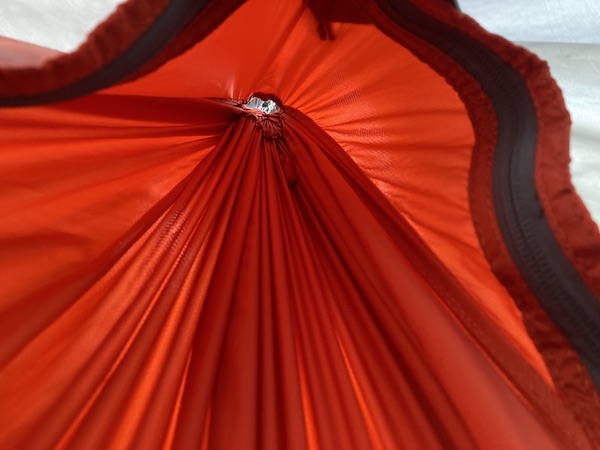
The first thing I noticed when inside the hammock were these two rather large holes in the end. Not exactly bug proof! On investigation I determined that the little flap on the outside had been attached to the wrong line (you can clearly see this in the screen capture I took from a how-to video and examples on the Kammok website). Easy to fix.
I experimented packing the fly with the snakeskins from my other hammock. This worked well, but ideally it should be a single skin sewn to match the shorter, less bulky fly. Future project perhaps?
Finally, I made a passible “loft” from an abandoned tent piece I found on the ground. It is not quite square, so does not quite form a diamond, but it seems to work!