
History
For the height of this sort of deliciousness is to have nothing but the blanket between you and your snugness and the cold of the outer air. – Herman Melville (Moby Dick)
I became aware of Hammock Camping back in 2016. Luckily my first hammock was reasonably well designed and built. Seven years later that hammock has taken me many places and taught me a lot! Unfortunately it is showing some wear and I’ve been looking for a possible replacement.
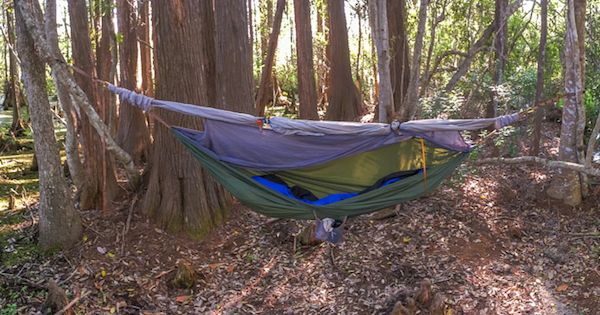
One of the things I learned is to keep things as simple as possible. That first hammock was unusual–having a short tent pole spreader at the shoulder (vertical orange bar in photo above). This eliminated the need for tying the hammock out when no rain threatened, and eliminated two extraneous lines to trip over! The rainfly was a standard 10×10 foot diamond with the ridge on the long axis. It also served as the de facto ridge-line when hanging the hammock up. Deploying it took only two stakes and I added some shock-cord to help keep it taut.
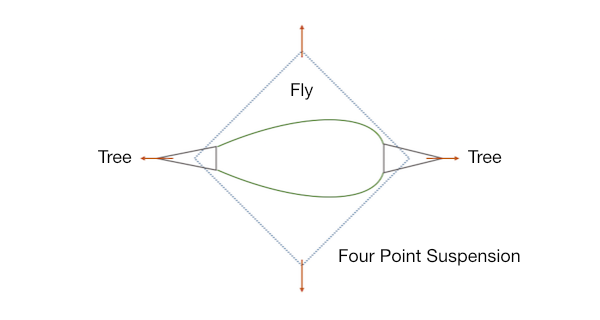
I call this the “four point suspension rule” and it works! Minimal trip hazard–most nights you just hang up and jump in. Even with the fly fully deployed it is easy to enter from any quadrant. I carry a few lengths of lightweight rope to solve minor problems as they come up.
I had to search hard to find a hammock with a single aluminum spreader pole similar to the above. Most “spreader” hammocks have non-removable, self-deploying wands at both ends. This makes them harder to pack up, since you have to fold them in a very precise way. I bought one of these a few years ago and found that it made a better bugnet tent on the ground. It works when hung, but not very well. The spreaders don’t spread, they just support the netting. Newer models appear to have wands closer to the ends and that arrangement might work better. (?)
Setting Up the New Hammock
Spreader and Netting
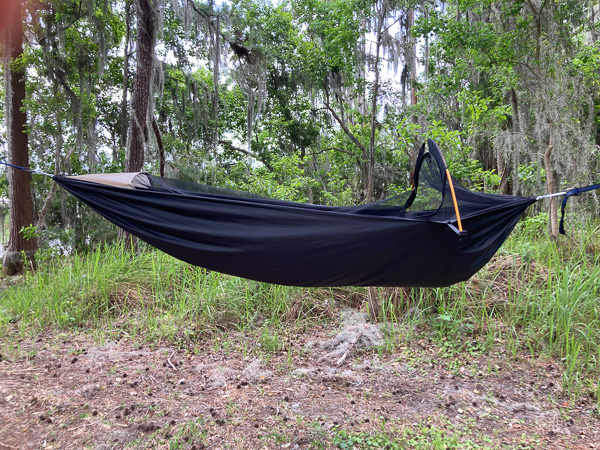
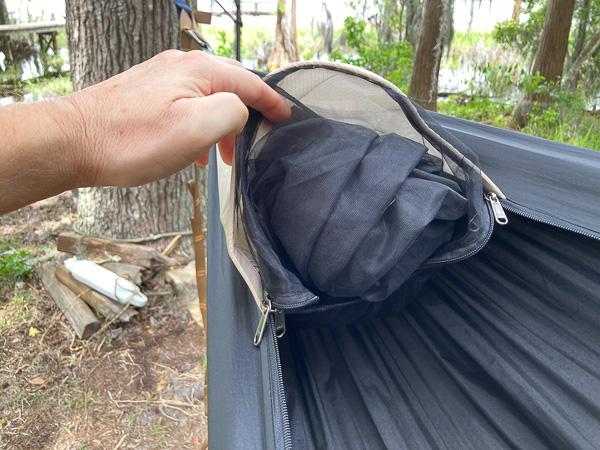
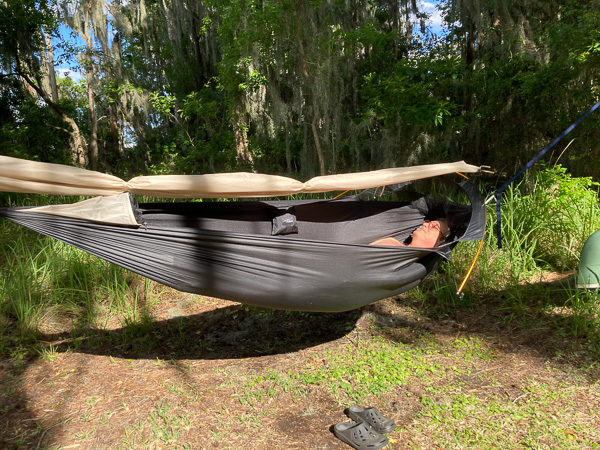
This “TravelBird” hammock looked promising and was not very expensive. The first thing you’ll notice is the spreader pole on the outside (my original had the pole inside the netting). When empty the whole thing tends to tip over in the wind. Not so much with gear in it. (The video instructions tell you to stake it out, but there really is no need to do this.)
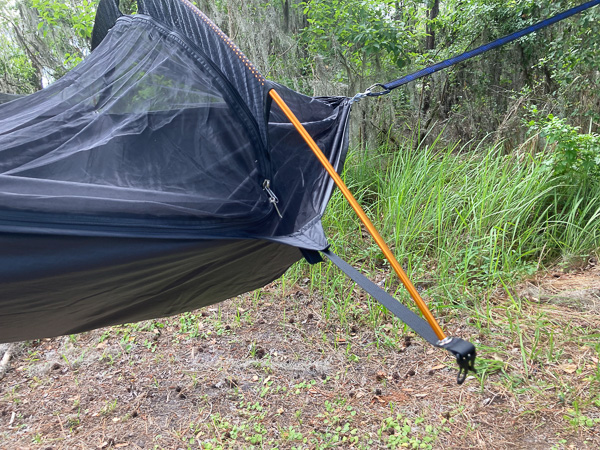
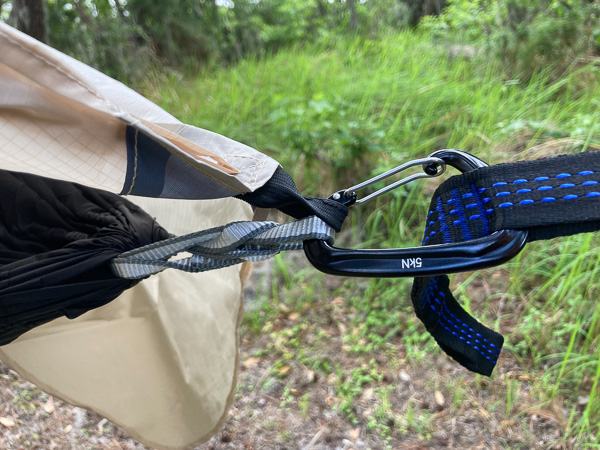
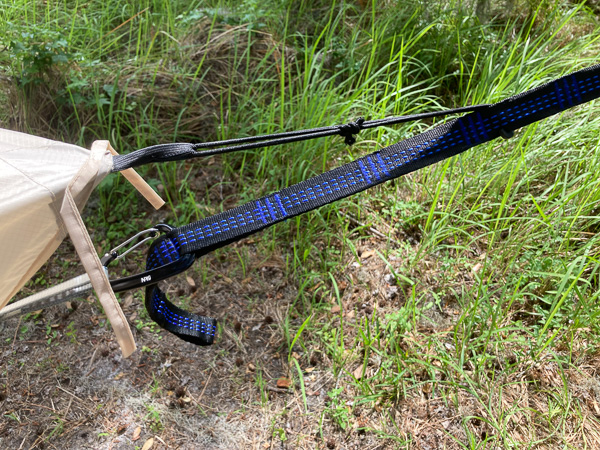
Here’s a closeup of the spreader in action. You can also see the standard carabiner suspension and entry zipper. Note that these are not the supplied straps, which are two feet shorter and could not span the distance between my “hammock testing” trees.
Note that you can enter from either side, and the netting folds away into a pocket at the foot when you don’t want it. (Nice!) The dark netting is also better for stargazing at night.
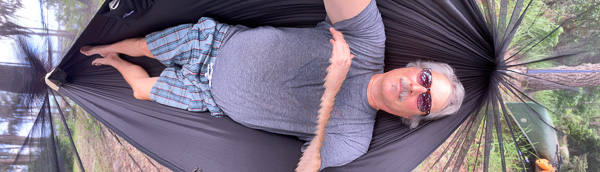
When you lay down in the hammock the spreader bends and keeps quite a bit of tension under your shoulders. I’m still experimenting with proper pitch for the most comfortable effect. My only major complaint–at only 100 inches it’s too short. It should be 104-106 inches IMO. I’m 6 foot 2, so if it works for me it will probably work well for anyone who is shorter.
Rainfly
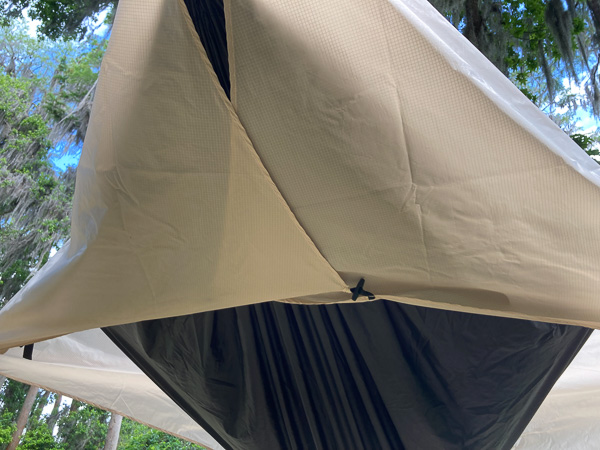
The rainfly is a custom shape and the spreader supports it just like a modern tent. The problem is the inadequate ridge-line tension using the weak elastic tabs on the ends. I re-engineered this with some shock-cords that tighten the fly and allow it to rise above the netting for better airflow.
I added a six inch shock-cord loop and hook.
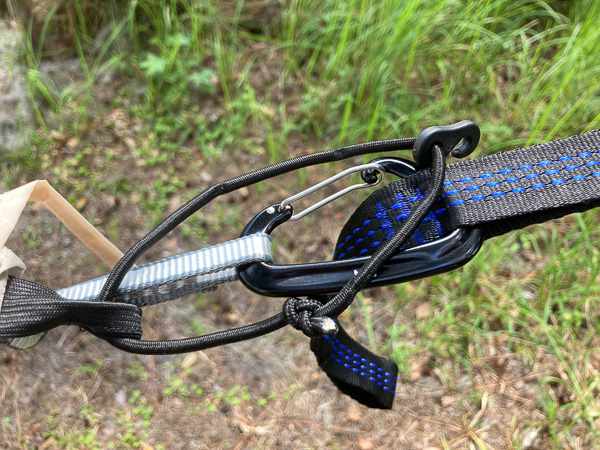
As you can see there is more tension on the fly. And when the hammock is loaded the fly can better maintain both height and tension.
The fly can be tucked on both ends to keep out blowing rain. This works very well!
I’ve found that in many situations the foot can be left lightly tied or loose. The side pull-out tabs can be tied to each other as shown below (black tabs near the ground).
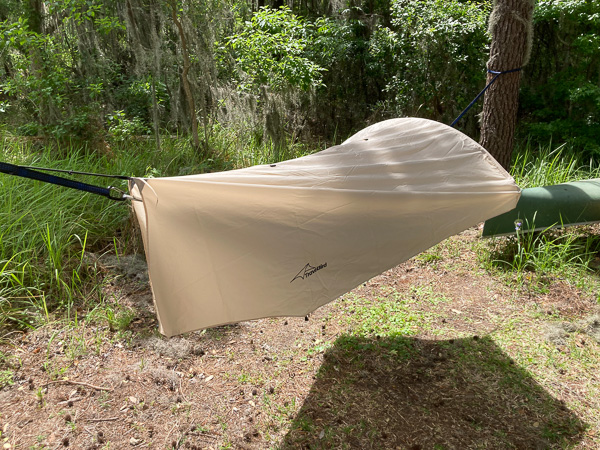
If more wind is anticipated you can stake out the fly as shown below. The hammock came with thin elastic cords that I replaced with heavier shock-cords and lightweight rope. (The knots are an adjustable Taut-Line Hitch and a Zeppelin Bend to connect cord to rope.)

The final result meets the four point rule outlined above, and keeps the head and sides clear of ropes!
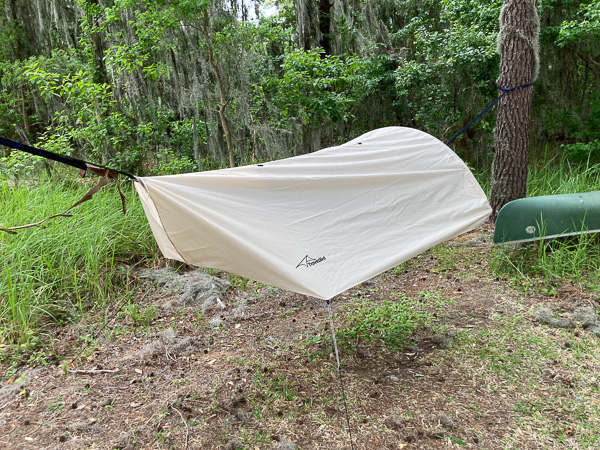
If you want to hedge your bet you can reef the fly along the ridge-line. This also makes it easy to pack up when you’re breaking camp. Note that one of the reef points was not sealed properly and caused a minor leak. I will be adding some seam sealer to address this.
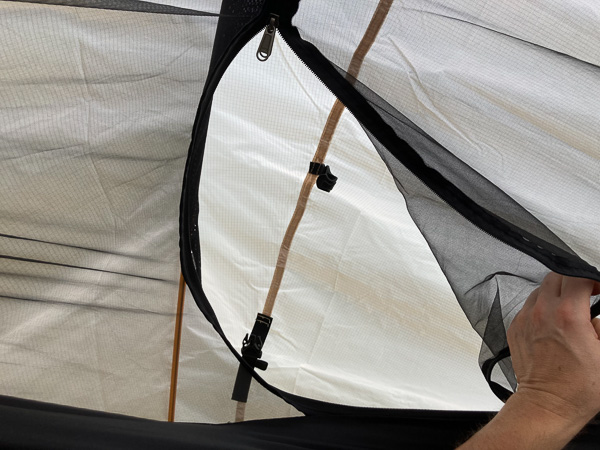
Note that this is the first hammock I’ve seen where you can access and deploy part of the rain-fly from the inside!
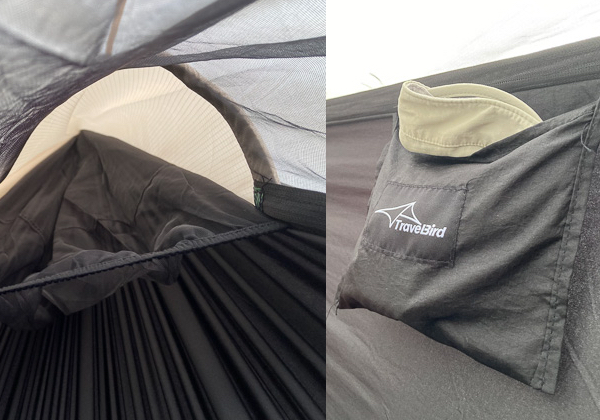
There are two pockets, one at the foot and one along the right side. As always, I wish there were more pockets and larger. A “loft” near the head would also be helpful.
Recommendations
- PROS
- a good hammock overall, at a great price (~$69)
- single external pole design, fewer ropes!
- enter from either side
- netting folds out of the way
- dark netting is good for stargazing
- CONS
- too short (needs 4-6 inches more IMO)
- rainfly needs better suspension (easy to fix)
- included hanging straps are adequate, but short
- no ridge-line, so harder to hang (minor)
- side-zipper bag included, a stuff sack would be better
- no instructions, videos are not that helpful