Everglades Kayak Trip 2022

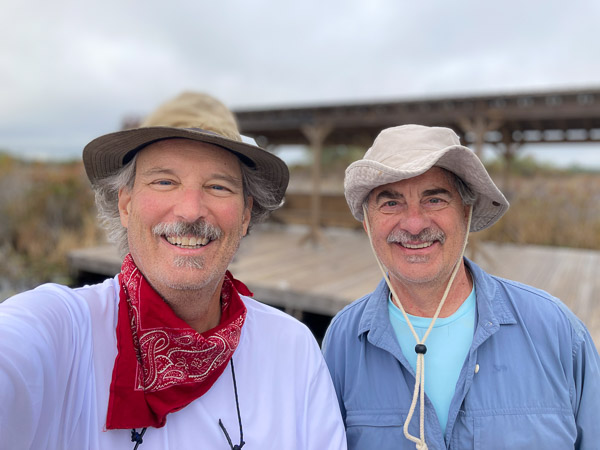
The plan for this year was a clockwise tour around Whitewater Bay, with options to go out to the Gulf and explore the Watson River. My cousin David Rathe and nephew Theron Pray decided to join me. [Full Gallery]
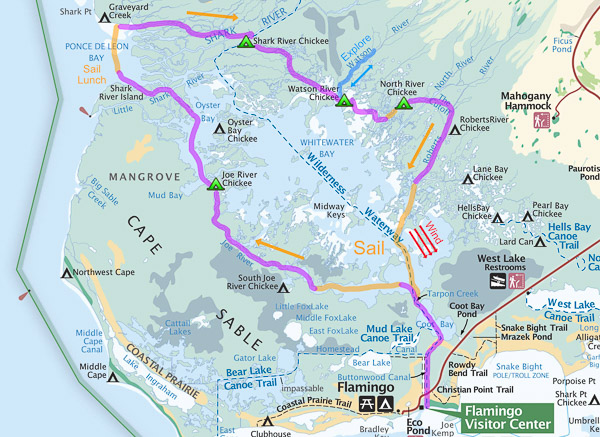
map:nps.gov (Click to Enlarge)

I drove down to Florida City (Homestead) the day before the others arrived. The three Hobie Kayaks fit nicely in the bed of my F-150 with an extender.
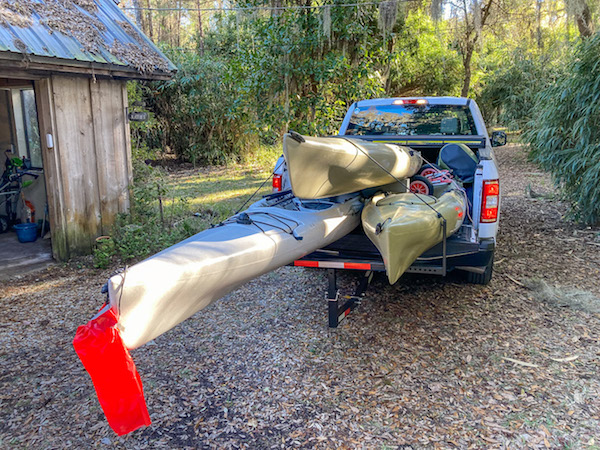
Three Kayaks On Board

I booked two nights at the same motel I’ve used several times in the past. The next day I picked up the boys at the Miami airport and we purchased food and other supplies for the trip.

Day 1

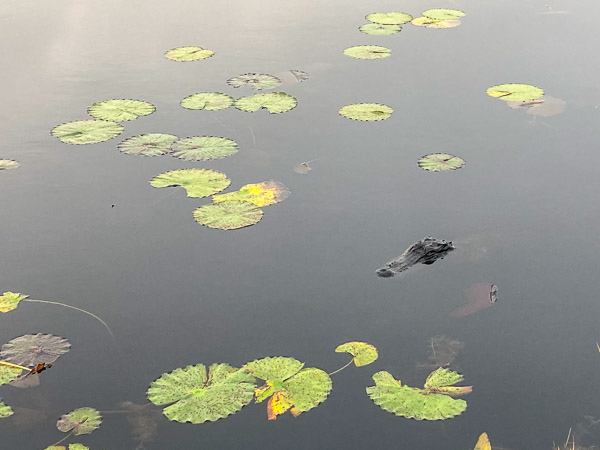
We drove into the park, pulled the permit, and were on the water just after 10am. The Buttonwood Canal and Coot Bay were nominal. We saw a large American Crocodile sunning on the bank within a mile of the put-in.
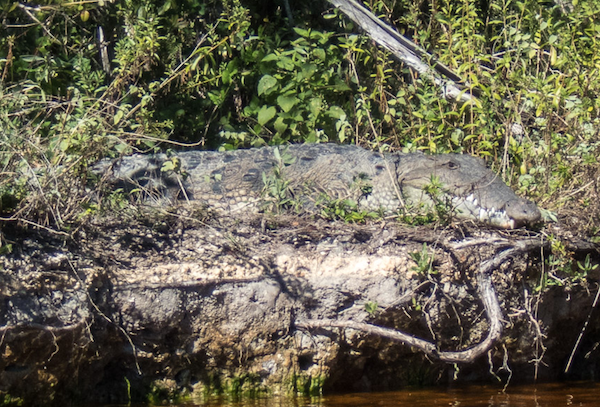
American Crocodile

Lower Whitewater Bay was windy at first, but the wind eased and we sailed for a few miles west to enter the Joe River.
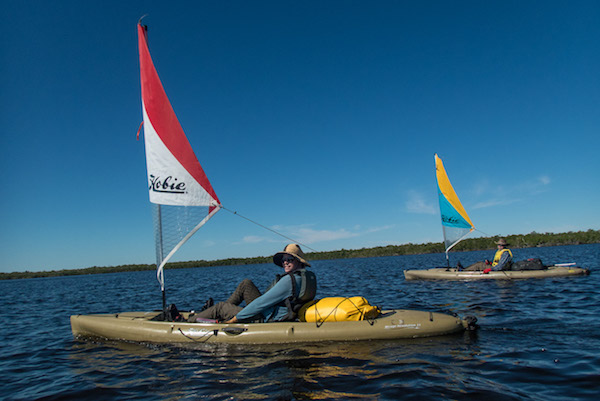
Lower Whitewater Bay

We saw dolphins along the way and arrived at the Joe River Chickee just as the sun was setting.
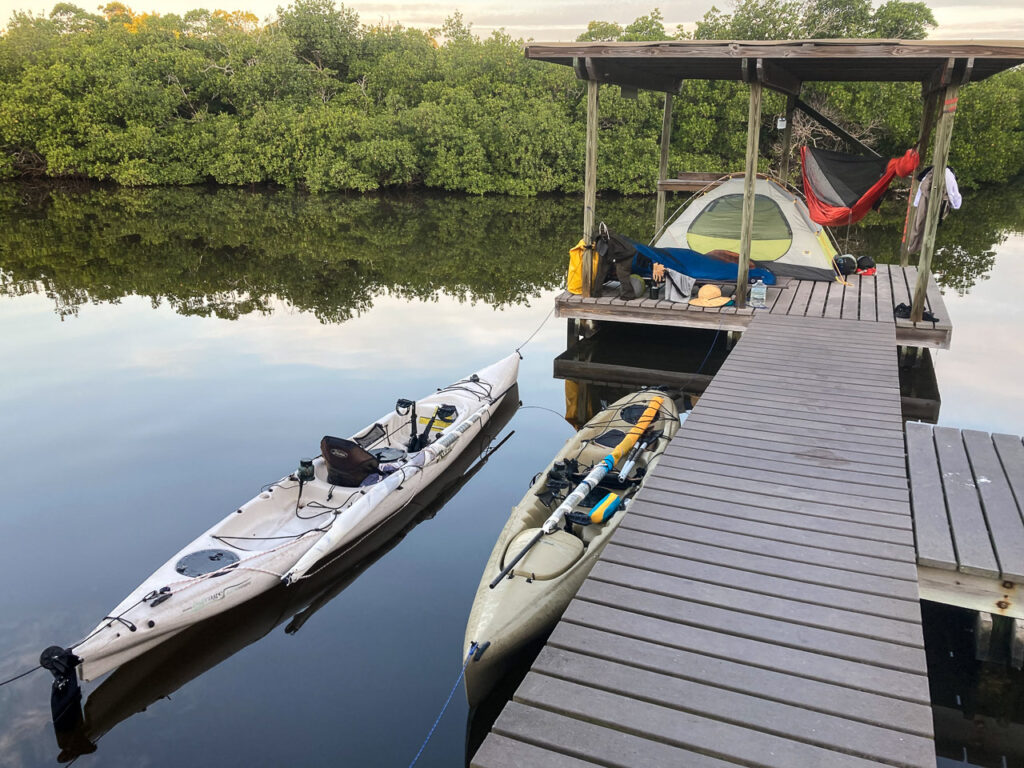
Joe River Chickee

Total time on the water ~8hrs. It was an exceptionally good evening for star gazing.

Day 2

Fairly cold overnight, on the water by 9am. Very sunny with a southerly breeze. Tide was outgoing so we headed down the Little Shark River to the Gulf of Mexico.
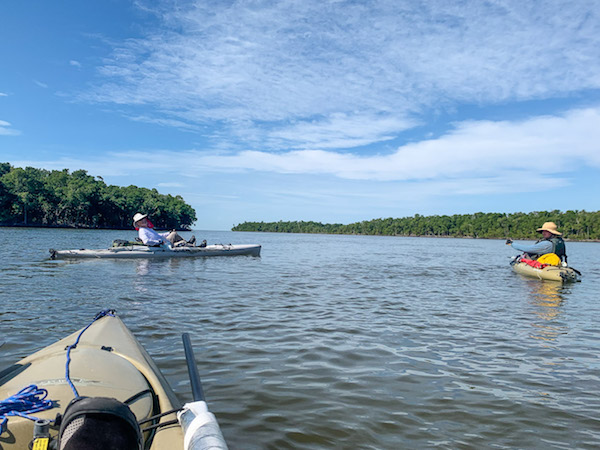
Little Shark River & Gulf of Mexico Beyond

With a light wind behind us we rafted together and put up one sail to eat lunch and cross Ponce de Leon Bay to the beaches on the north shore.

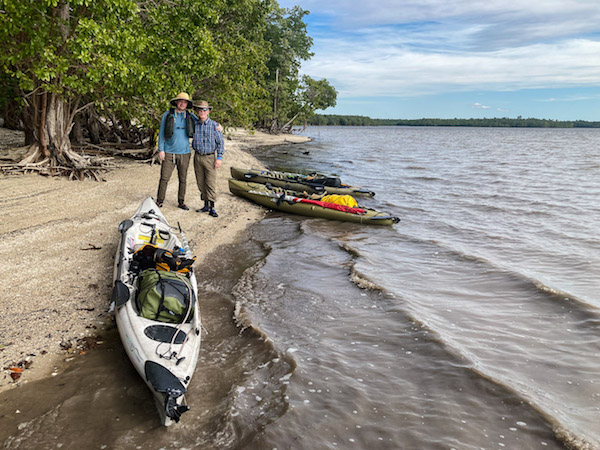
Sailing Lunch Raft on the Gulf
Northern Beach on Ponce de Leon Bay

We explored the shore for 30min until it was obvious the tide was coming in and then headed inland on a northern channel of the Shark. We got to the Shark River Chickee about an hour before dark.
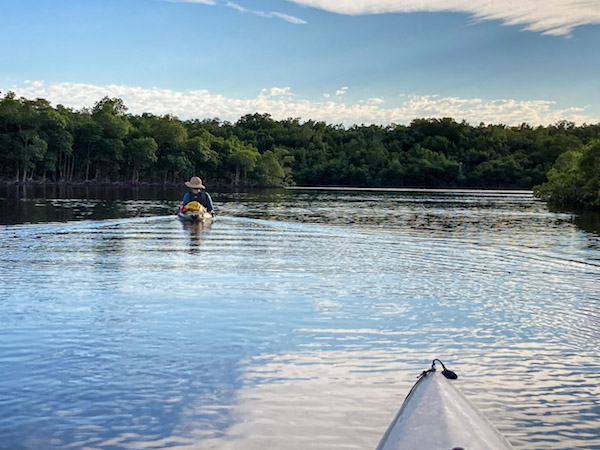
Shark River

We had a less than optimal stay due to bugs since it was hot, muggy, and calm. We all had head nets and got through it reasonably well. It rained during the night, but straight down so there was no need to batten down.

Day 3

Theron guided us through The Labyrinth with no problem and we arrived at the Watson River Chickee midday.
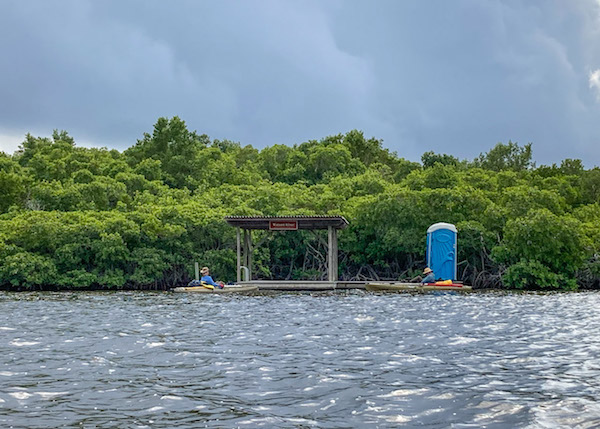
Watson River Chickee

Theron and David had time for some recreational sailing and exploration around the bay.
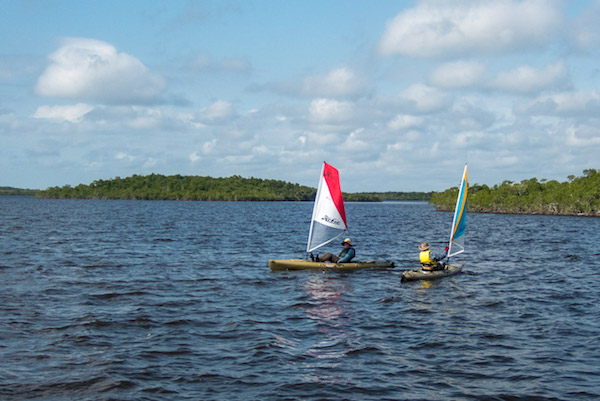
Upper Whitewater Bay Regatta
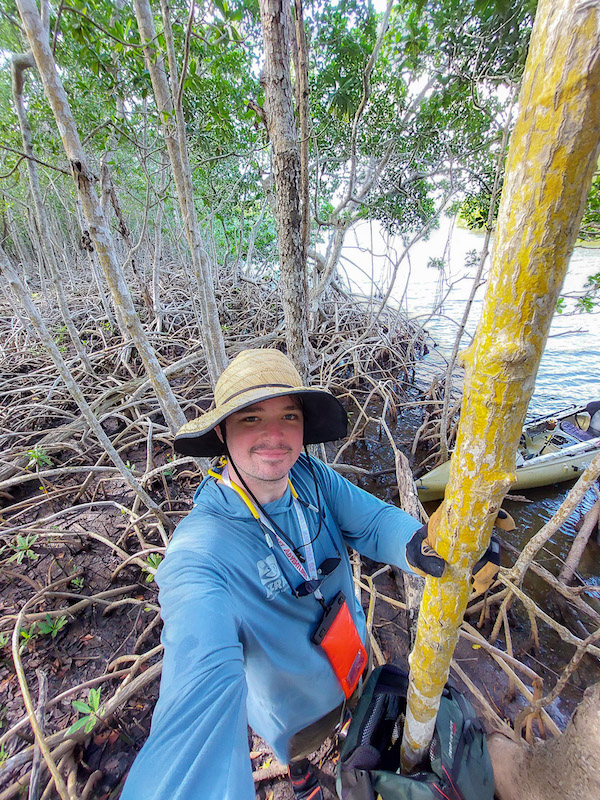
Theron in the Mangroves
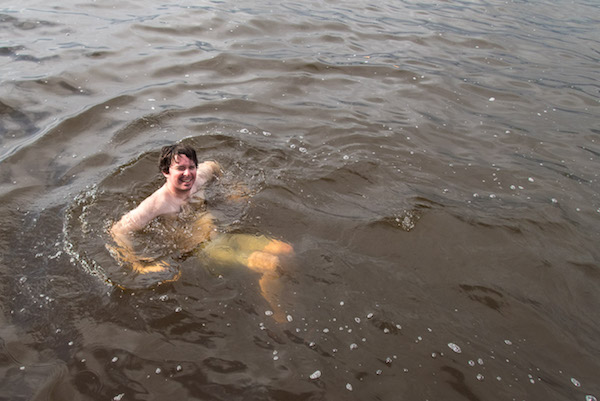
Theron Swimming

The breeze kept most of the bugs away and we sat around chewing the fat until sun went down.

Watson River Chickee

Our sleeping setup was a bit eclectic on the 10×12 foot chickee platforms. I brought two lightweight cots and a 2-person tent for the boys, and a hammock for myself. Theron decided to sleep with just a net bivy bag on one of the cots (with the option to hit the tent during rain). We were all mostly comfortable.
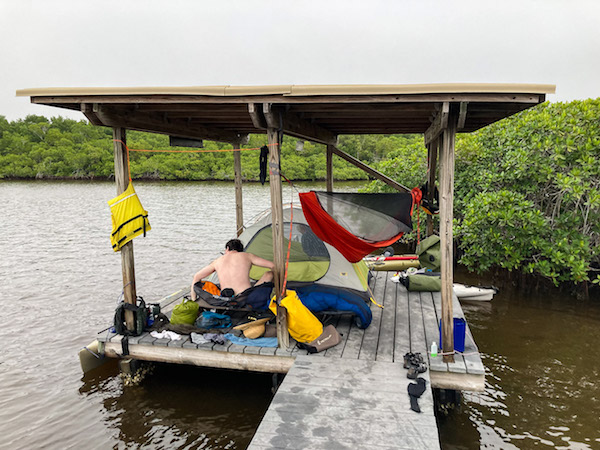
Cots, Bivy Bag, 2p Tent, & Hammock on a Chickee!

Day 4

We headed up the Watson River to explore the next day. This was typical low mangrove and not as varied as the upper North River I explored on an earlier trip. Theron had a close encounter with a lone dolphin as we were heading back down river. We then took a back way over to the North River and sailed up to our Chickee.
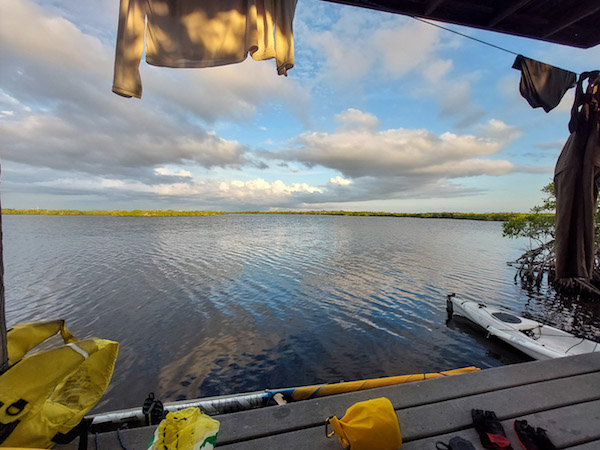
View from North River Chickee

We setup and immediately went for a swim. There was just enough of a breeze to keep the bugs off and just a bit colder, which was welcome. We had a great dinner and finished off the box of red wine we brought along. In the morning we saw rosette spoonbill fly close overhead.
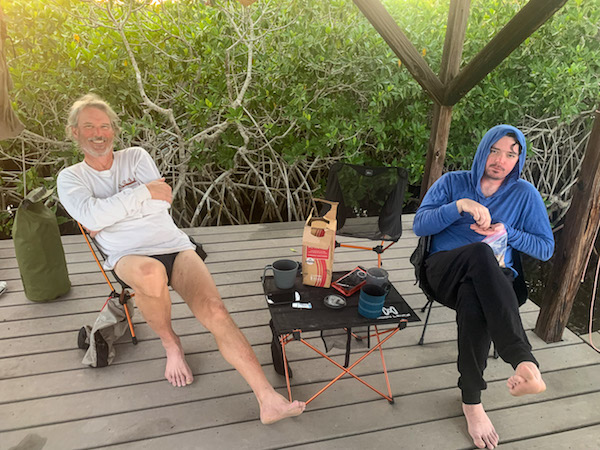
Happy Hour on North River!

Day 5

We knew from the weather radio that the wind would rise all day out of the west. We started north to The Cutoff to Robert’s River and then south from there. Once we hit the first bay we put up the sails and headed for the entrance to Coot Bay. The wind and waves on Whitewater Bay were increasing the entire time so it got a little hairy. At some point a wave stripped my paddle right off and I didn’t even notice! We did some downwind tacking to avoid dangerous gibes and all made it safely to Tarpon Creek and on into Coot Bay. We were off the water by 3pm. There was a Gale Warning the next day!
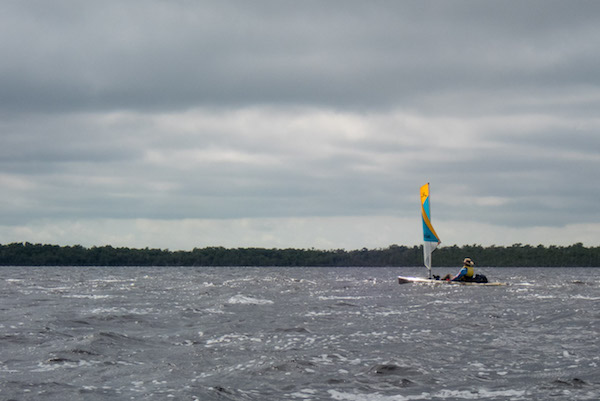
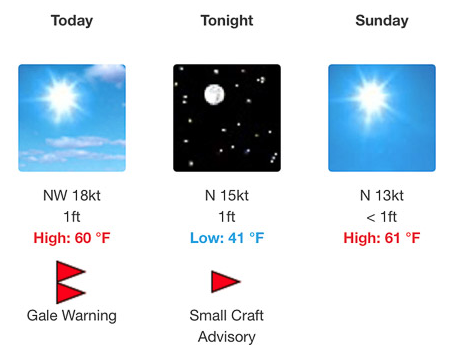
Windy Sail on Whitewater Bay
The Day After We Came Off the Water!

More Photos…

Kammok Mantis Camping Hammock Review

This is my third hammock tent. I hit a lucky home run with my first no-brand hammock tent. It’s somewhat non-standard (arched tentpole, no ridge line). I have improved it with several mods and it has served me well on many trips.

My second Hennessy model was a disappointment on several fronts, most notably the ridiculous knot-based attachment to the tree straps. Give me carabiners any day! I’m also not impressed by the asymmetric cut, especially the fly.
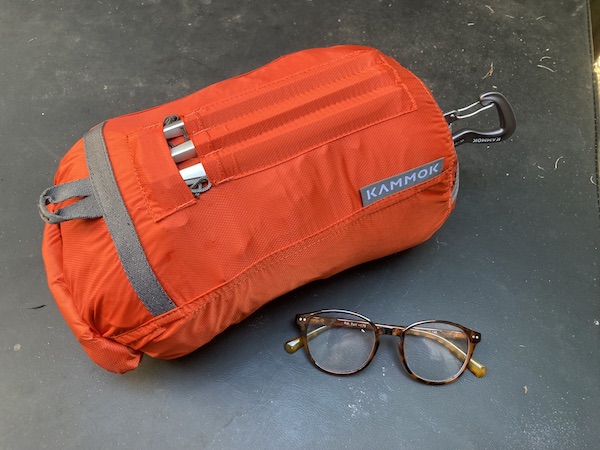
The Kammok Mantis is most notable for the superior materials used. My favorite is the “night sky” bug net material, which nearly disappears on dark starry nights. The hammock fabric feels very light and sturdy, while having a slight texture that makes it less slippery. The fly is made from an extremely light waterproof fabric. It all goes into a very small package.

Weight 2 lb 11.5 oz (per Kammok website)

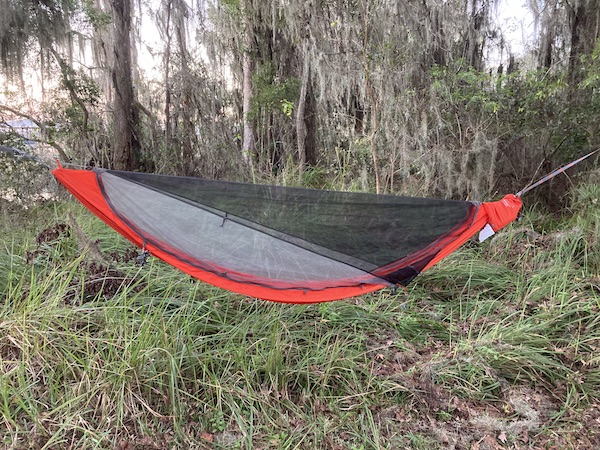
The Basics

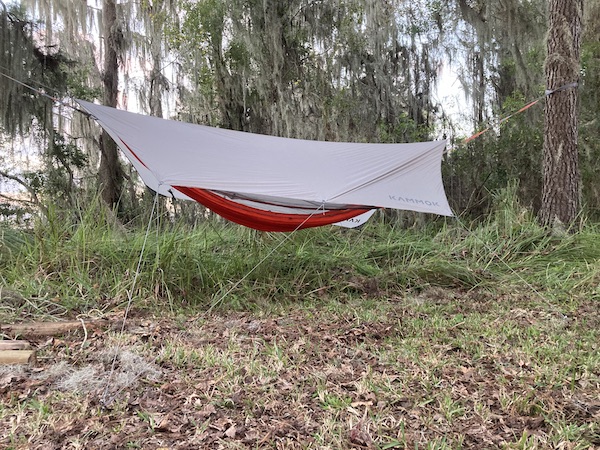
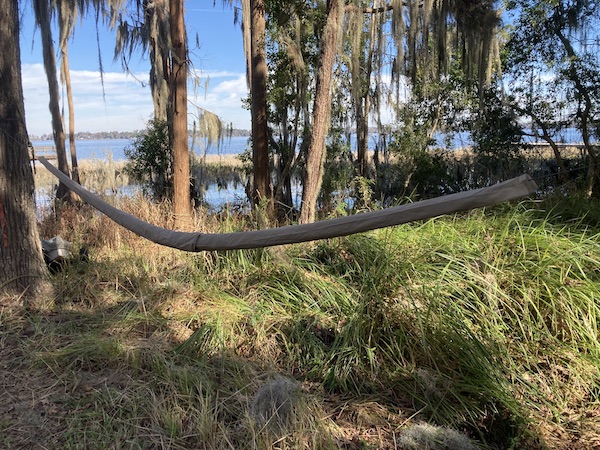
Minimal Hang without Stakes
With Fly & Four Point Stake Out

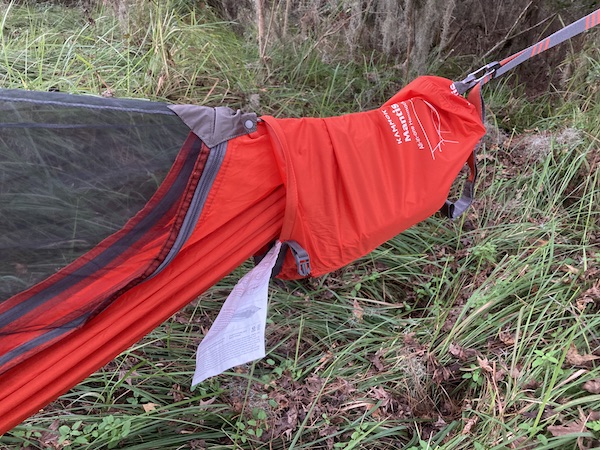
The stuff sack is integrated making setup and takedown very efficient. I’m less thrilled by the fly however, which is supposed to be folded many times and put into a little sidewall pocket in the stuff sack. The best I can do is 2-3 folds, then roll and stuff. The lines tangle unless you roll them up individually. I think a single snakeskin might improve this (see below).

Inline Stuff Sack

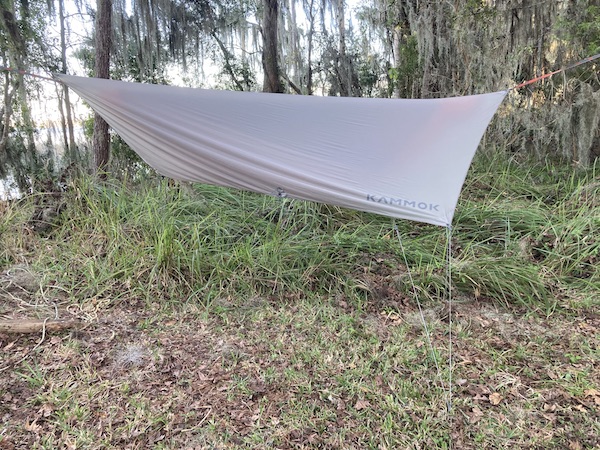
The hammock is useable without staking out the sides, but I’ll probably stake/tie out the wings in most settings. (I’m a bit spoiled because my first hammock has an aluminum tentpole spreader to keep the netting away from your face and upper body.) The fly is tapered with less coverage at the foot and SIX (!) tie down cords (in addition to the two that hold the peak). I can’t help thinking a simple diamond fly would have been better.

Critique and Improvements

The fly is too complex IMO. Staking out all six tie-downs guarantees you’ll trip over them at some point! It’s like a spider’s web. As an alternative I came up with this “tucked fly” approach. (I’ve already used it in a moderate rainstorm and it worked well!)

Two Stake Setup with Tucked Foot
  1. Connect the fly ridge line to the highest rung on each strap (no need to go around both trees twice!).
  2. Stake out the hammock and the fly head to a single stake on each side.
  3. Loosely tie the foot ends of the fly together, and possibly to a rock, branch, waterbottle, etc. on the ground.

This improves things quite a bit. There are now only two trip zones and it is easy to access the hammock from either side. The foot end fly becomes more of a tunnel with plenty of sidewall. I think it may be more wind resistant. There is still plenty of room for air circulation…

“Tucked” Foot & Underquilt

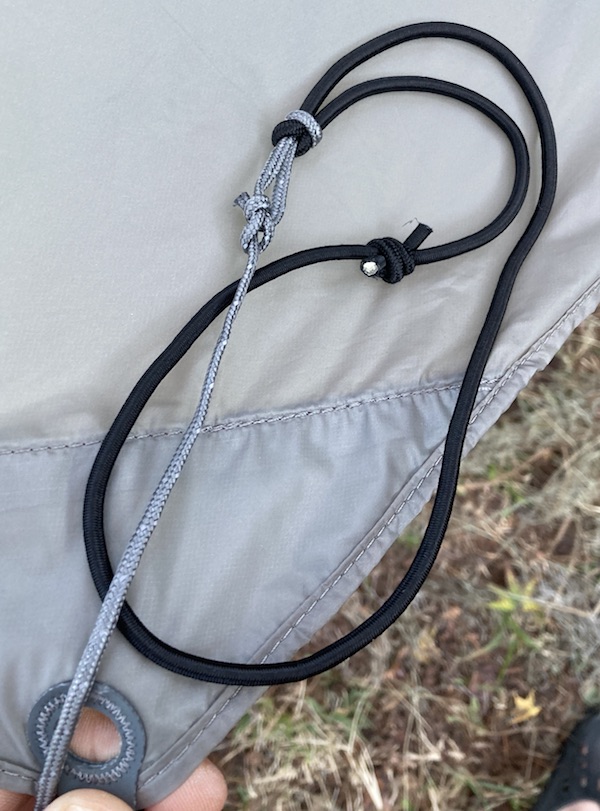
The final piece of the puzzle is to compensate for the slight dip in the fly when the hammock is occupied. (This is something I worked out with my first hammock, completely replacing the tie-out ropes with elastic shock cords.) For this hammock I simply added elastic loops to the ends of the four corner ropes. This keeps everything nice and tight and helps the fly spill wind.

Fly with Shock Cord Loops

Aside: Underquilt

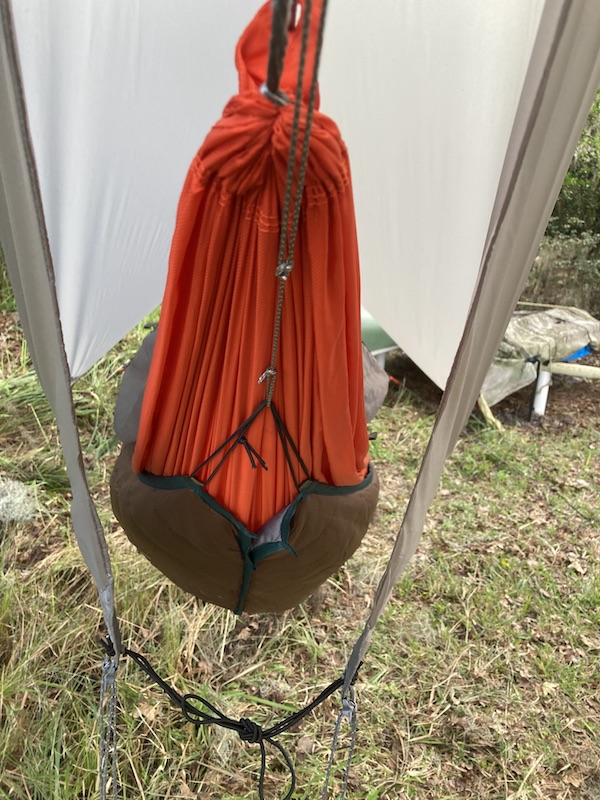
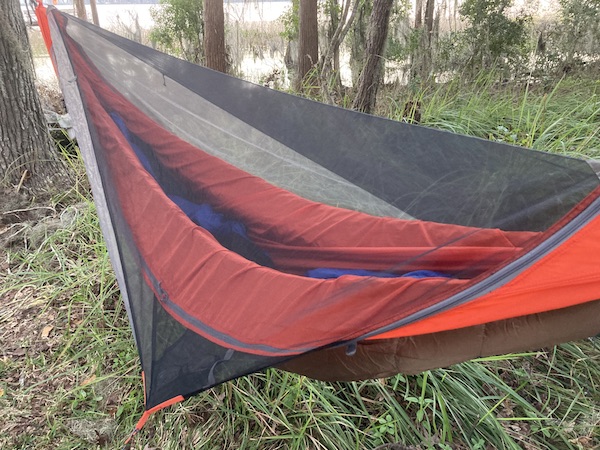
While not specific to this hammock, I recently purchased a generic underquilt for those cold nights. It really works well! You can see the extension cord with tensioner knot I added in the photo above. This is what it looks like with the fly off…

Staked Out with Underquilt

Conclusions

Overall this is a great hammock! It is certainly the lightest three season tent I’ve ever owned. Features I’ve not yet mentioned are: pockets for small gear in the wings (see glasses lower left above), tensioner toggle for each line, entrance from either side, completely removable bug net, and an option to replace the net with a “tent top” for winter camping.

That said it came to me from REI with slight damage and a manufacturing defect. =(

“Stray Needle” (?) Damage to the Fabric

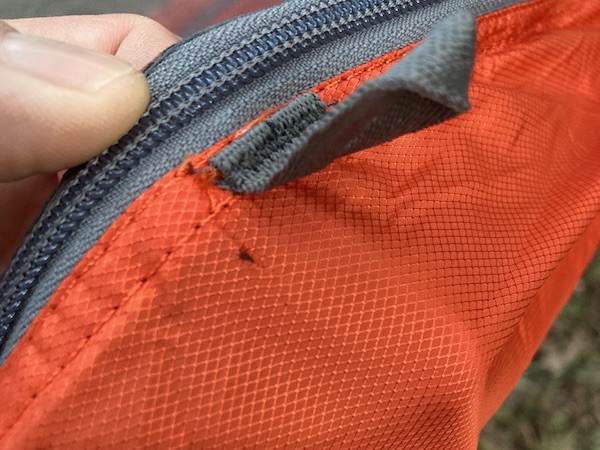
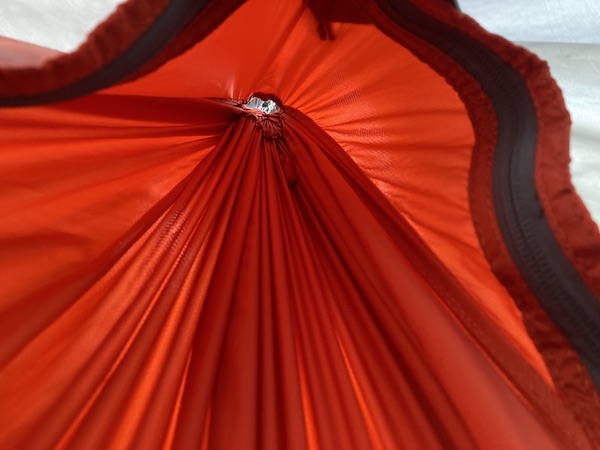
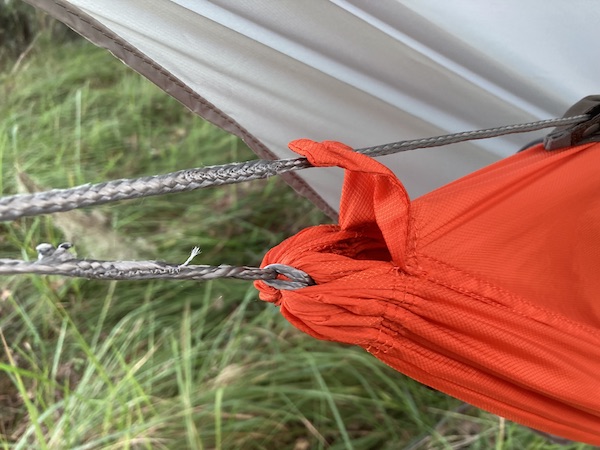
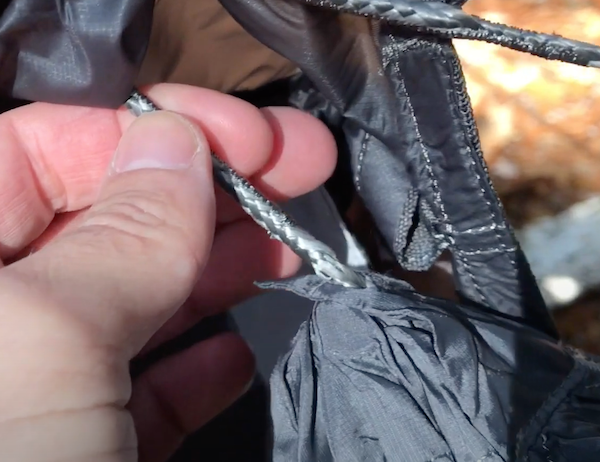
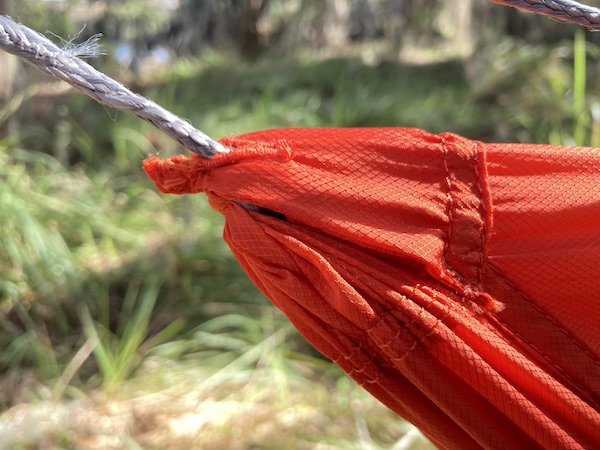
The first thing I noticed when inside the hammock were these two rather large holes in the end. Not exactly bug proof! On investigation I determined that the little flap on the outside had been attached to the wrong line (you can clearly see this in the screen capture I took from a how-to video and examples on the Kammok website). Easy to fix.

Mysterious Hole at Both Ends?
Permanently Open Flap?!
What Flap Should Look Like (source:youtube)
Fixed!

I experimented packing the fly with the snakeskins from my other hammock. This worked well, but ideally it should be a single skin sewn to match the shorter, less bulky fly. Future project perhaps?

Fly Only in Snakeskins

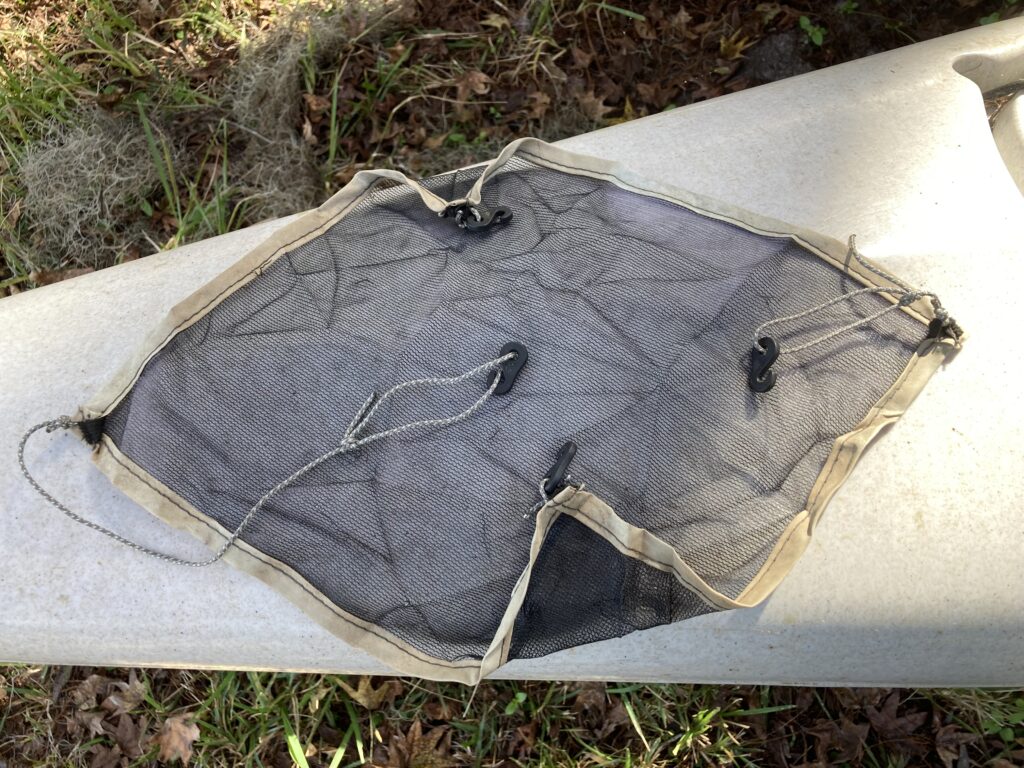
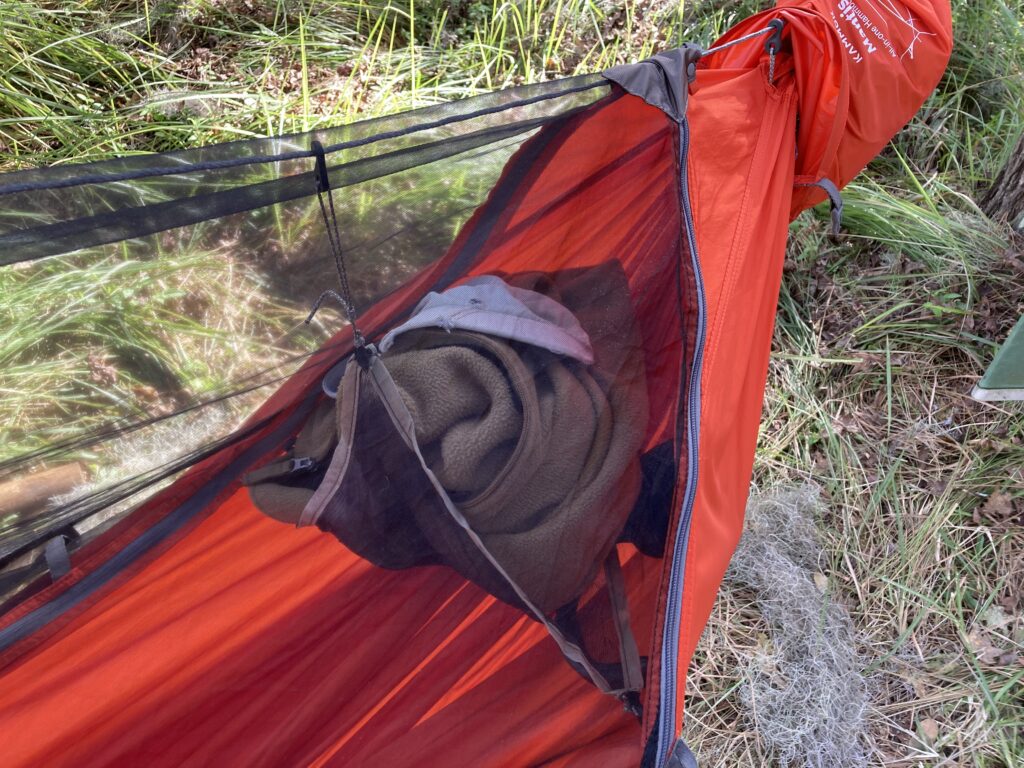
Finally, I made a passible “loft” from an abandoned tent piece I found on the ground. It is not quite square, so does not quite form a diamond, but it seems to work!

Abandoned Tent Loft with Modifications
Jacket & Hat in the Loft

Okefenokee Canoe Trip 2021

I last traveled to the Okefenokee in 2004, and I had been hoping to return sooner. My return was delayed in part by a multi-year drought and Major Fires in 2011. This year the water was high thanks to record rainfall in the late summer.

Source:USF&WS

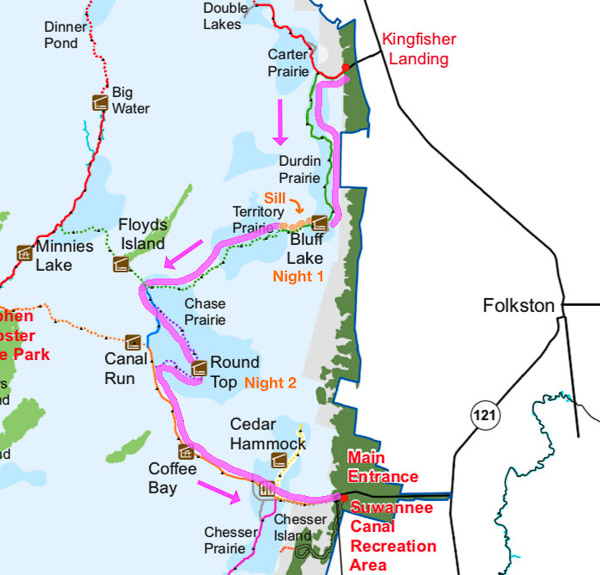
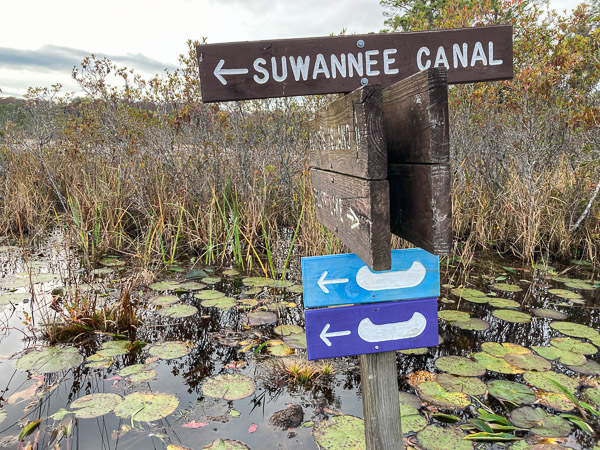
We left our car at the Suwannee Canal entrance and took advantage of a convenient shuttle service to get our canoe and gear up to Kingfisher Landing (about 30 miles north). From there we made our way south via a combination of canals, streams, prairies, sills, and ponds. Click below for an annotated video of our trip…

Starting at Kingfisher Landing

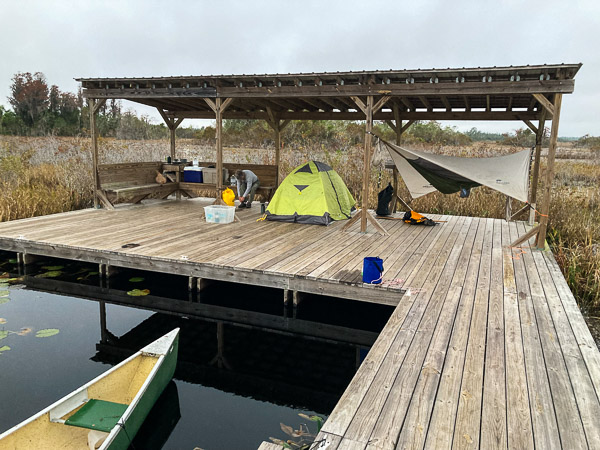
We started by following the Green Trail along a winding series of small canals until we reached our first campsite on the Bluff Lake Chickee. We got there with plenty of time to fix an early dinner and relax.

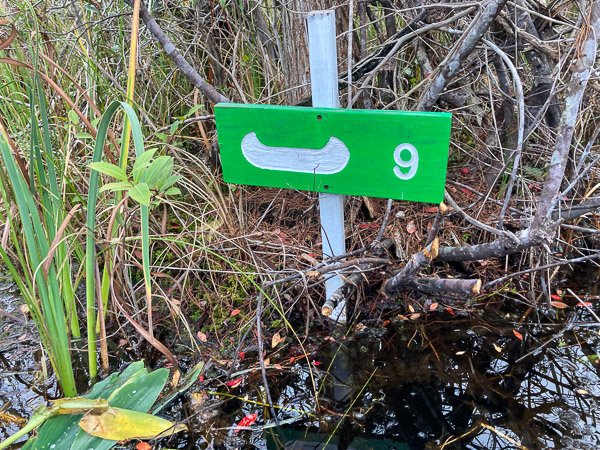
A Well Marked Trail
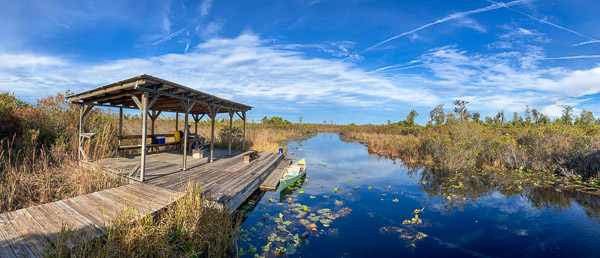
Bluff Lake Chickee Panorama
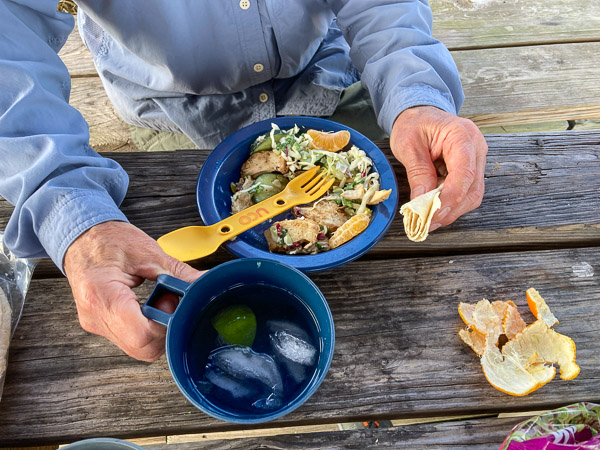
Grilled Chicken Salad for Dinner
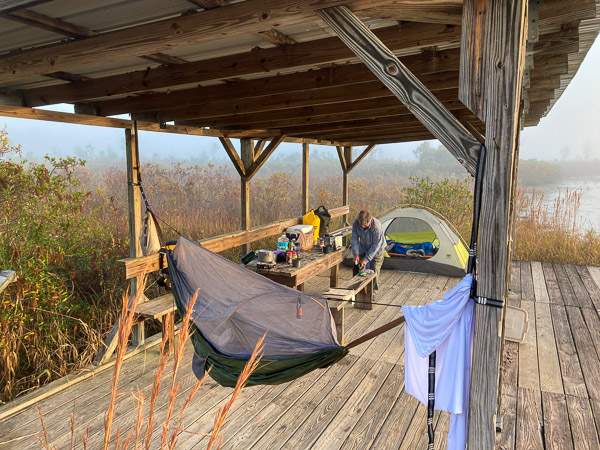
Foggy Morning

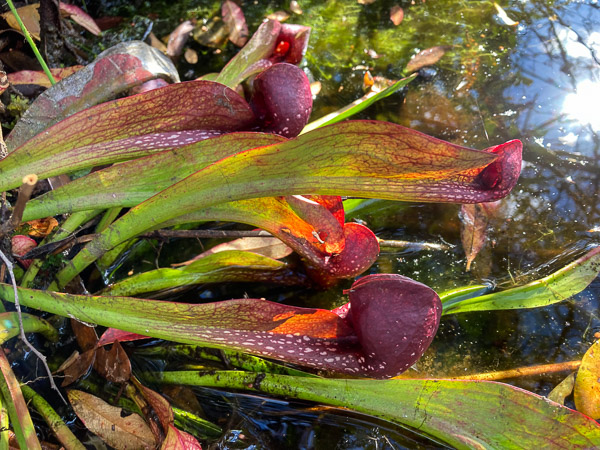
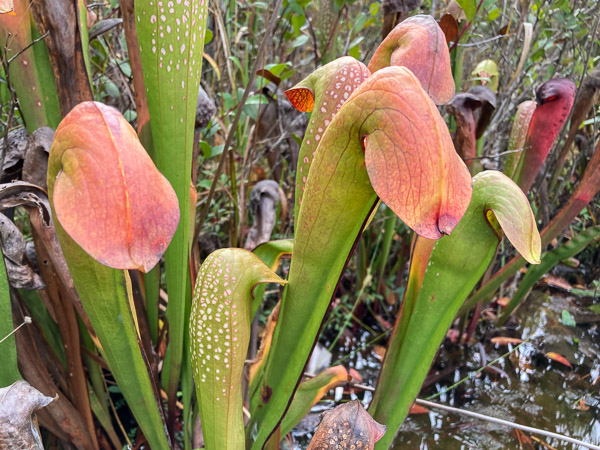
There are several species of carnivorous plants in the swamp, including three pitcher plants. We saw many examples of two of these: the Parrot Pitcher Plant and the Hooded Pitcher Plant. There were many standing dead trees with charred trunks left over from fires a decade ago, but the loss was not total. There were many older living trees interspersed with the dead, and lots of young Bald Cypress trees coming up underneath.

Parrot Pitcher Plant
Hooded Pitcher Plant

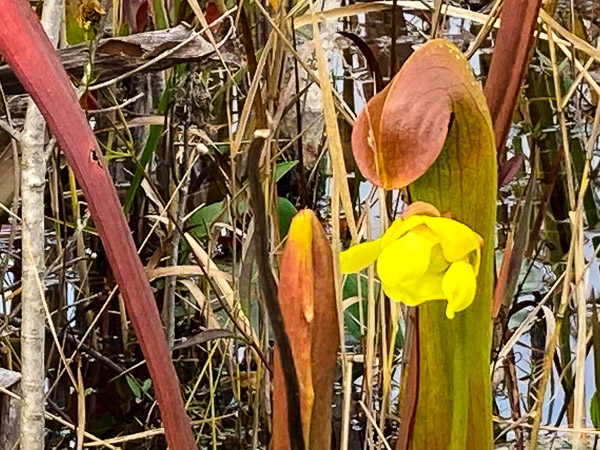
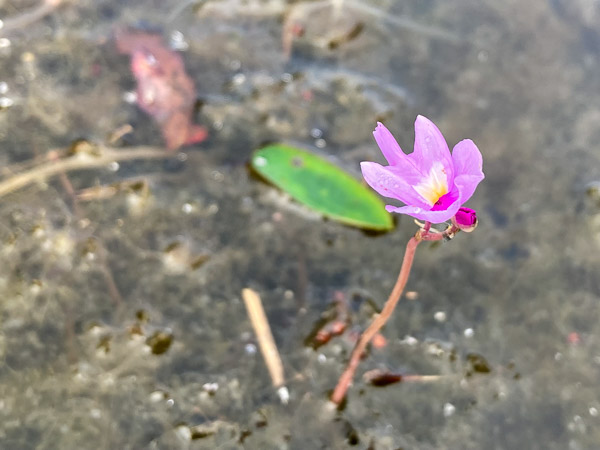
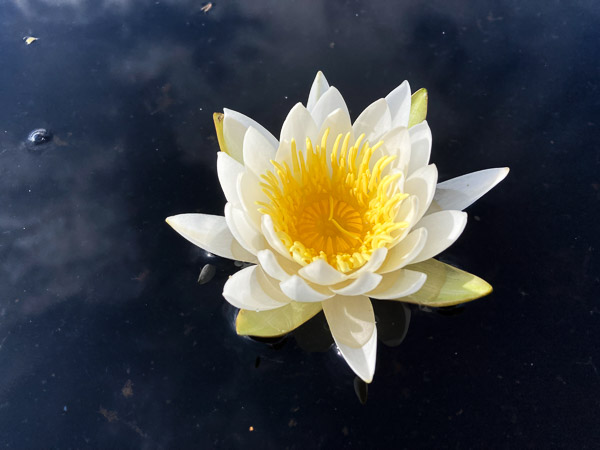
Yellow and Purple Bladderworts were blooming in abundance, occasional white Fragrant Waterlilies, and we even saw one Hooded Pitcher Plant putting up a flower!

Hooded Pitcher Plant in Bloom
Purple Bladderwort (Carnivorous)
Fragrant Waterlily

After a brief time on the connecting Blue Trail we picked up the Purple Trail that loops out into the Chase Prairie and our next chickee.

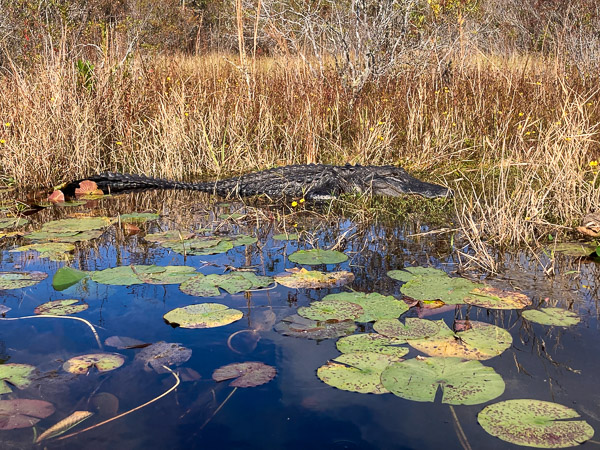
Crossroads
Ten Foot Gator!

These prairies are a mix of open water, marsh, and small islands with trees. The Round Top Chickee boasts a 360º view of this robust ecology. We saw more birds here including Sandhill Cranes and Egrets. We heard Barred Owls calling all around us in the evening. We got a bit of rain during the night so the morning was grey and damp.

Round Top Chickee
Intrepid Travelers

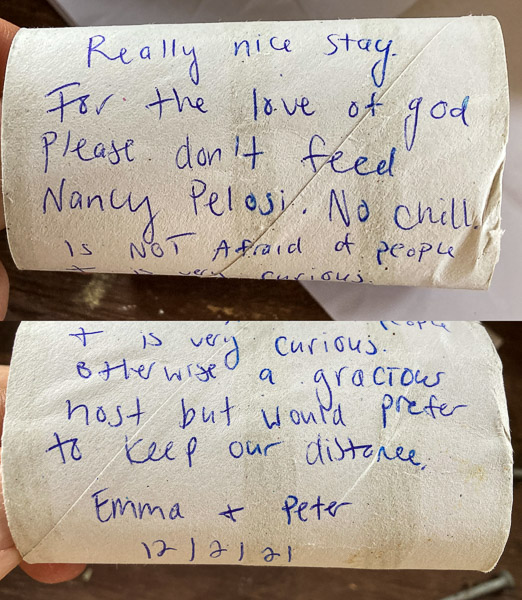
There was a small box for a trail journal on this chickee, but all we found were notes written on toilet paper rolls railing about “Nancy Pelosi”?!

Toilet Paper Message

Turns out they were referring to the resident six foot gator who hung about the chickee the entire time we were there. This is likely because earlier visitors had fed it (a very BAD idea!). Gators that remain too close to humans usually lose their lives! Sad.

“Nancy”

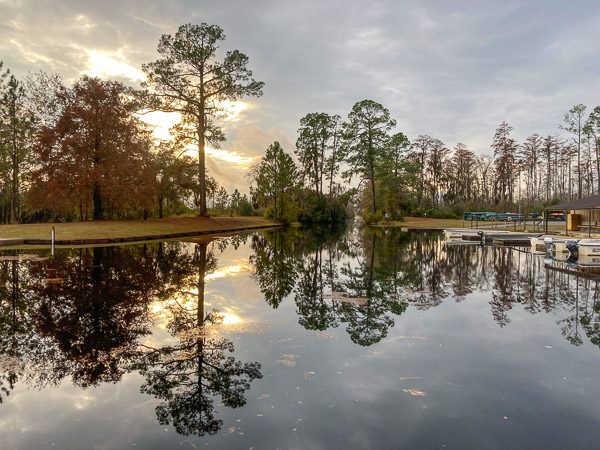
After the overnight drizzle we packed up in the grey dawn and continued on the Purple Trail to the next big intersection. The sun came out as we turned east on the Orange Trail. This is a major canal flowing to the west that got larger and larger as we approached the visitor center. We had lunch on the Coffee Bay platform just before the rain started. About a mile from the take-out it started to pour. By the time we had the gear all packed the late afternoon sun broke through.

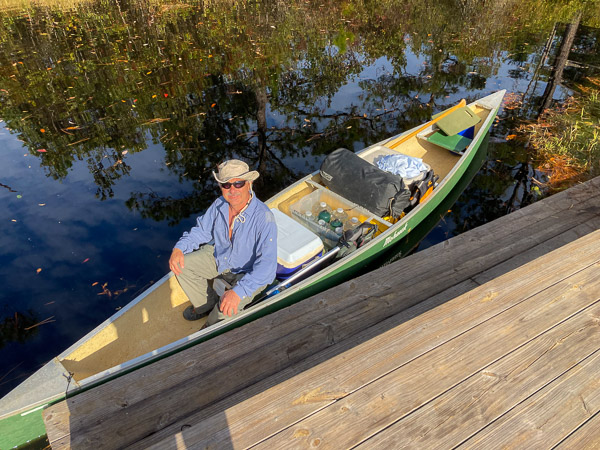
Trail’s End