Flashlight Thoughts

Some thoughts on camping flashlights…
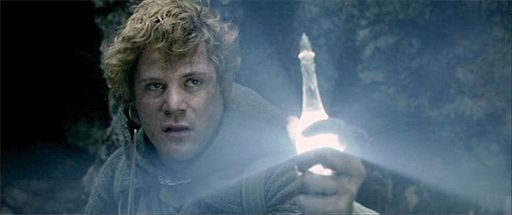
There when you need it! (source:pinterest)
  1. I’m not too fond of headlamps for a few reasons… they are generally too bright when you are working close, shine in peoples faces when you look up, and kill your night vision.
  2. I’ve had at least a dozen flashlights over the years that have failed, about of half of those failed out in the woods when I needed them. Last trip I had two fail when we were caught out after dark with kayak problems, and a third failed the next day. So that’s three in 24 hours! Some were inexpensive, unknown brands, etc. Caveat Emptor applies obviously.
  3. For the past several years I’ve relied on small cylindrical flashlights from recognized/trusted brands (Fenix, others…). They are simple machined aluminum tubes with threaded o-ring sealed caps, which makes them very resilient. They also have smart power management electronics so they don’t just go dark but fade out slowly as the battery dies (they “degrade gracefully” as we say in computer science).
  4. Try to avoid on/off buttons (they get pushed in your pack and then you’ve got a dead light). Twist on/off is much less likely to fail!
  5. I put my light on a lanyard that I wear around my neck so it is always ready even if I’m not using it. When turned on I let it hang down, which gives enough light to see where my feet are going and I can hold things near/in the beam to work on, read maps, etc. If I really need to point it at something while I work I put it between my lips.
  6. When I’m camping I generally try to minimize flashlight use… I’ve learned to pitch my hammock in the dark for example. I might need 30 sec of light to see where to put a strap on a tree, that sort of thing.

Here are a few pictures to help illustrate the above…
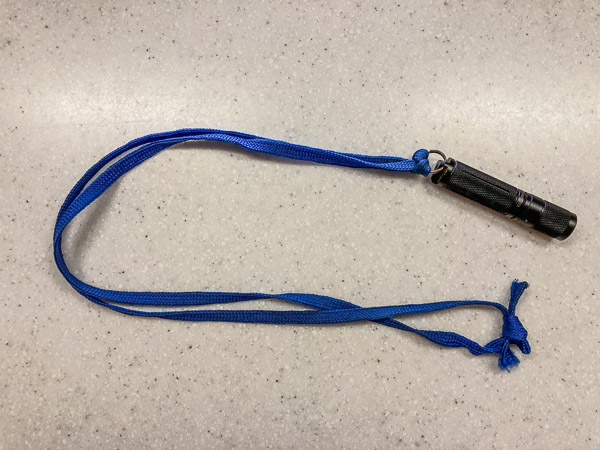
Fenix E05 with Lanyard

Short lanyard so it hangs at my sternum. Note the knot, this is tied so it will breakaway if you pull on it hard. Better to lose the flashlight than be strangled by it!
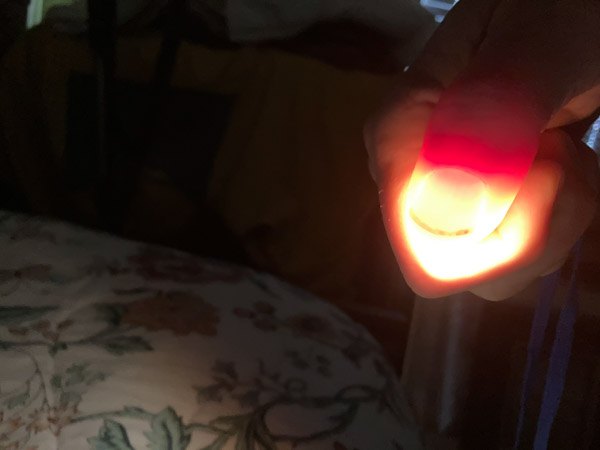
Keep the barrel about 1/2 turn back from “on” when not in use to prevent accidental discharge in a purse/pack/etc. You can turn it to just before “on” and then use thumb pressure to turn it on/off as needed (like walking on a trail). Your thumb can also attenuate the amount of light coming out. Cover the light completely for a night vision-saving red filter.
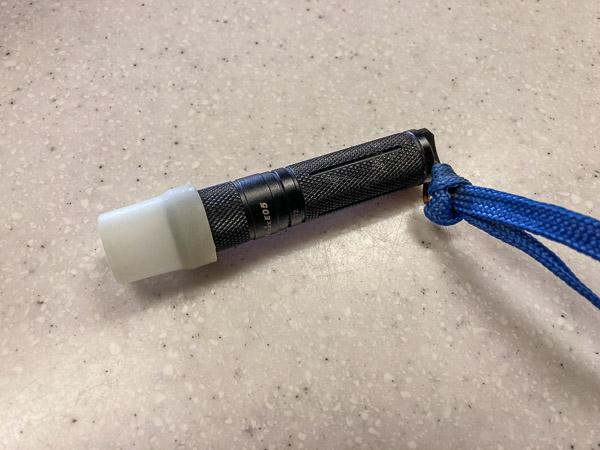
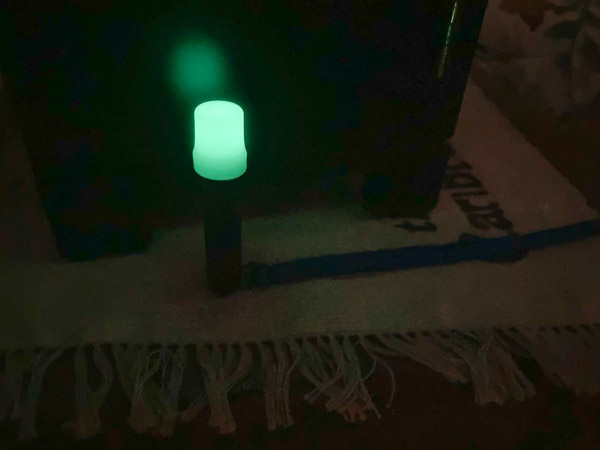
I recently obtained little diffuser caps for this size flashlight. They turn the beam into an area light (for tent, picnic table, etc.)… Basically an electric candle. (Note that this flashlight stands upright on a level surface without support.)
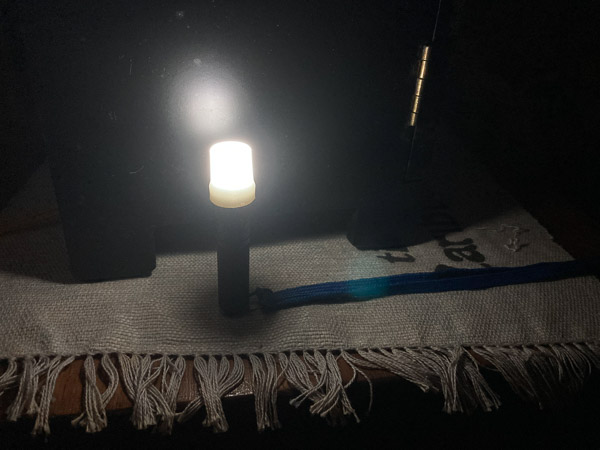
And as a bonus… the caps glow in the dark!
Contested Election 1876 – Tilden/Hayes

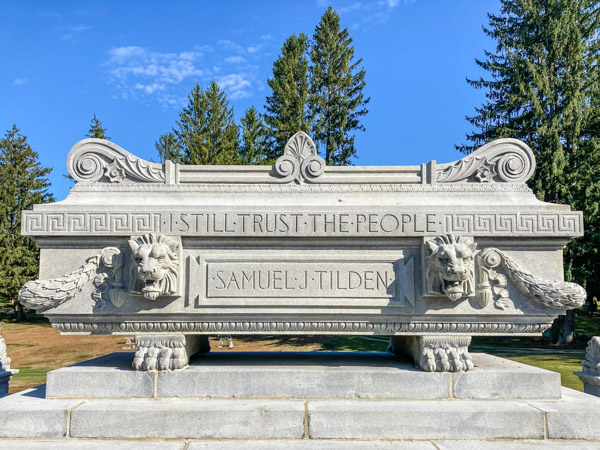
I Still Trust The People” — Samuel J Tilden

Cemetery of the Evergreens, New Lebanon, New York

There are many interesting parallels between the 1876 and 2016 presidential elections. Both had enormous impact on their times and what came after. Both had a great deal to do with race. Both where marred by chicanery and a split between the popular and electoral vote.

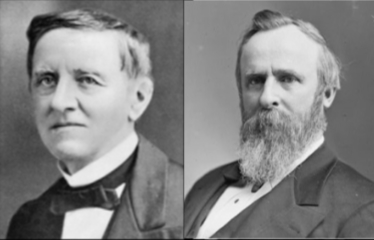
Tilden (D) vs Hayes (R)

Coming just a few years after the Civil War the Republican Party was in power and overseeing the rehabilitation of the Confederacy (known as “Reconstruction“). Their candidate was Rutherford B. Hayes the governor of Ohio. The Democratic Party nominated Samuel J. Tilden the governor of New York (who was seen as an anti-corruption crusader).

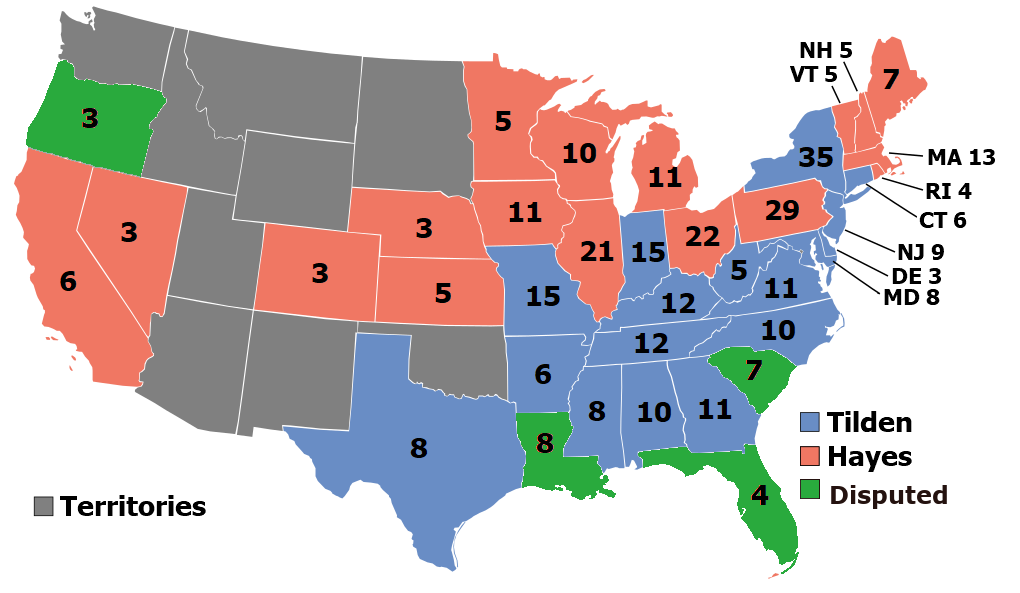
1876 Electoral Map (source:wikipedia)

Tilden clearly won the popular vote, but the electoral vote as contested in four states for various reasons. Ironically (from today’s perspective) the Republicans accused the Democrats of suppressing the vote of African Americans in the South.

The upshot of all this was the Compromise of 1877, an informal bit of horse-trading by Congress to give the majority of electoral votes to Hayes in return for the withdrawal of federal troops protecting the rights of former slaves in the South, thus ending Reconstruction and paving the way for the Jim Crow era to begin.

Lake Powell & Beyond 2020

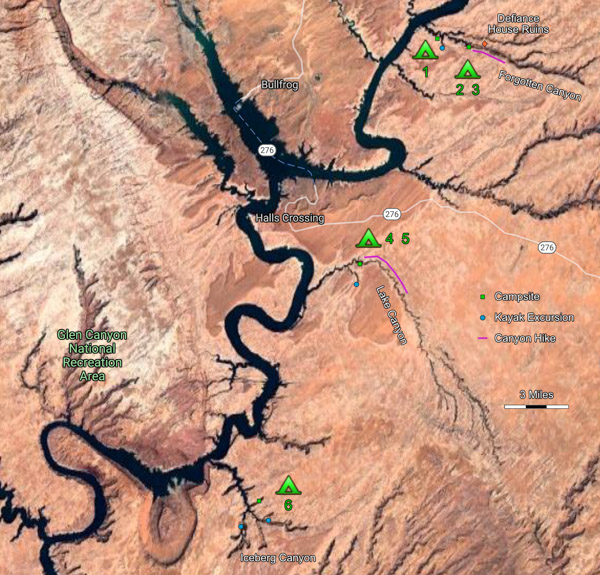
Six Night Lake Powell Trip (Click Map to Enlarge)

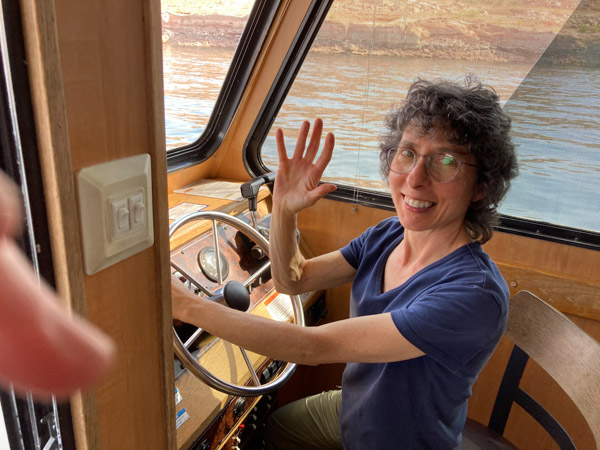
It had been ten years since I last visited Lake Powell. This year I went with my college friend Al and his partner Marian. [Full Gallery] Not having our own boat, we decided to rent a houseboat from the Bullfrog Marina. This turned out to be a great idea! With a few exceptions it was clean and well maintained (certain lights and the gas grill did not work). The main problem was how late in the day we got started (nominal “check in” time is 10am, we did not leave until after 3pm). For various reasons the day we left was very crowded (COVID19, low water facilitating small boat campers, last big week-end of the summer, etc.)

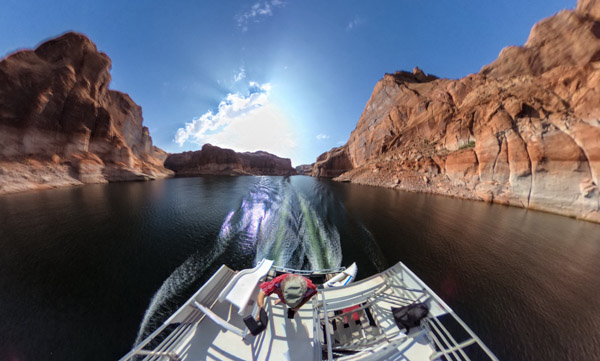
On Our Way!

In the few hours we had on the first day we headed north to Forgotten Canyon. It was packed with small boats and large groups of people camped on the beaches exposed by the low water level. We retreated and found a small anchorage on a large bend near a side canyon (which we explored by kayak first thing the next day).

Our First Kayak Excursion
Alcove with 100 Foot Dry Waterfall Above

On Day 2 we moved back up the canyon so we could be closer to activities on land. [We were treated both nights to inappropriate music, bad karaoke and loud boat engines. I put in my earbuds and listened to Earth Spirit by R. Carlos Nakai (Native American flute) while sleeping out under the stars.]

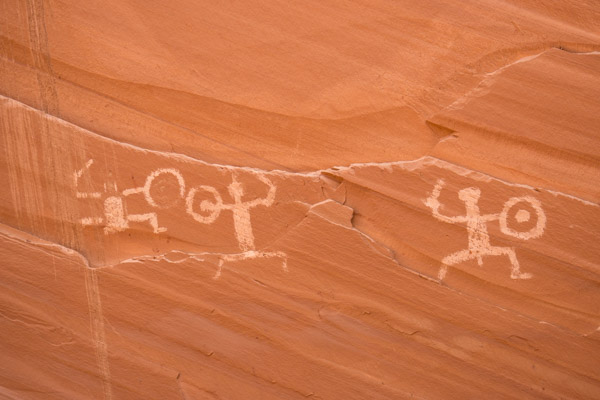
Defiance House Petroglyphs

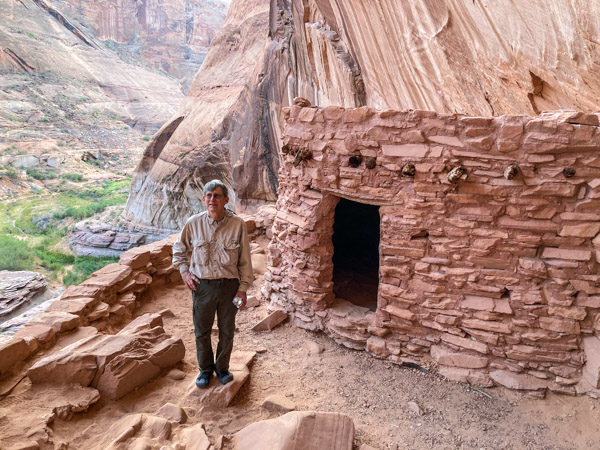
That evening (after most of the day’s heat was gone) we made the first of two visits to the eight hundred year old Defiance House Ruins. These are very well stabilized and open to the public. (Kudos to the Park Service!) The first thing you notice are the large petroglyphs on the canyon wall. There is no ambiguity as to their meaning… three warriors with shields and weapons.

Defiance House Main Structure

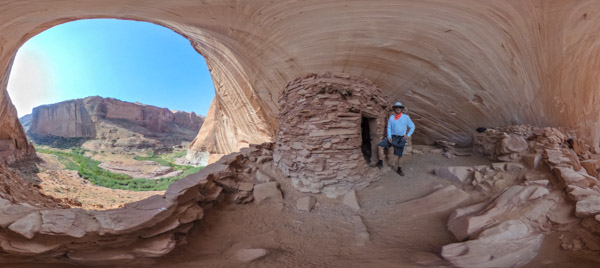
The site consists of two major rooms with doors facing in opposite directions. The largest is approximately 8-10 feet on a side. There is a patio beyond the structure with a vertical entrance to the Kiva. (Large Panorama)

Defiance House and Kiva Entrance (Click to Enlarge)
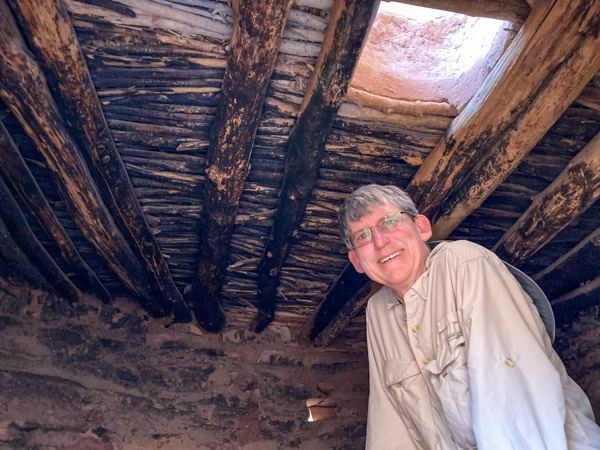
Kiva Ceiling with 800 Year Old Soot from Campfires

We returned the next day (Day 3) and I took some additional 360° panoramas.

Defiance House Ruins (Click to Enlarge)

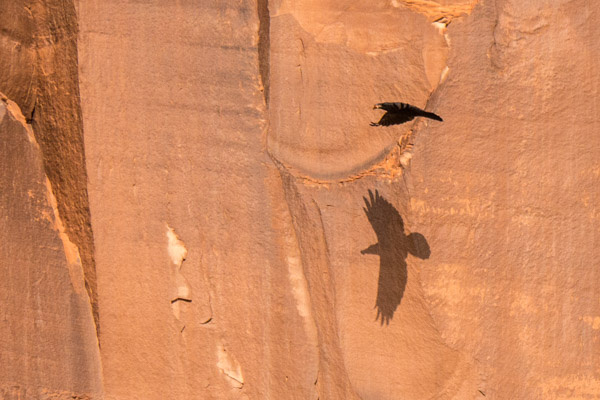
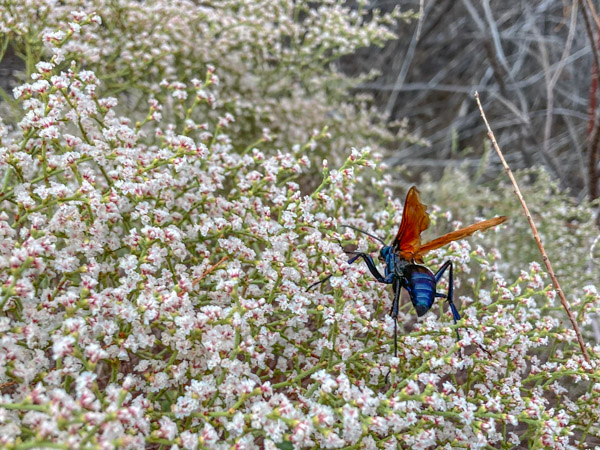
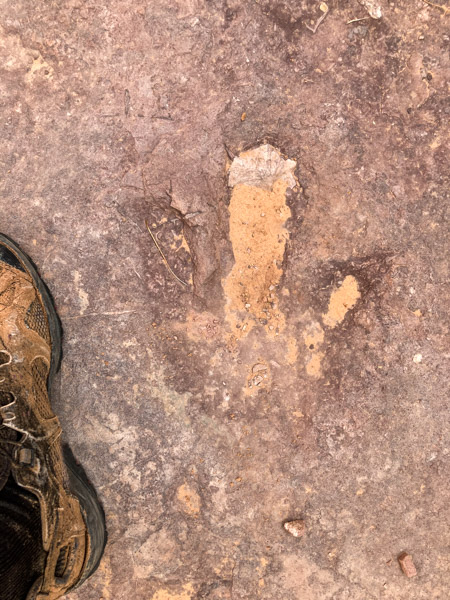
We then proceeded about two miles up the canyon. We saw many interesting things including ravens, flowers being pollenated (or eaten?) by large black hornets with orange wings, and what I think were three-toed dinosaur tracks!

The day was very hot so we took a siesta near a grove of small oak trees before we headed back to the boat. In spite of my best efforts I got dehydrated. The temp was in the low 90s with very low humidity. It just sucked the water out of me!

On Day 4 we left that area to do more exploring. We ended up in Lake Canyon (which apparently is a very hard place to find anchorage with higher water). It was less crowded and the people were more considerate, which was a plus. We again used our inflatable kayak to explore a side canyon in the late afternoon.

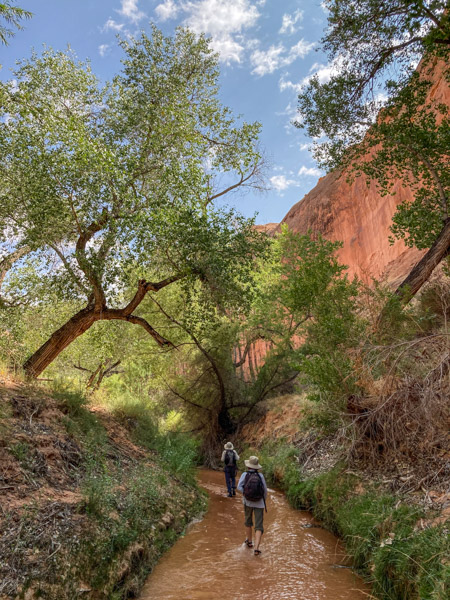
On Day 5 we headed up the main canyon in what turned out to be a delightful wet-boot hike. It was very pleasant to have running water available at all times!

Upper Lake Canyon

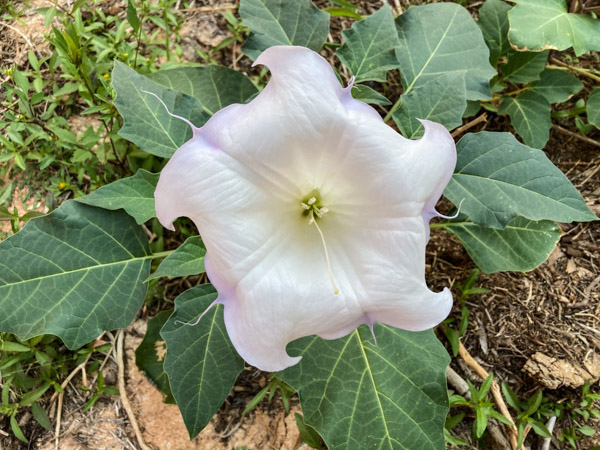
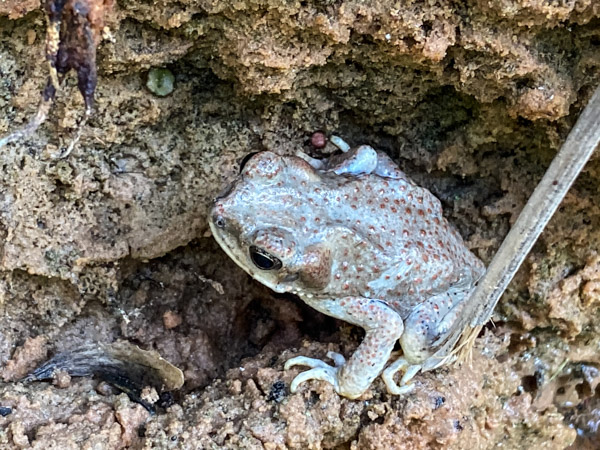
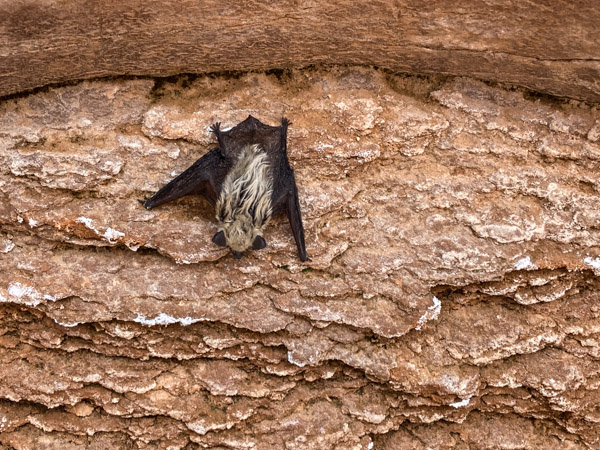
There were lots of trees and flowers in bloom. We saw several critters including a toad (red-spotted?) and a bat (dead?). We also passed a small ruins high on the canyon wall.

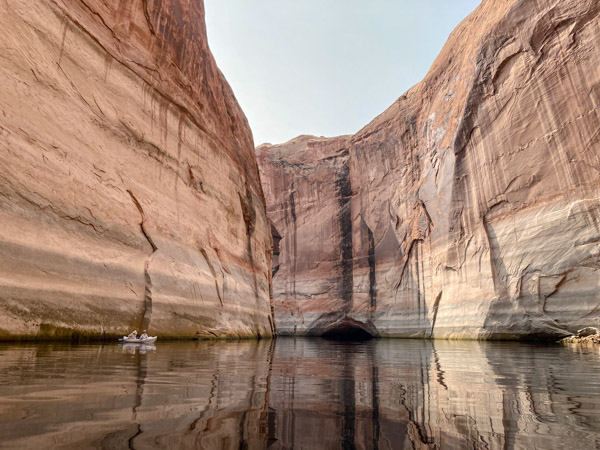
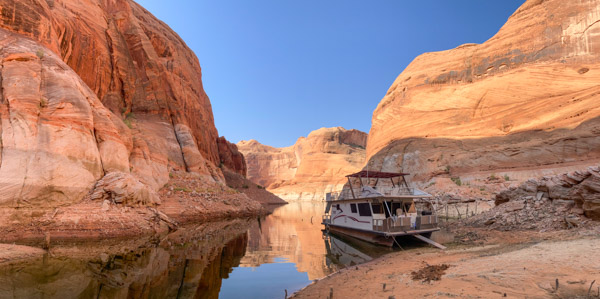
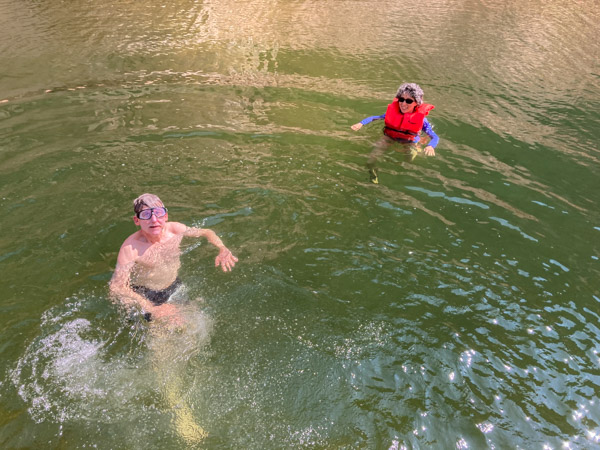
On Day 6 we again picked up our anchors and moved to Iceberg Canyon with its cyclopean rock walls—Truly Magnificent! Here we finally found some real solitude in our own little side canyon where we swam and relaxed.

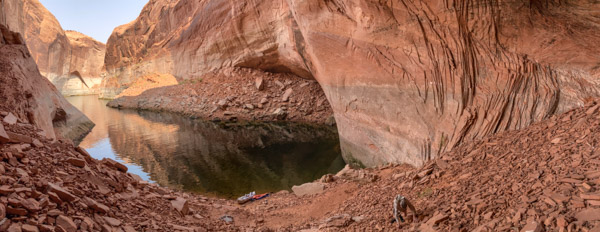
Iceberg Canyon Campsite

We took out the kayak and explored the three arms of the upper canyon. We had to maneuver around hundreds of dead trees protruding from the low water.

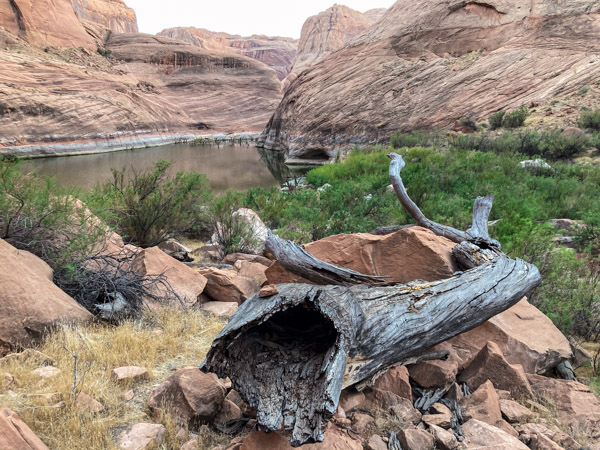
The south arm has a rockfall that created a separate small lake. Compare with these photos [1] [2] I took in 2010 to see how much lower the water is.

The next day we headed back to Bullfrog and civilization. Click on the video below for clips from each canyon we visited.

Leaving Iceberg Canyon

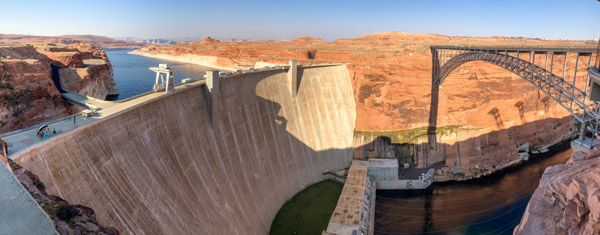
See the Full Gallery for more photos of petroglyphs, HDR photos, and panoramas–including my lightening tour of nearby parks Goblin Valley, Capital Reef, Grand Staircase-Escalante, and Bryce Canyon. I concluded by crossing the Colorado River at the Glen Canyon Dam (which creates Lake Powell!).