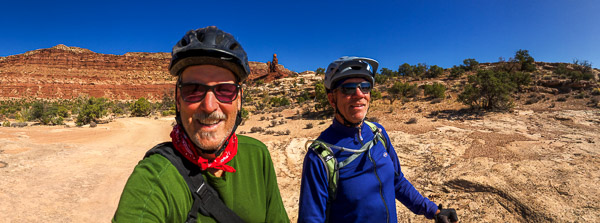
It would be hard to top our 4WD/bike trip to the White Rim in Canyonlands National Park last year, but entering the isolated subunit called The Maze was a strong contender! [Gallery]
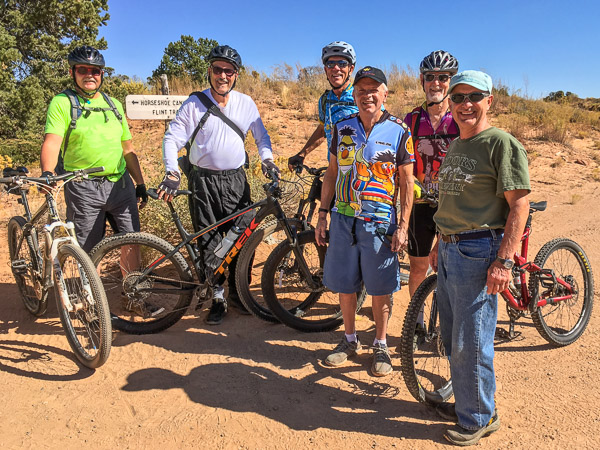
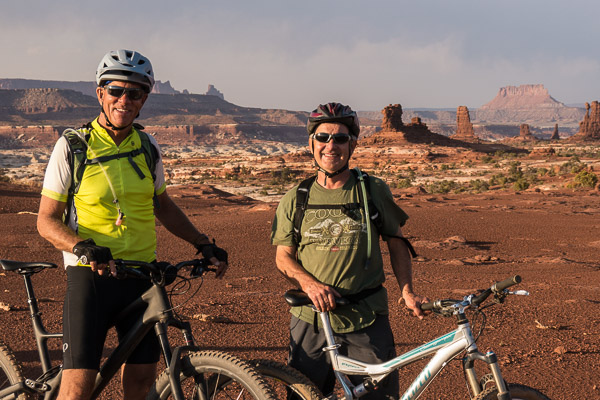
Glen, Richard, Jeff, Bren, Bill, Ricksource:nps.gov (click to enlarge)
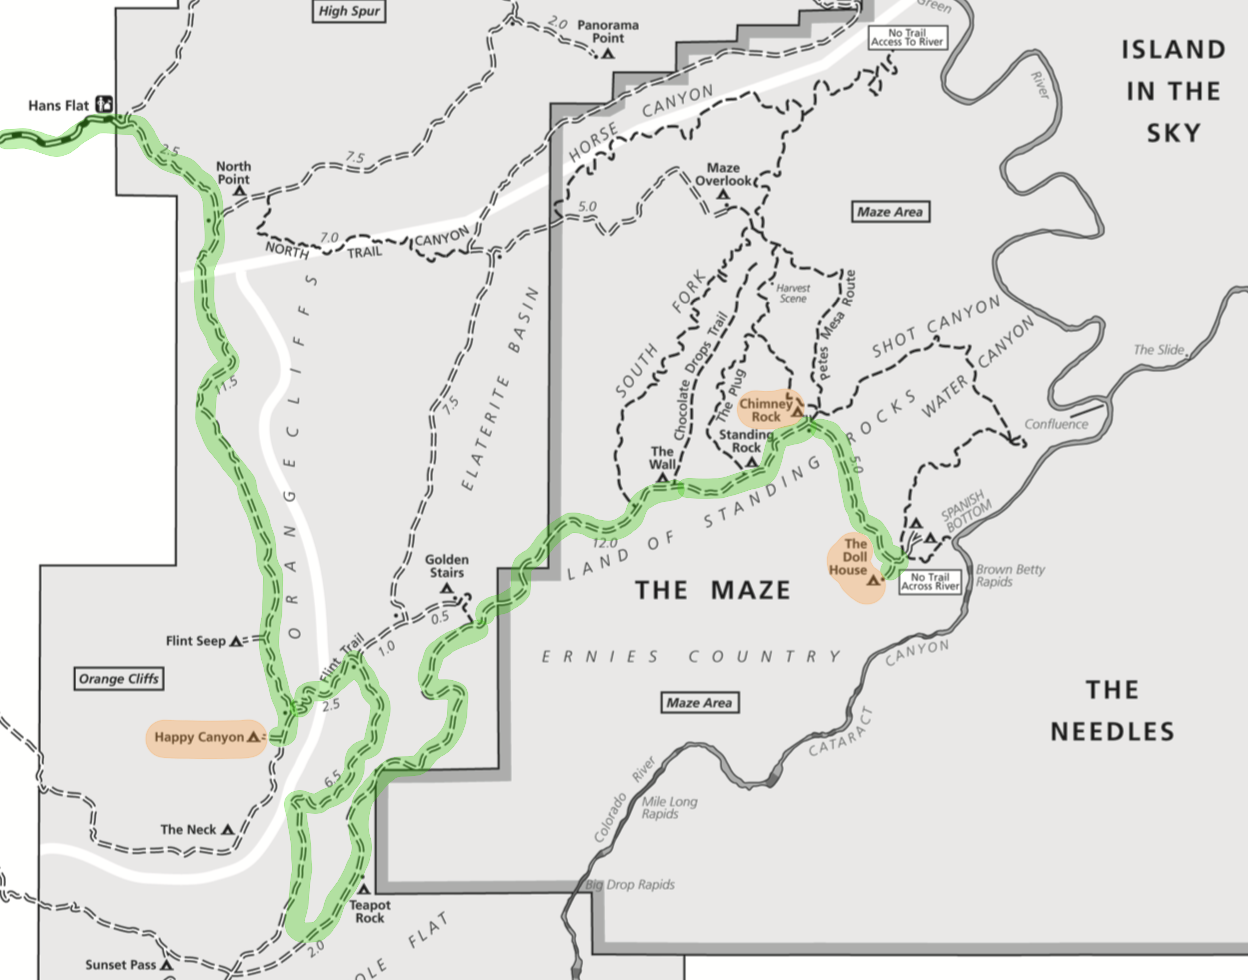
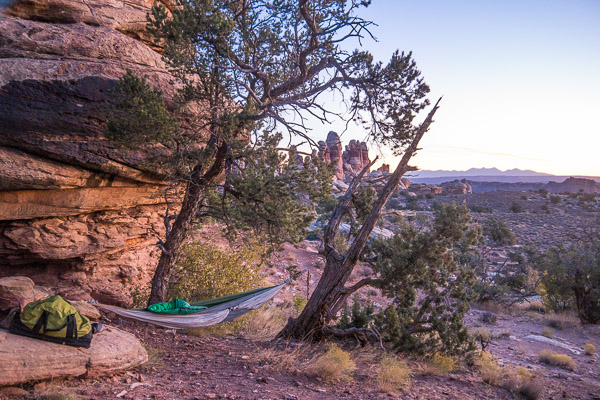
This was not a loop trail, but a very challenging, out-and-back trek to the edge of the Colorado River Canyon. We spent most of the first day just getting to the trailhead on the extreme western edge of the park and establishing our first camp at Happy Canyon. I pitched my hammock between a juniper and a pinyon pine and was rocked to sleep by the wind all night.
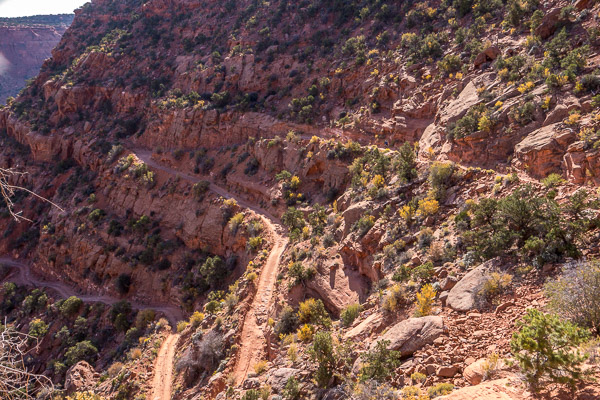
The riding got serious the next day going down the face of the Orange Cliffs on the Flint Trail.
It was very steep and difficult even for the vehicles. I did a lot of walking. Things only got worse the rest of the day with loose rocks, sand and drop-offs. We met a county employee with a huge 6WD Grader who was actually maintaining the road (“every seven years whether it needs it our not”). When we told him where we were headed he laughed and said “We haven’t been back there in thirty years!”
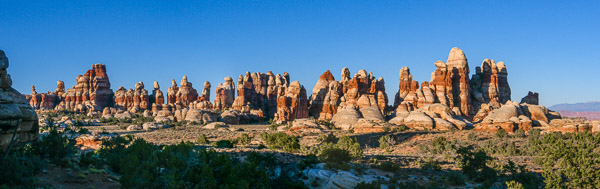
The area around Teapot Rock was especially challenging, requiring spotters and backing up around impossible corners. Late in the day we finally made it to the Land of Standing Rocks, a windswept plain punctuated by fantastic rock formations receding into the distance. It was magical!
Jeff & Rick at The Wall
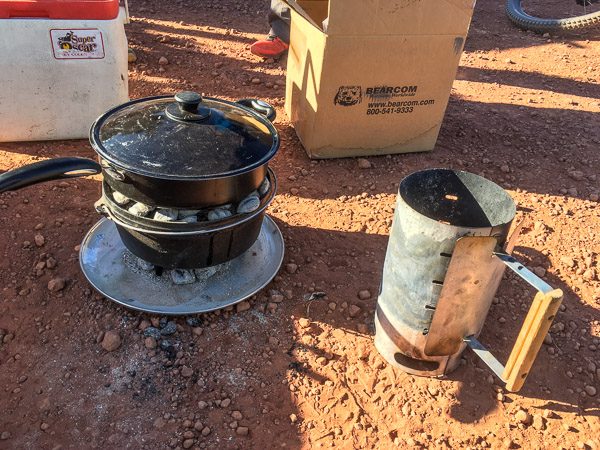
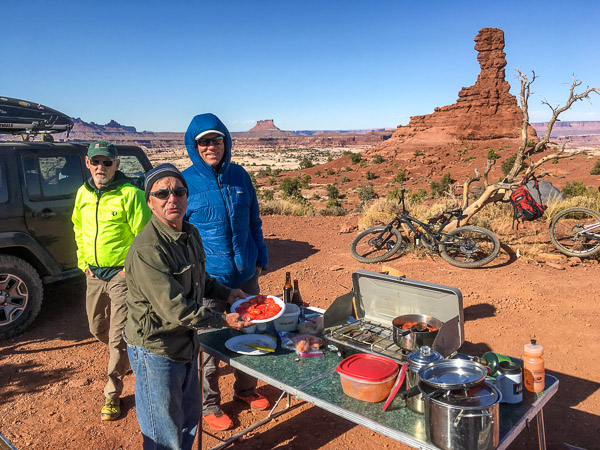
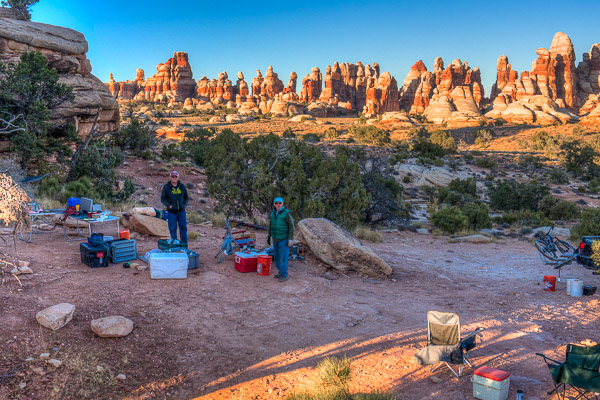
We camped about an hour before dusk at Chimney Rock. It was cold and windy but we made the best of it with G&Ts and hot food prepared in a Dutch Oven by Glen.
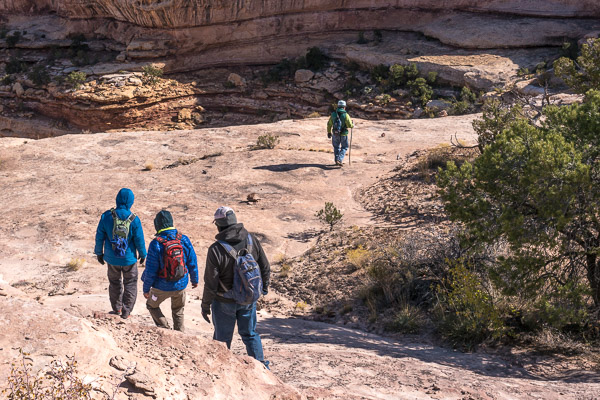
The next day we went for a long, meandering hike following the canyon rim.
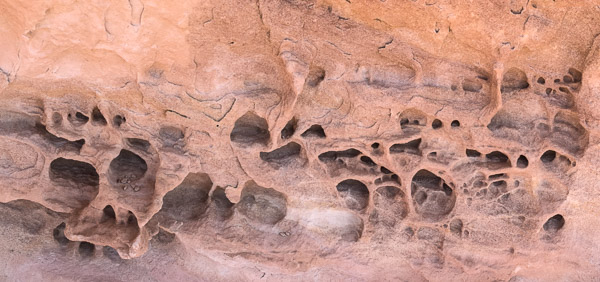
We saw many strange and beautiful things including odd box-work erosion patterns in the stone. They looked like apartment complexes for tiny people!
On our return to camp we relaxed with a caprese salad, beer, & G&Ts before a multi-course dinner. Hard to beat! That night it got down in the 20s but fortunately the wind died down.
Bill, Rick & Jeff at Chimney Rock
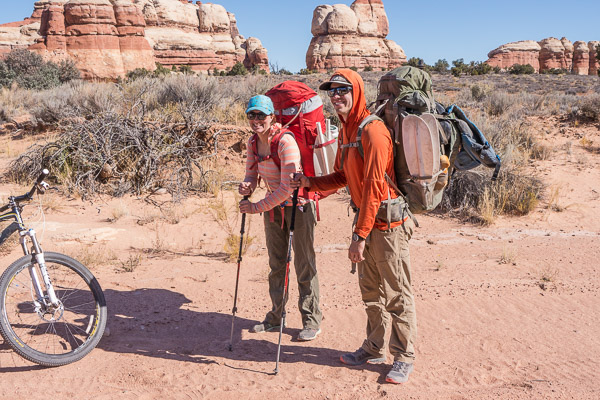
The next day we headed down the relatively easy road to The Doll House. Along the way we met at pair of hikers who had crossed the Colorado River from Spanish Bottom in Inflatable Kayaks (!) that they had in their packs! They planned to hike upriver and paddle back to their car on the other side. Amazing!
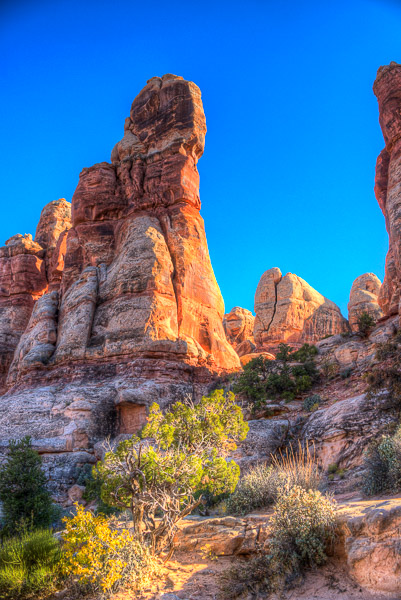
The Doll House is an area of huge striped rock towers with little doll-like figurines on top. The formation is an extension of The Needles region immediately across the river.
We camped at site #3 on the opposite side with spectacular views!
I found a perfect place to hang my hammock between a boulder and an old juniper tree. Room with a View indeed!
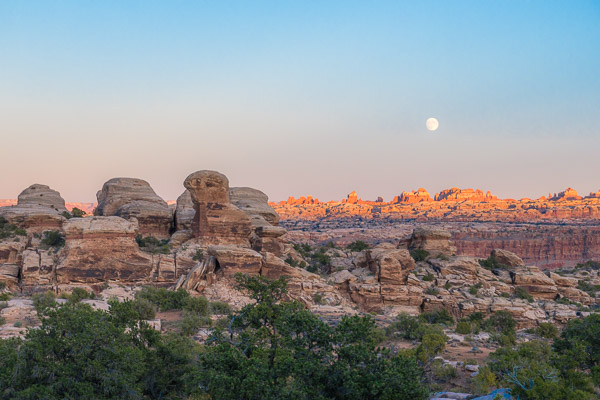
Moon Rising Over Colorado River Canyon & The NeedlesRichard & Bill in the Valley of the Dolls
On the fifth day, alas, we had to turn homeward. I had a great time cycling several miles with Jeff as we retraced our route. We did not climb back up the Flint Trail however, exiting near the tiny town of Hite on the extreme upper end of Lake Powell. It was a spectacular trip!
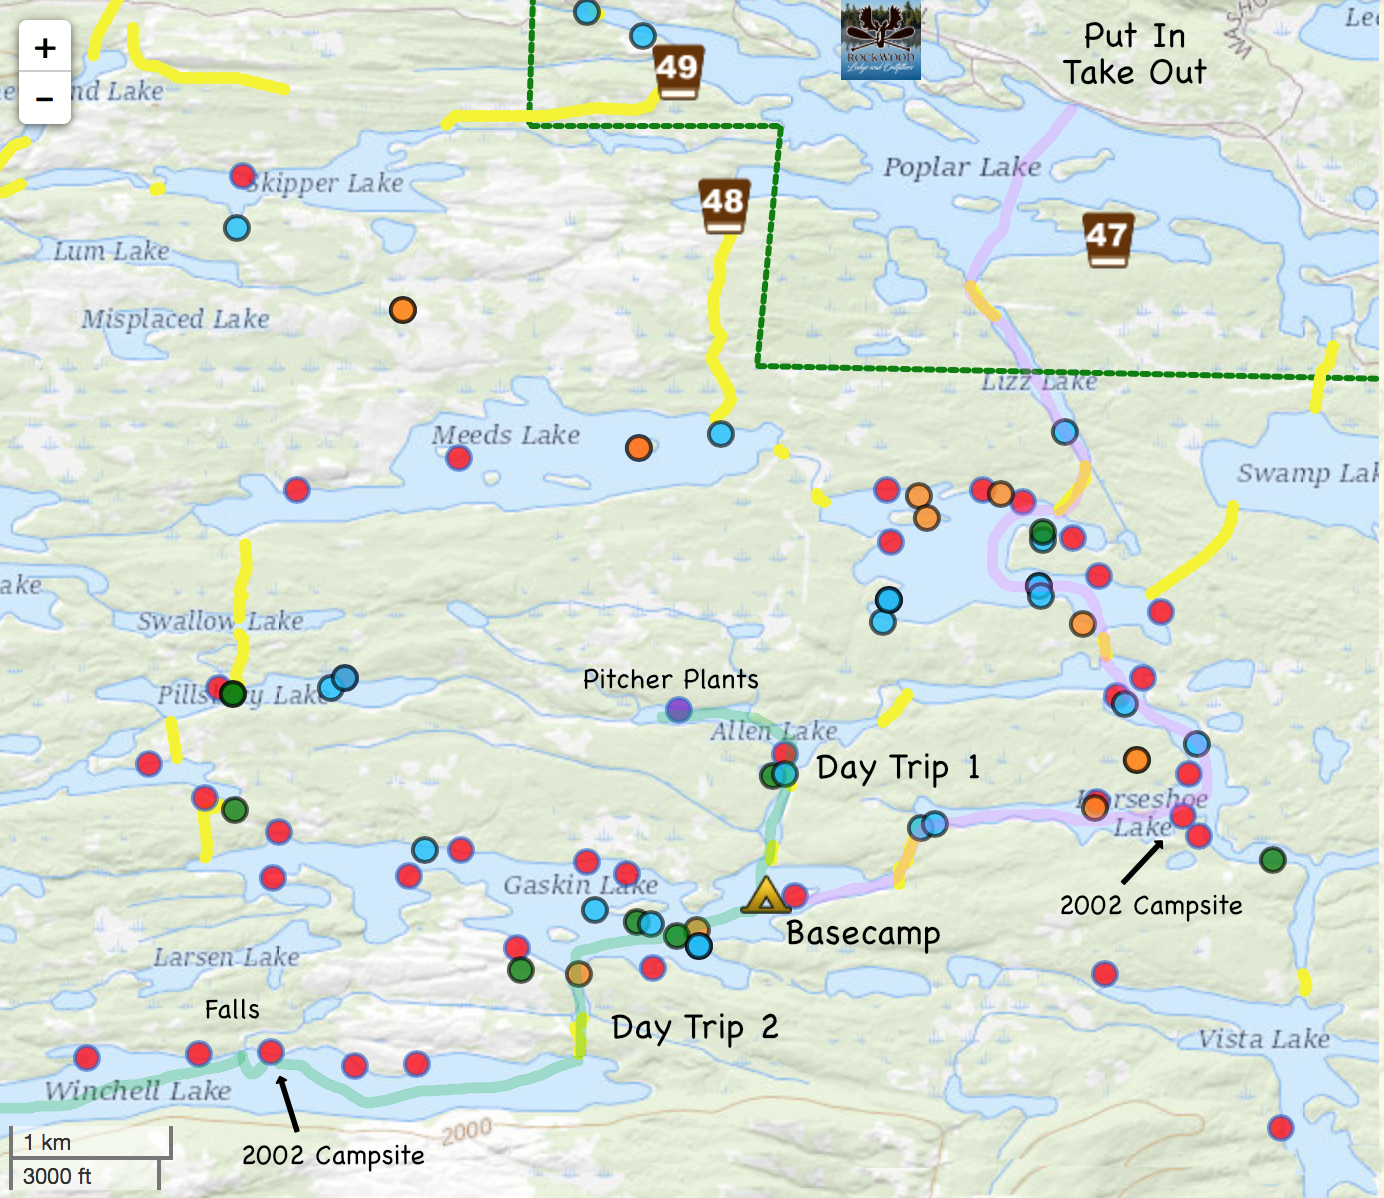
This year we returned to the Gunflint Trail and entered via Poplar Lake. [Gallery] Our party of four became just Ross and I due to circumstances beyond anyone’s control. This was exacerbated by horrendous wind and cold rain on the drive up. Fortunately we had a place to stay (a family cabin) and waited an extra day for the weather to improve.
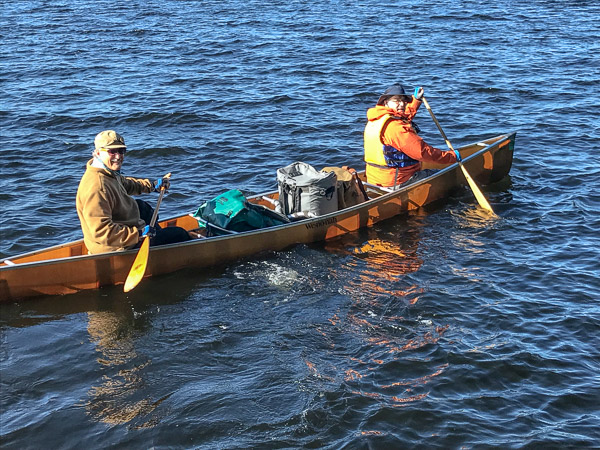
Crossing Poplar turned out to be the hardest part of the trip. We started with a cold headwind and couldn’t find the portage at first.
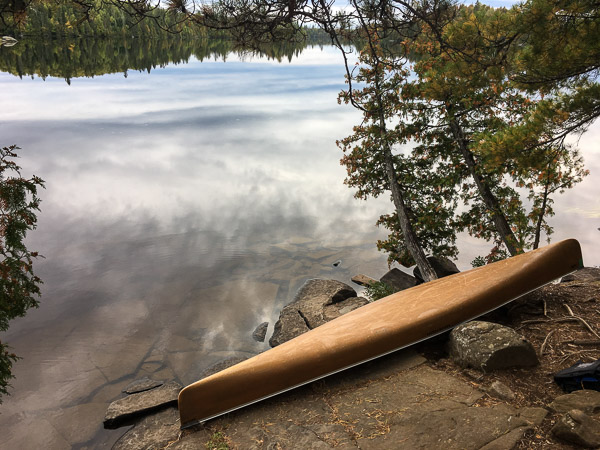
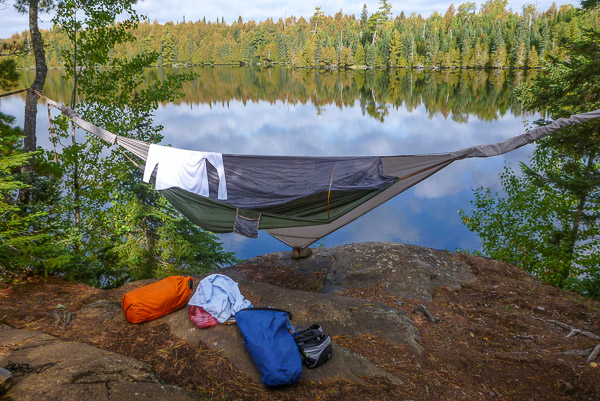
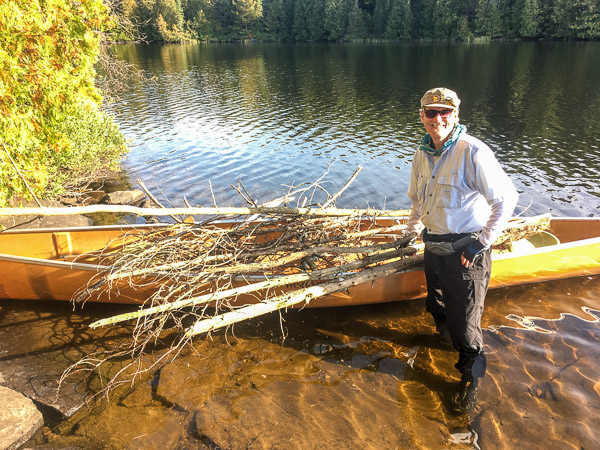
After that everything fell into place, the weather improved and we made good time by double-packing. We arrived on Gaskin Lake by mid-afternoon and snagged one of the best campsites located on a small island.
I found a great place to hang my hammock tent just above a short cliff.
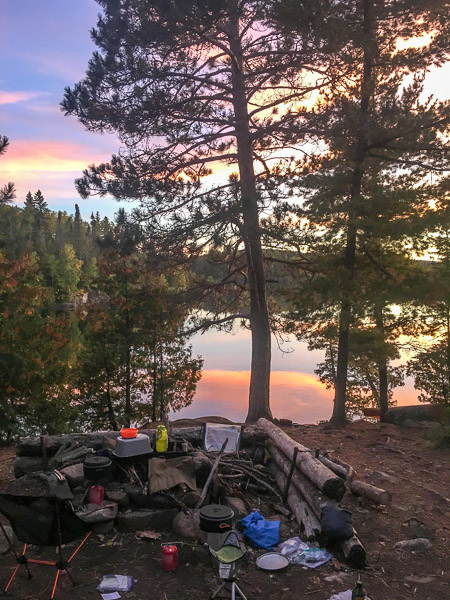
There were several great viewpoints where we had happy hour and meals. The bugs were few and the weather mild.
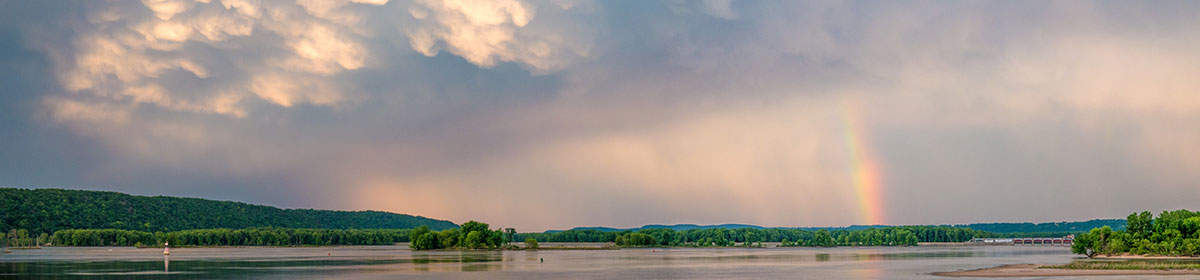
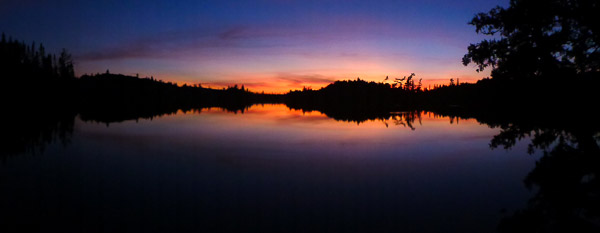
The sunsets were spectacular, especially with a pair of loons to serenade us.
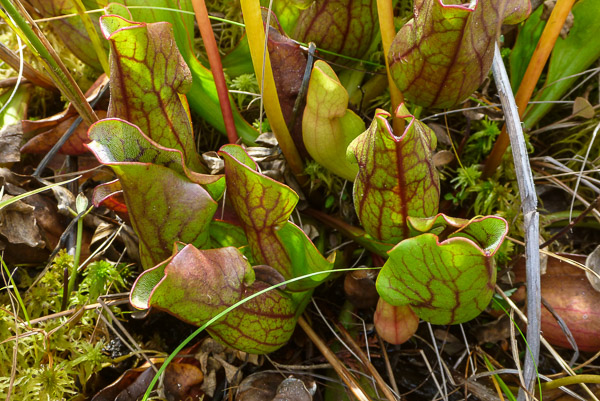
Our first day trip led us north to Allen Lake, which has a single campsite. It is long, thin and pretty shallow. On the western end it is surrounded by bog with many pitcher plants.
Since we were camped on a small island, we collected firewood on the way back.
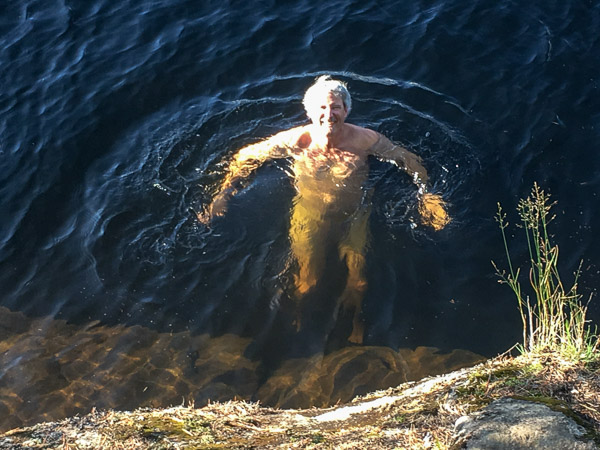
And we both went swimming off a very convenient rock ledge.
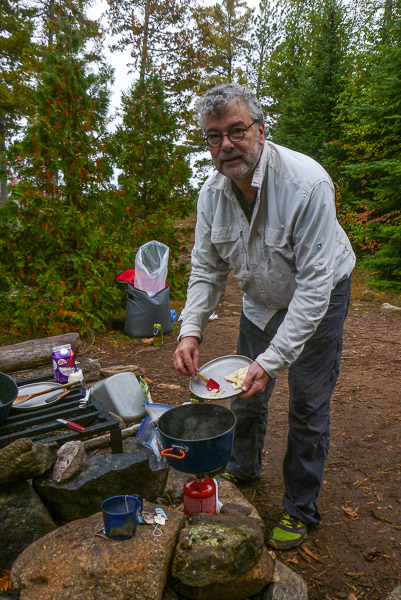
Next day Ross cooked up one of his famous breakfasts.
And we headed out to Winchell Lake for the day. This is one of the best lakes in the BWCA. Its south shore is defined by the Misquah Hills, which rise up several hundred feet and even sport a few cliffs. The north shore is much lower and all the campsites are located along it. Some of the area has burned in the past few decades creating a mosaic of different forest types.
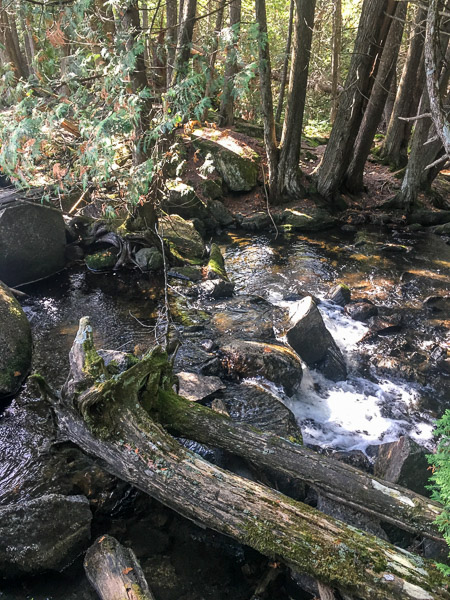
We revisited a campsite I stayed at in 2002. It looked even better! Nearby was a small waterfall draining out of the lake. It has a pool big enough to bathe in and a nice white cedar grove below.
The trip out was uneventful with lots of fall color showing along the portages.
In 2018 I acquired a used Hobie Adventure Island sailing kayak. It came with trampolines that fit between the outriggers. As I learned the particulars of the craft it became obvious that getting out of the cockpit and sitting in/on the tramps wasn’t going to work for me.
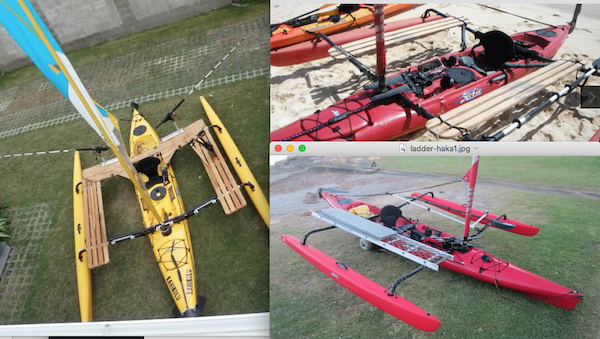
I started looking around and found many kindred spirits on the Hobie Forums site. Adding homemade benches (aka “hakas“) was the obvious solution. To summarize the many materials and designs: simple wooden slats, PVC pipe, metal pipe, ladders, and something called FRP (fiber-reinforced plastic). Here is a sample of what I found…
Source: Hobie Forums
Version 1
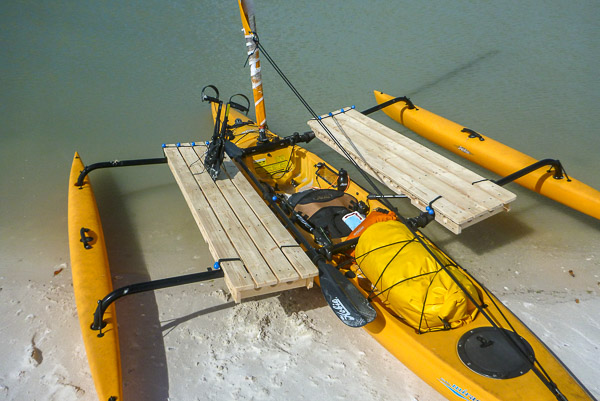
I have basic woodworking skills so I decided to use generic 1x4s from the local lumber yard (about $100). I focused on making them as strong as possible. I finished the benches and took off for the Everglades with them untested. Here is a photo of my version 1 hakas…
Pavilion Key, Everglades
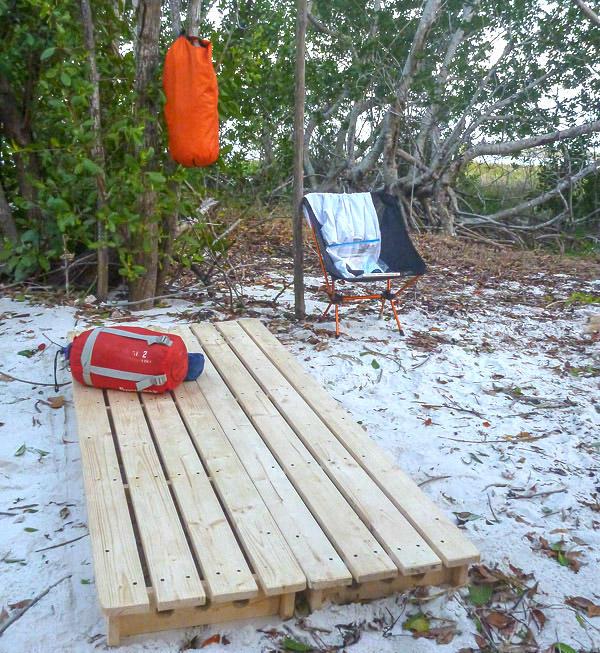
One obvious design element was putting the hakas together to make a sleeping platform. This turned out to be useful when making camp on shore. (Being four inches above the sand makes a big difference!) They were also handy for cooking and just having a clean, dry place to layout gear.
Rabbit Key, Everglades
It happened to be VERY windy (15-30 knots) while I was there, so I had to limit the amount of actual sailing I did. The hakas worked well and I made it back with my sail half reefed. The major problem was the weight (about 27 pounds each). With my gear, water and supplies I was probably at the limit of what the boat could handle. It was also obvious that version 1 was much stronger than it needed to be. Finally, I should have positioned the benches further out so there’d be room to paddle when necessary.
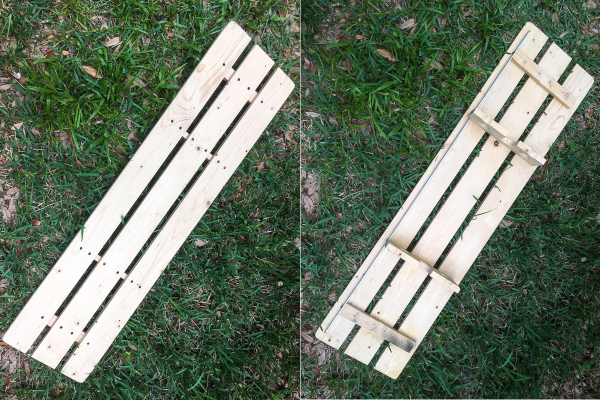
Version 2
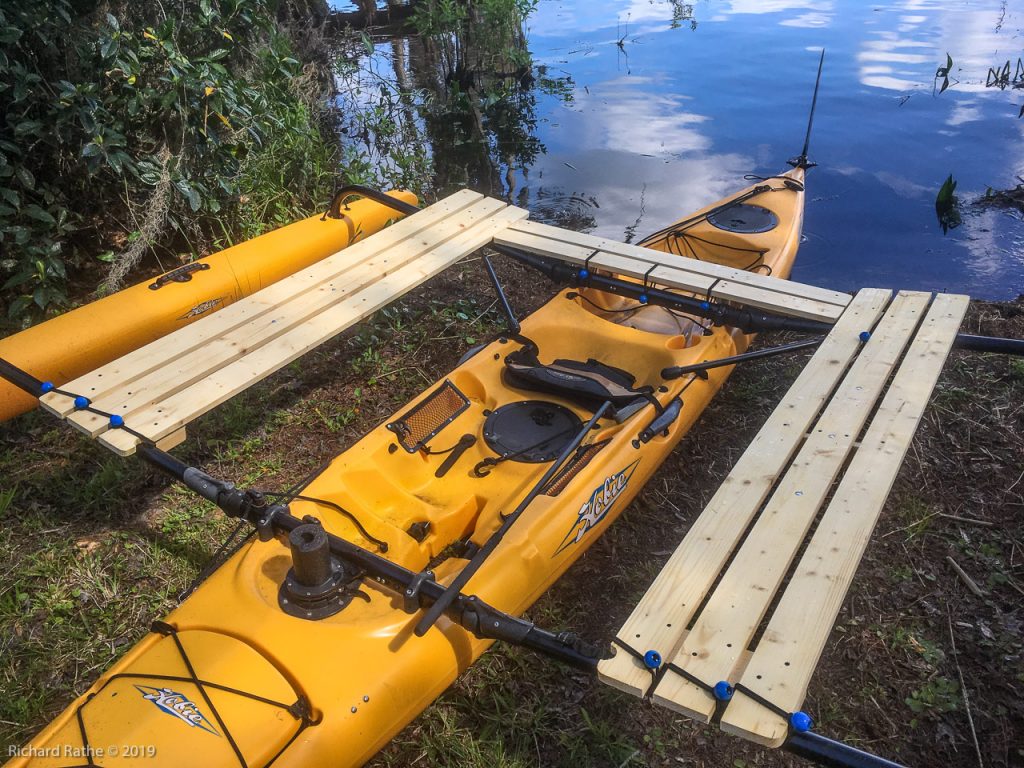
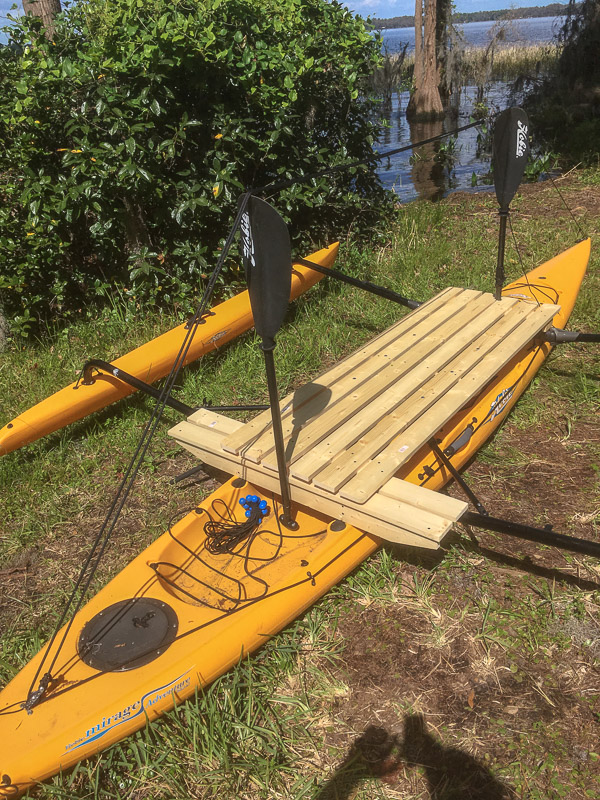
So back to the drawing board! I decided to decrease the width of the benches and nix the undercarriage. I also planned to add a “quarter deck” behind the seat. The complete setup is shown here…
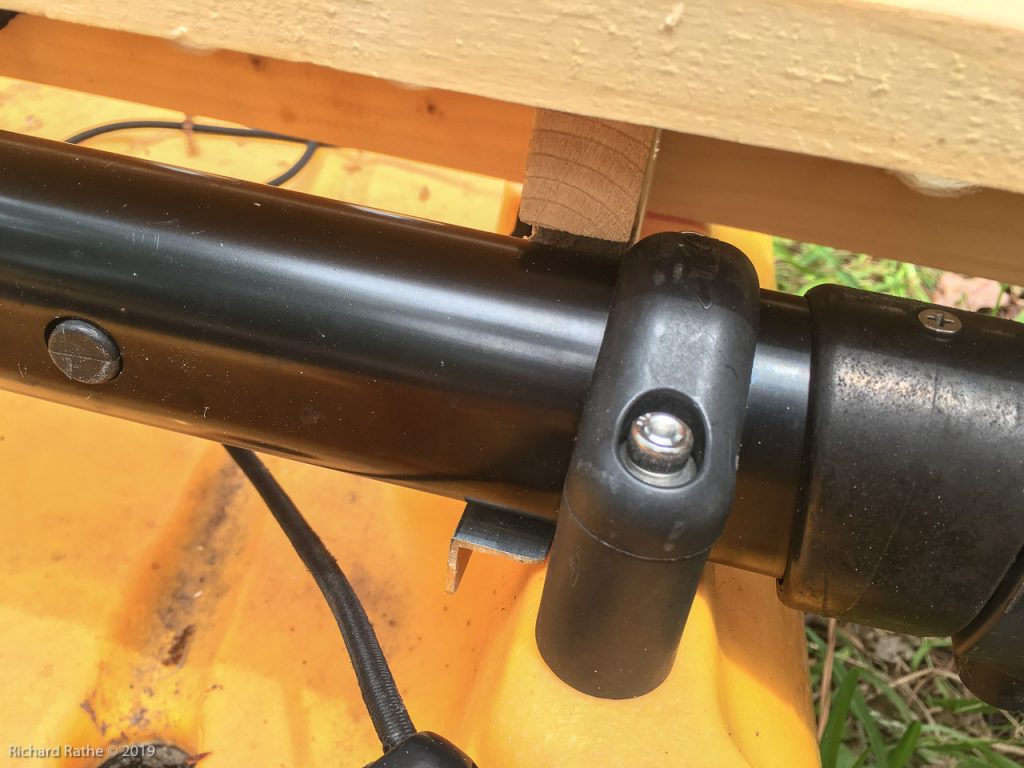
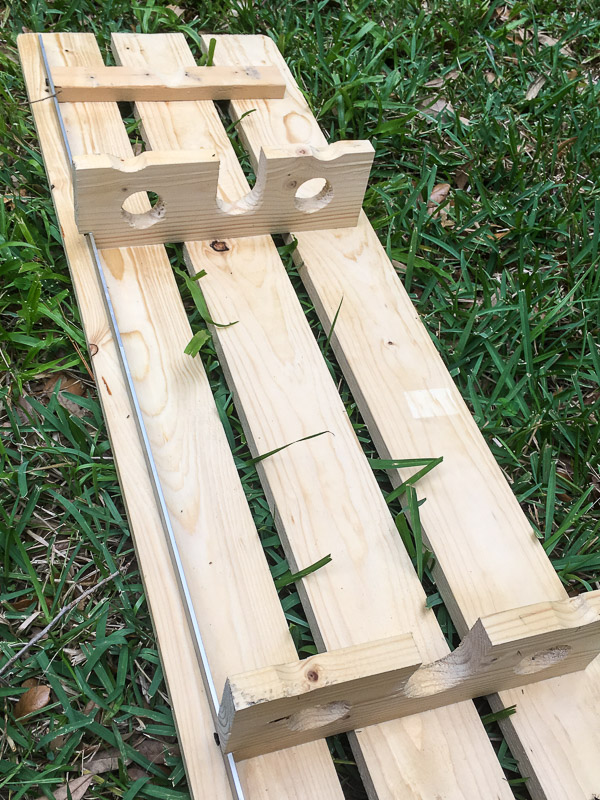
This time I made use of aluminum angle stock in two critical places: 1) I needed a strong “hook” to go under the aft crosspiece to support my weight on the opposite corner.
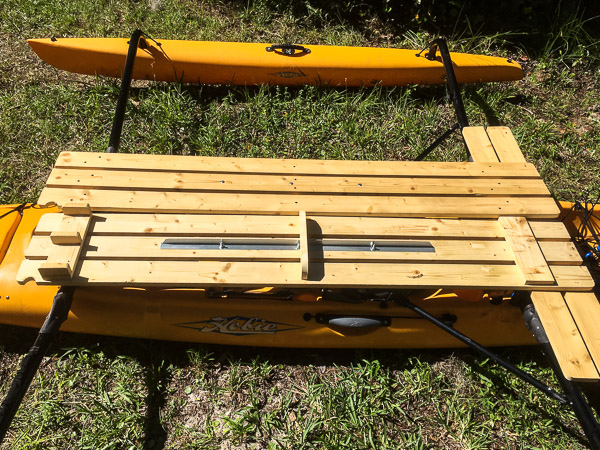
2) The three 3/4 inch planks are not very strong by themselves, so I ran aluminum angle down the center of each bench to help carry the load. They’re still springy but this seems to strike the right balance between strength and weight. (The small blocks seen on the left give clearance for the jam-cleats on the crossbar.)
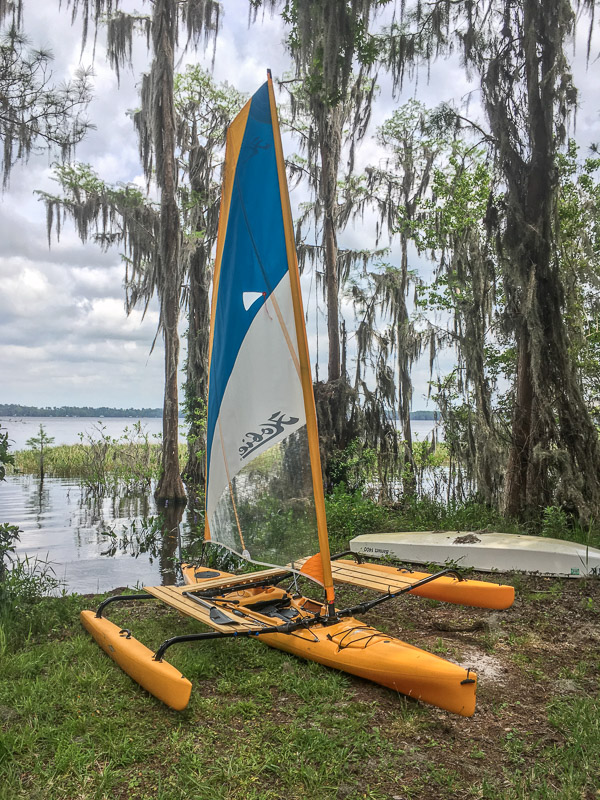
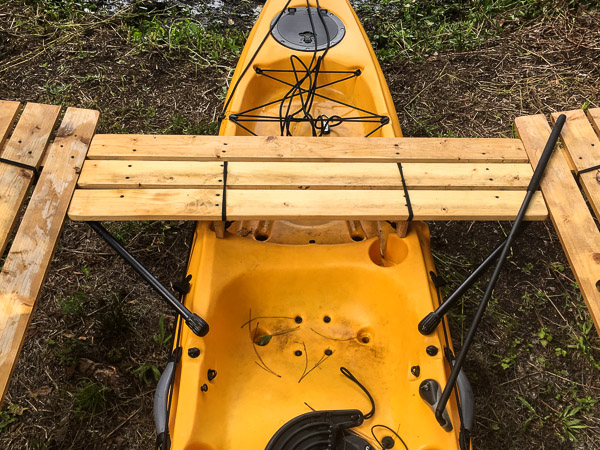
Here’s the result after my maiden voyage!
It is so much nicer to be up out of the spray and for the first time I was really able to keep the boat trimmed in a strong wind. Notice that I’m using a half paddle. This makes paddling with the sail up much easier.
Camping
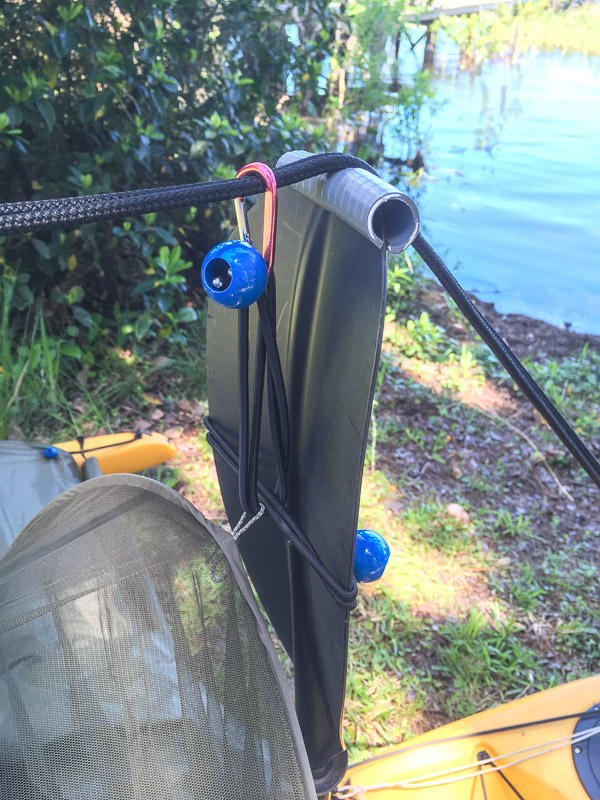
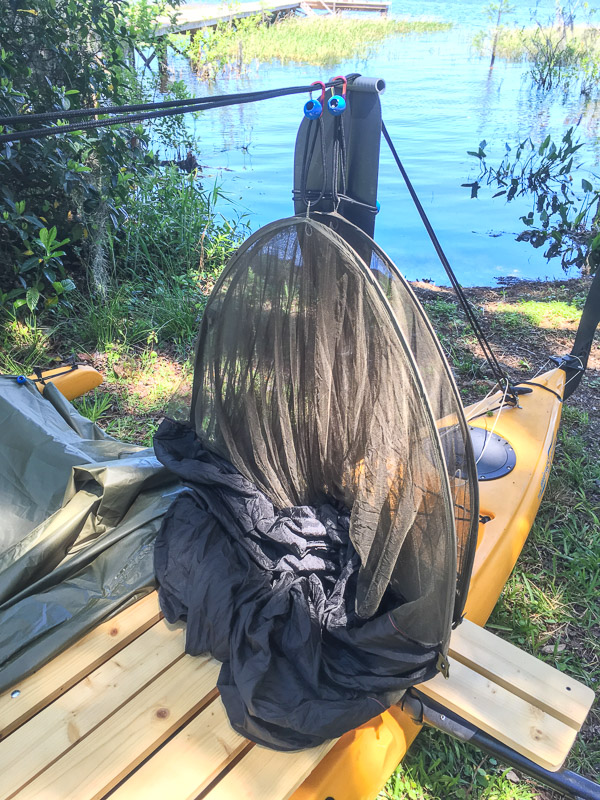
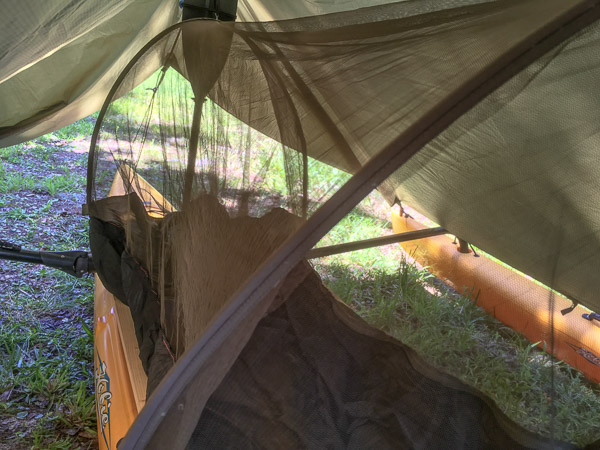
When the two hakas are brought together they make a platform exactly two by six feet. This turns out to be just enough room to lay out a pad and sleeping bag. But what to do about shelter (bugs and weather)? I started with half paddles for the uprights using the mast step for one and the quarter deck to stabilize the other. Then I ran the rope that controls the sail (called the sheet) over the rear paddle and connected it to a rope from the front. This became very stable when put under tension.
I added small loops to a camping hammock and hung this from the ridge line. (Also shown here are the short pieces of flexible conduit I fashioned to keep the rope on top of the paddles.) After much experimentation I settled on the harness you see here.
This has the added benefit of allowing the whole thing to slide to one end when not needed.
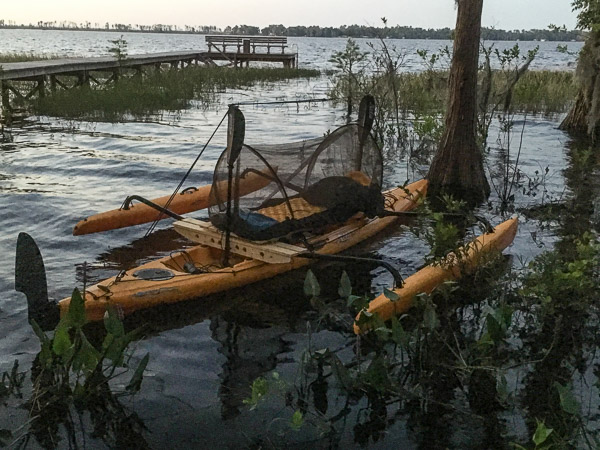
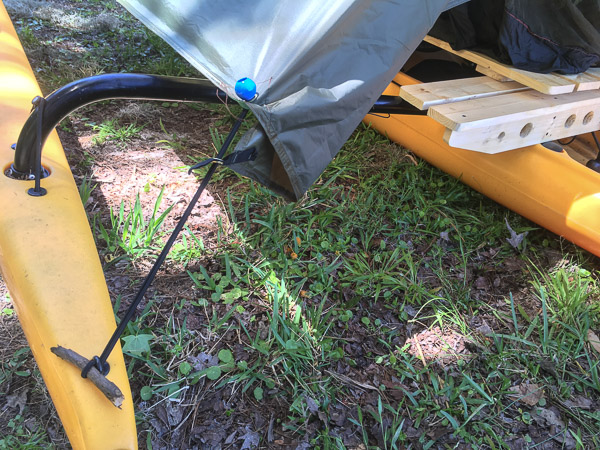
As proof of concept I tied the boat to a tree and slept on the water…
It worked remarkably well. I had enough room to stretch out and nothing got wet! It’s worth noting that the little extensions of the quarterdeck were remarkably useful for getting on and off the boat
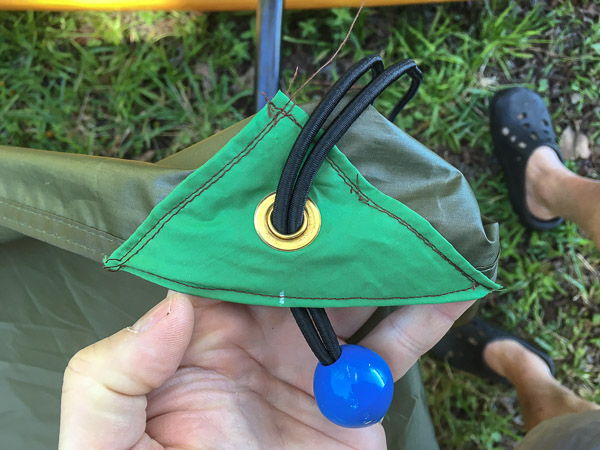
Finally I worked on the rain fly. Starting with a generic 10×10 foot nylon tarp, I added grommets 18 inches from the ends to make it fit the outriggers.
It’s worth noting here that I’m a recent convert to these shock-corded toggles. I used them almost exclusively for this project. I love ’em!
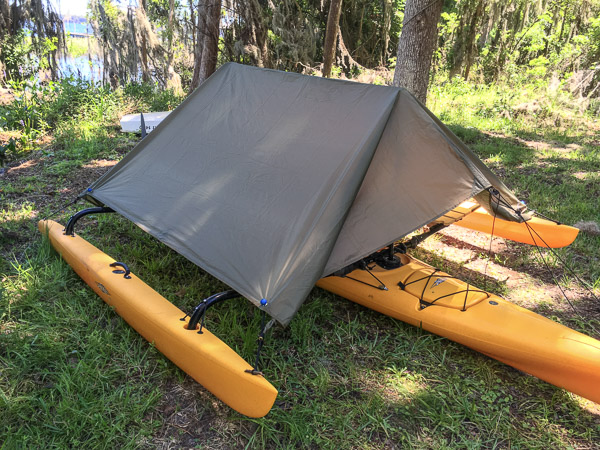
The tarp is supported by the ridge line and tied at the bow and stern. The extra length is folded under to keep it from flapping. This setup is a bit vulnerable to blowing rain on the ends but probably not an issue under normal circumstances (at anchor in a sheltered place).
As you can see, there is plenty of head room inside.
The strengths of this design are:
The quarterdeck and hakas work well together and add to the sailing experience/capabilities of the boat.
The weight is down to about half of version 1.
Almost all the components are dual use, nothing is wasted.
The camping setup is flexible, only use the bits that you need. If there are no bugs or rain sleep out under the stars!
The hakas, hammock and tarp work just as well on shore. In fact all you need are the straps and you have a complete camping hammock with fly!
The main thing I would do differently is a build a larger quarterdeck that straddles the rear crossbar. I’ll add a third plank forward of the other two. This will allow more control of the boat’s trim when I’m not all the way out on the hakas.
Quarterdeck Version 2
A few weeks later I bought some more 1x4s and built a new & improved quarterdeck to the specifications above.
This design was much better and easier to fit to the kayak. Note the 3/4″ aluminum strip (not an angle this time). I’m not sure this is necessary but it helps support weight when leaning out and back.
Here is the final result after a day of sailing. It fits snugly over the crossbar and the leading edge is supported by the diagonal strut. Eliminating the length-wise cross pieces makes it mostly transparent to the waves, which is a big improvement!