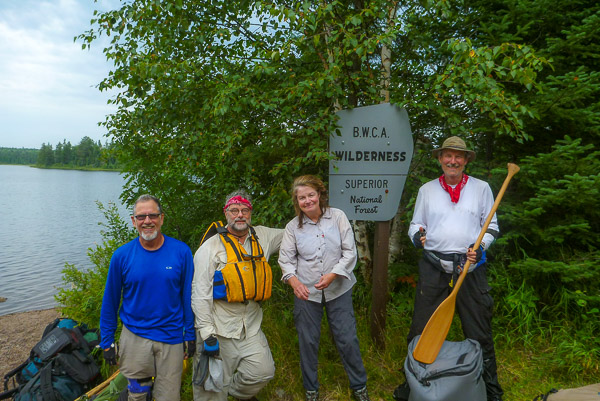
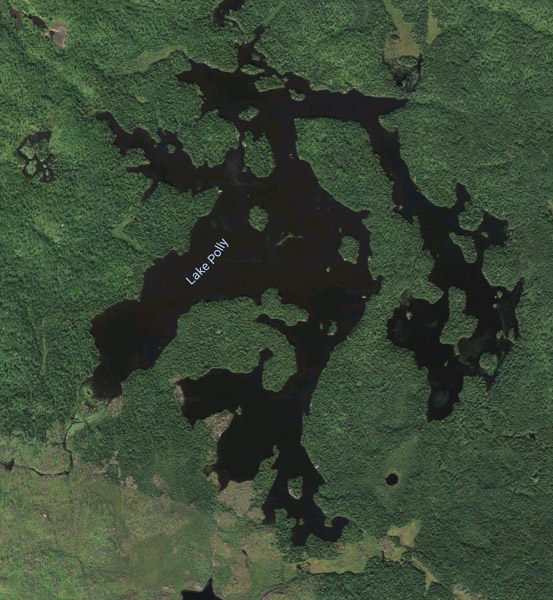
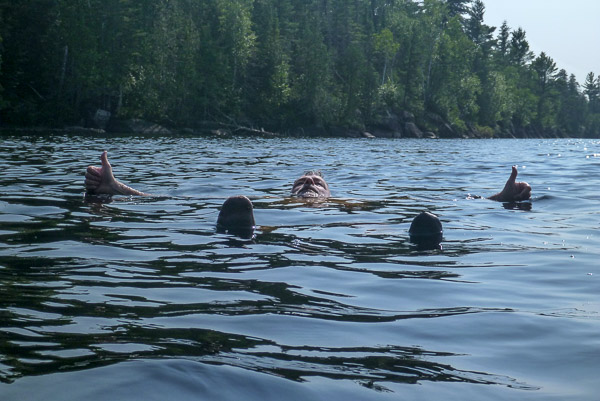
This year I went with Ross’s in-laws Tim and Terese (who are both old BWCA hands). We started on Kawishiwi Lake and proceeded along the Kawishiwi River. [Gallery]
Tim, Ross, Terese, & Me at the Kawishiwi Lake Entry Point
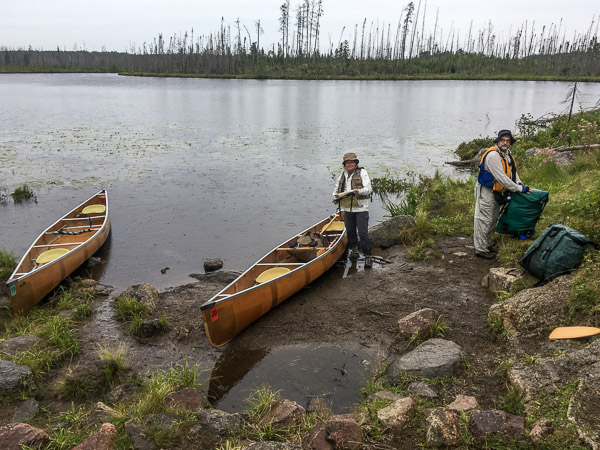
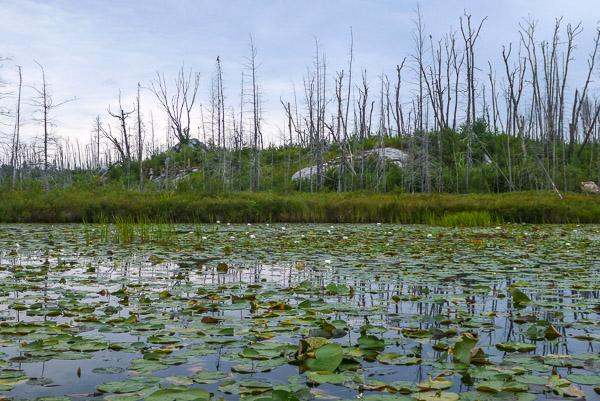
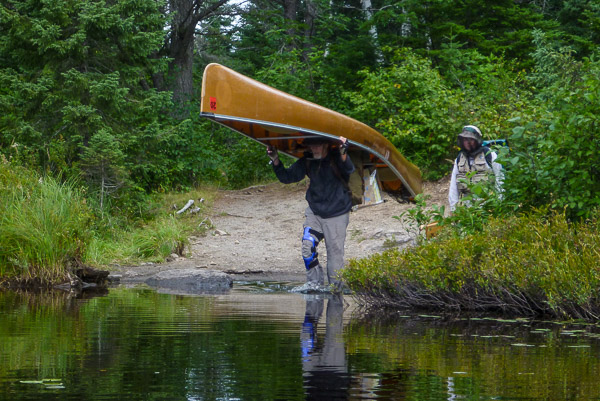
The first day was rainy but we made good progress crossing the beaver dam on the river and then two long portages into Lake Polly.
Kawishiwi River PortageTypical Burned Area
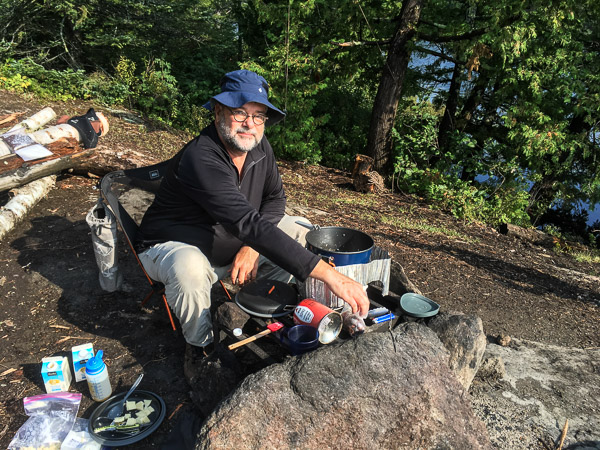
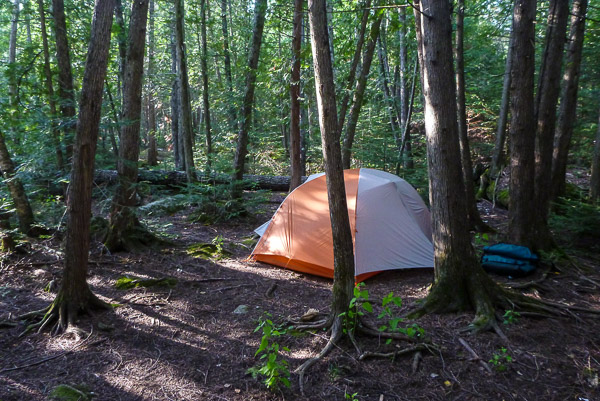
Lake Polly Kitchen
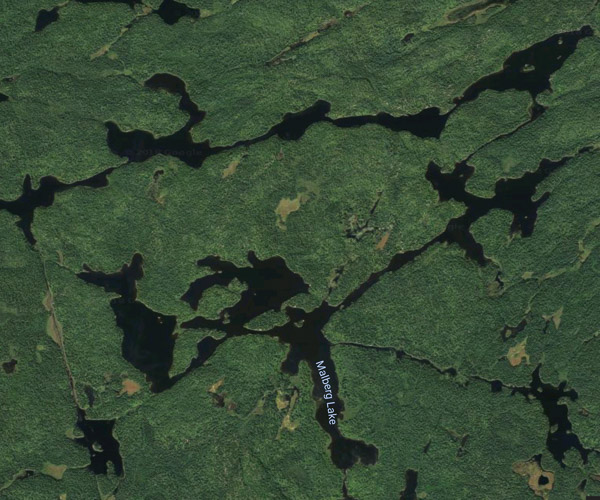
From Polly we proceeded to Lake Malberg with its many angles and bays.
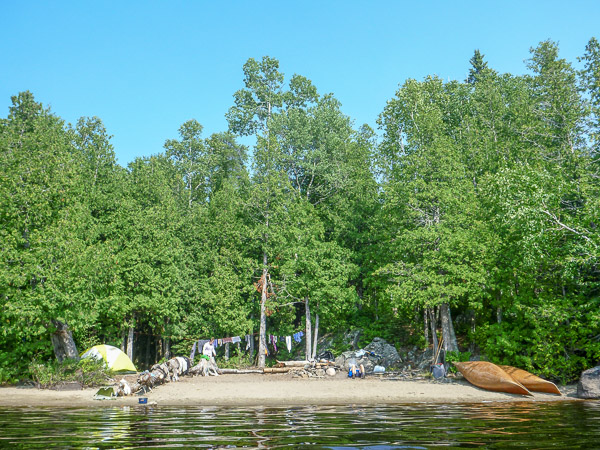
We camped on a small bay with a beach and a dense stand of White Cedar behind.
Lake Malberg
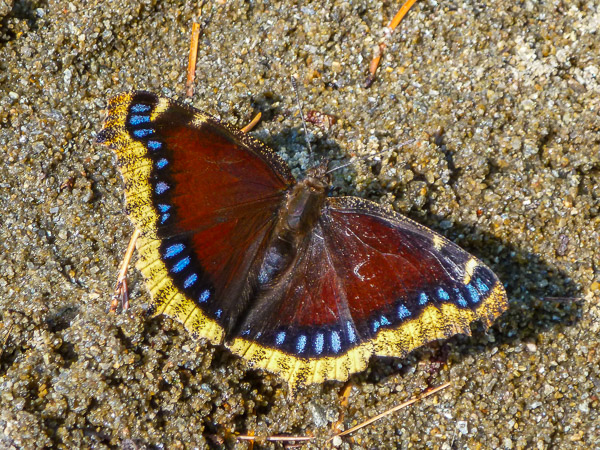
Mourning Cloak Butterfly
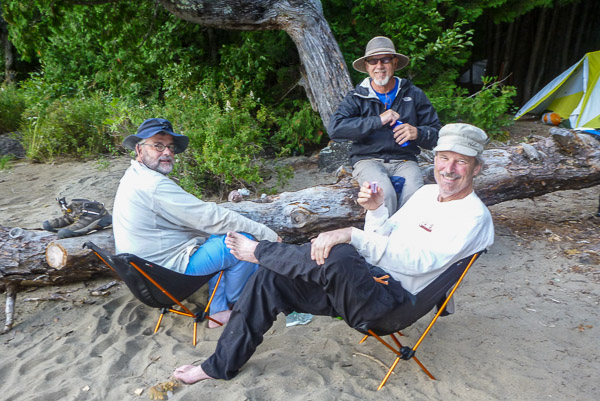
Happy Hour!
We took a long day trip from camp making a wide loop through Malberg and the surrounding lakes. After two relaxing days we headed back to the car by the same route we came in on.
A great time was had by all! Be sure to look at the flora photos and panoramas in the gallery!
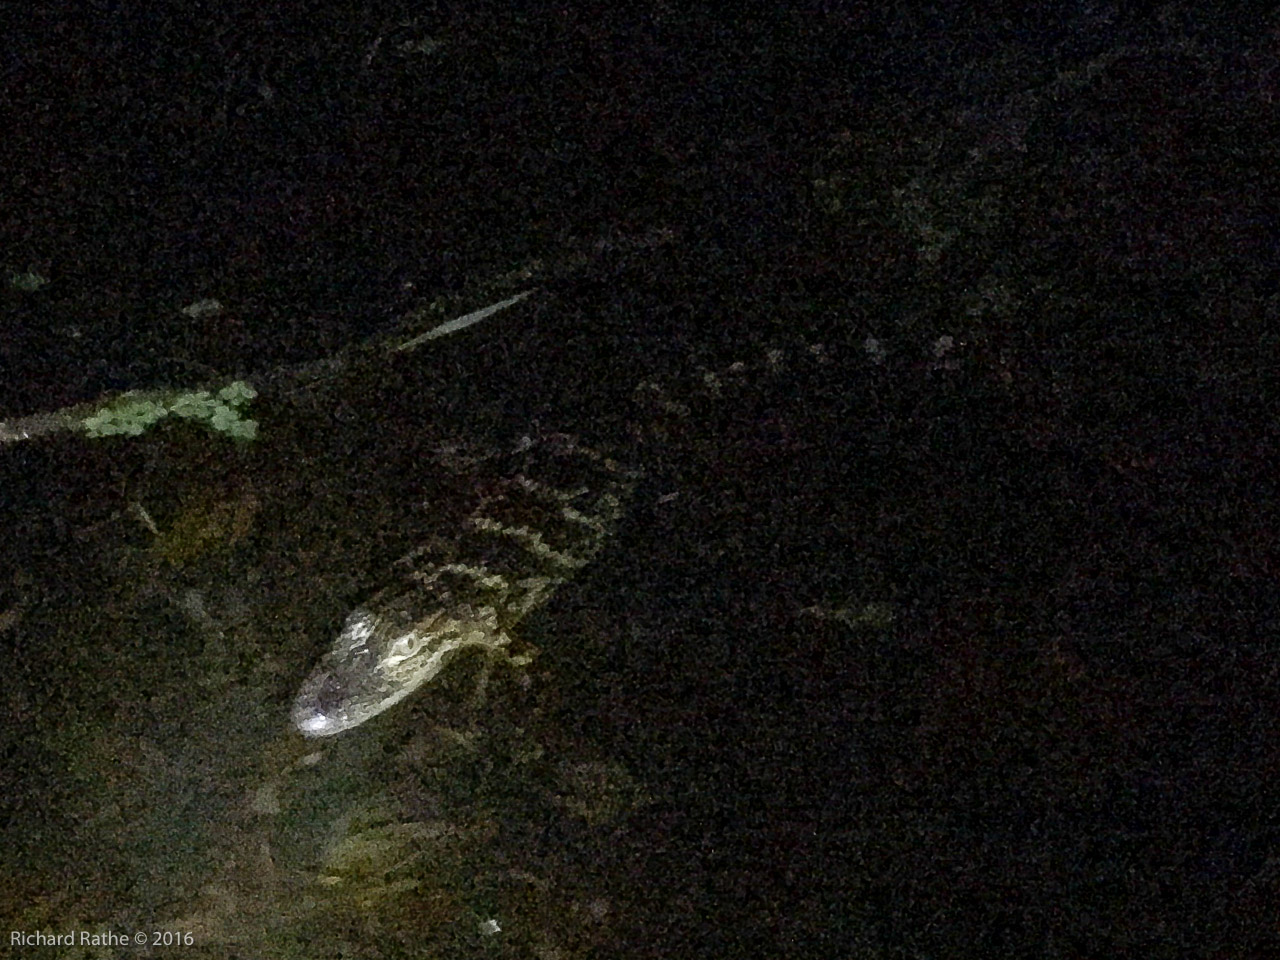
Last time out I was greeted by this little fellow in front of my campsite. (You can tell it’s a young gator by the yellow stripes.) Messing with the flashlight and phone camera did not seem to bother him. He stayed in the general area for a few minutes, let me take a few pictures and then slowly crawled away.
click to enlarge
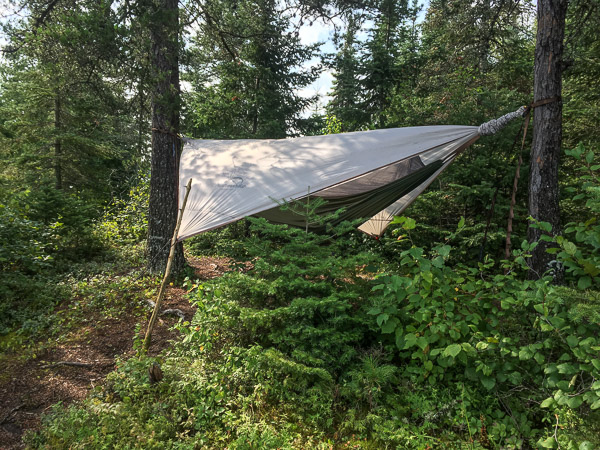
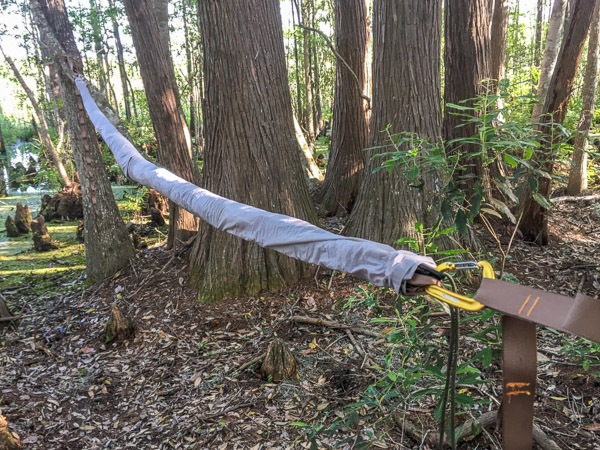
I did not spend much ($118) on my starter hammock, but I’ve come to appreciate that it is a complete system for three season camping. I did not have to spend more on separate components (i.e., net, fly, skins). Here is what it looks like when hung between two trees with the skins pulled to the center…
This is the head-end. Note the extra green loop [mod #1]. I added this to let the fly relax and fall to the side when not needed. It turns out that having the fly connected normally is the best way to get the correct tension (after which I slacken it). [I later learned this is because this particular hammock lacks a ridge line.] Note also that the foot is slightly higher. This was counter-intuitive for me since I like my legs lower than my head. Basically this prevents you from sliding down and getting all bunched up. It just works!
Next I turned to the bug netting. With no instructions and very little info online I had to improvise. The included cords had little slide-locks to help get the right tension. The problem was that once you got into the tent, the tension changed. So I replaced these with thin bungee cords [mod #2]…
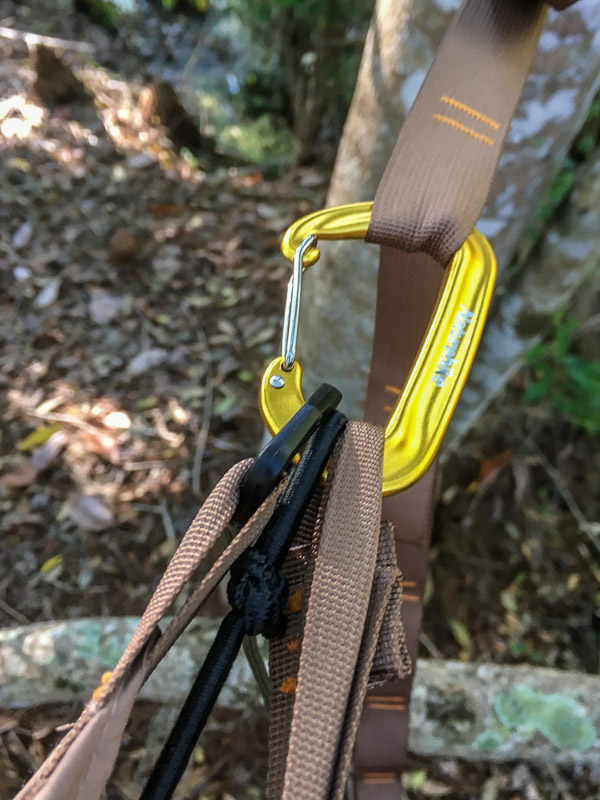
I also moved one of loops for the spreader bow (not shown). I suspect they had a quality control problem with the stitching. Here is a closeup of the head end…
[L to R: fly, bungee, green loop (behind) and hammock]
Next I fixed an obvious flaw—not being able to reach the foot-end zipper pull. I simply replaced the short inside tab with an 18 inch cord [mod #3]…
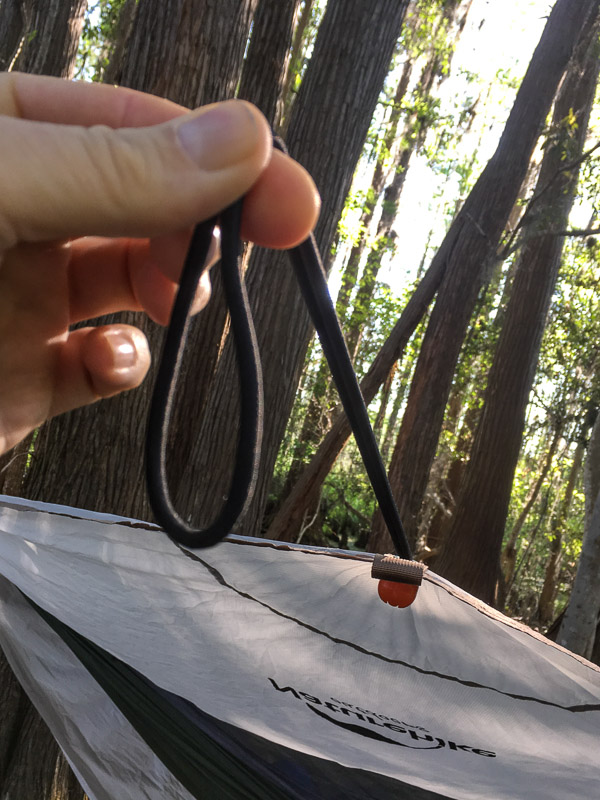
Finally I turned to the free corners of the diamond-shaped fly. It suffered the same problem as the bug net, no good way to keep the proper tension once inside the hammock. Here’s where a bit of serendipity came in. I had purchased a set of tarp tie-downs as a source for the bungee material. They came with orange knobs on them for fast tying. This turned out to be a perfect fit for the fly [mod #4]…
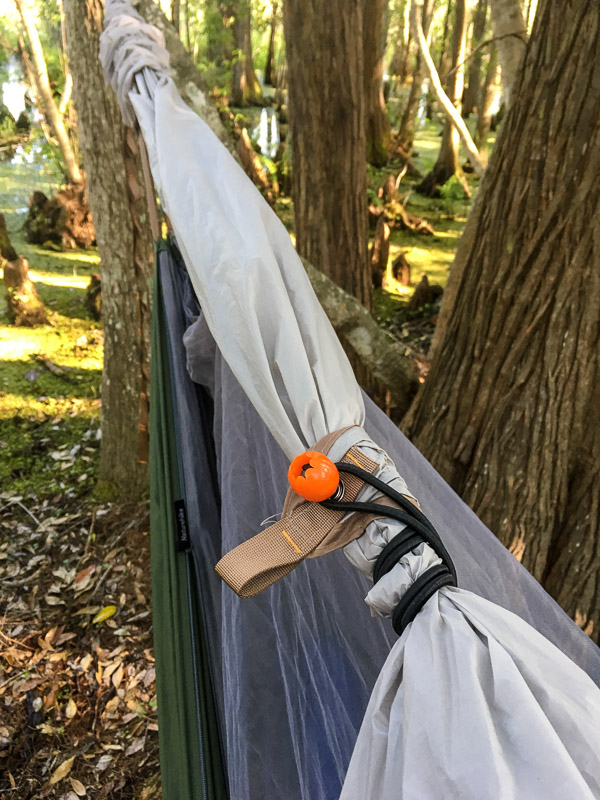
The ends can be staked down as is, or extended with the slide-lock cords and tied off to a tree or other object. This provides a nice taut fly that can recover from gusty winds. As an added benefit, when I need to fold the fly back the bungees can be hooked together on one side with minimal flapping. <smile> They also help keep the fly furled when not in use. I’m still working on the best way to do this…
Here is the whole rig in action…
click for large panorama
Note that the foot is higher and the fly is furled but not relaxed. My biggest problem is getting the sleeping bag arranged under me. This is non-trivial when there is no solid surface to push off!
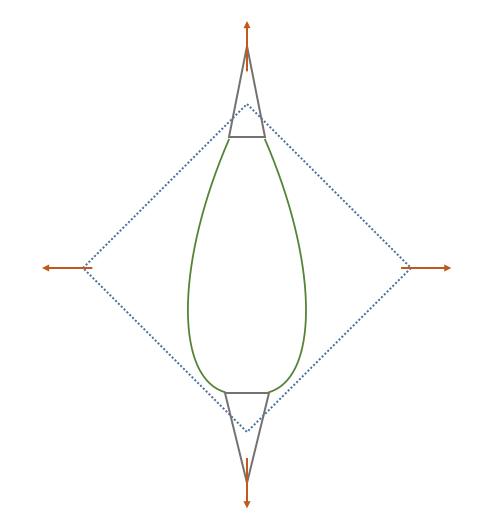
Finally a note about the overall configuration, on most nights this hammock only needs two points of suspension. Using the fly brings that to four. One of the things I love about this type of tent is how simple it is to deploy and pack up!
Two or Four Point Suspension
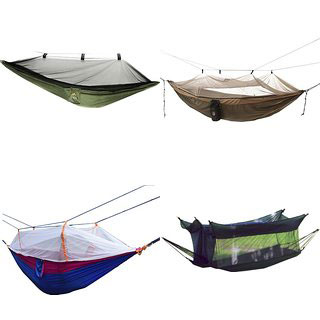
Here are a few examples from Amazon.com. The number of suspension points goes from six to eight and beyond. And that’s before you add the fly!
Imagine putting these up in a rain storm with bugs biting! The KISS principal at work.
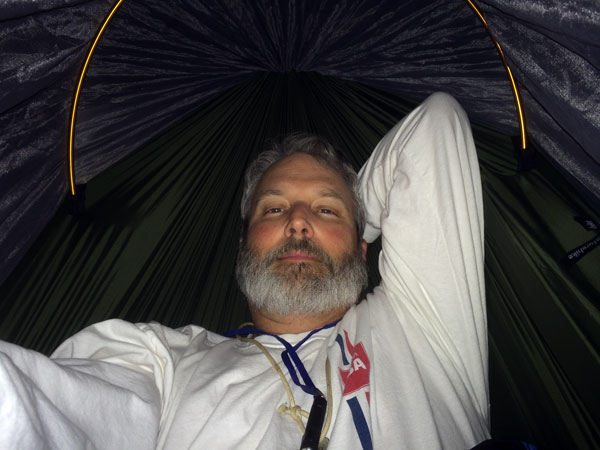
I went out last night to get some experience pitching and sleeping in my new hammock tent. It came with no instructions and there is only limited info available online. I’m getting better using a bit more tension and added a small relieving line to the fly so it can hang along the side (keeping the netting clear for viewing the trees and stars!). In future I’ll keep it rolled so it stays off the ground. I paddled in the dark to a place I’d picked out. Once you find two trees the rest is pretty easy. In fact, it’s trip-over-a-log easy compared with a surface tent! Plus everything is dry!
I brought a small towel to wipe my feet before swinging them inside. I like the little pouch on the outside for a water bottle and miscellaneous small stuff. There is also a small pocket in the netting overhead that works well for phone and glasses. One cool thing about all/most of these tents is the way they pack up, basically two narrow funnel-shaped sleeves (called “snake skins”) that pull to the center. Take down is as easy as setting up.
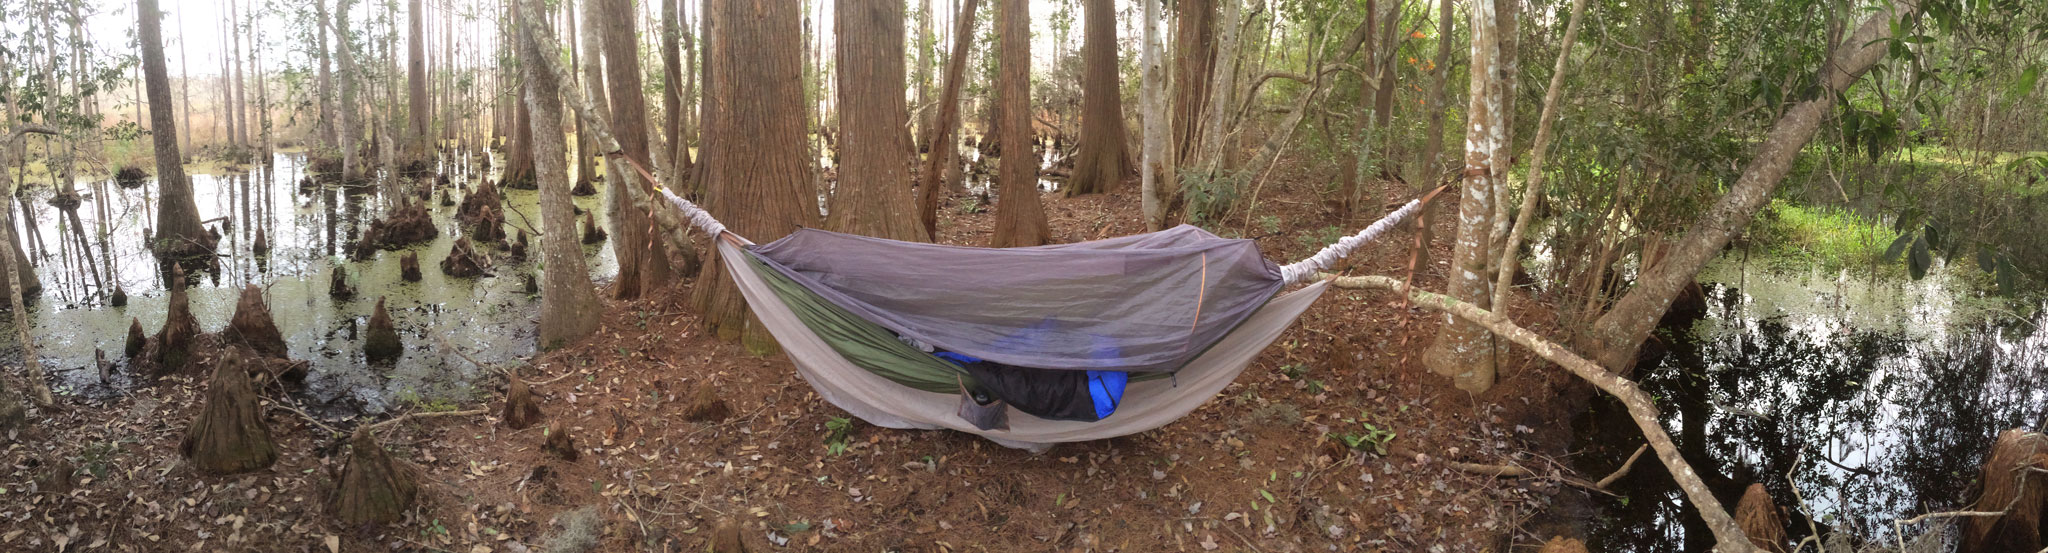
The diamond-shaped fly has “wings” that tie out sideways. I think this will work well, but you have to stoop to enter/exit. Having recently pitched a conventional tent in driving rain (i.e., everything wet), it strikes me that the above arrangement is far superior. When you hang it and pull back the skins the fly is on top and drapes over the inner tent keeping it mostly dry. That’s the theory anyway!
Update: I slept under the fly during a vigorous rain storm and it was amazing! Not one drop of water got through to me!! It was the driest tent I’ve ever experienced. The only caveat is the rain that night was mostly straight down. It would be a bit more vulnerable with a significant crosswind.