Lumix TS4 Waterproof Camera Review

Review

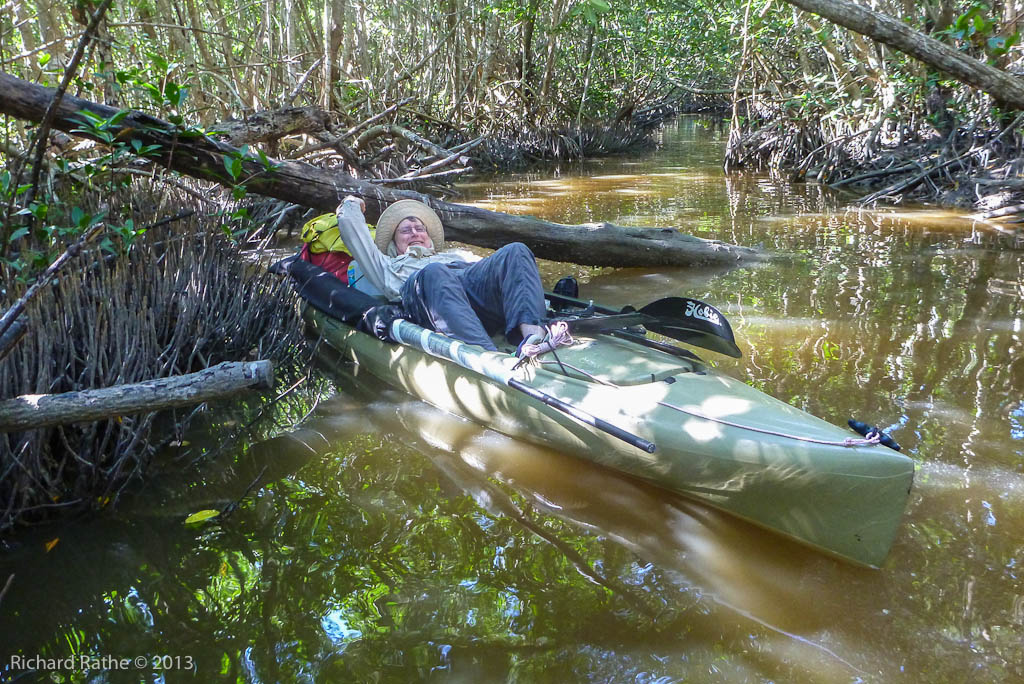
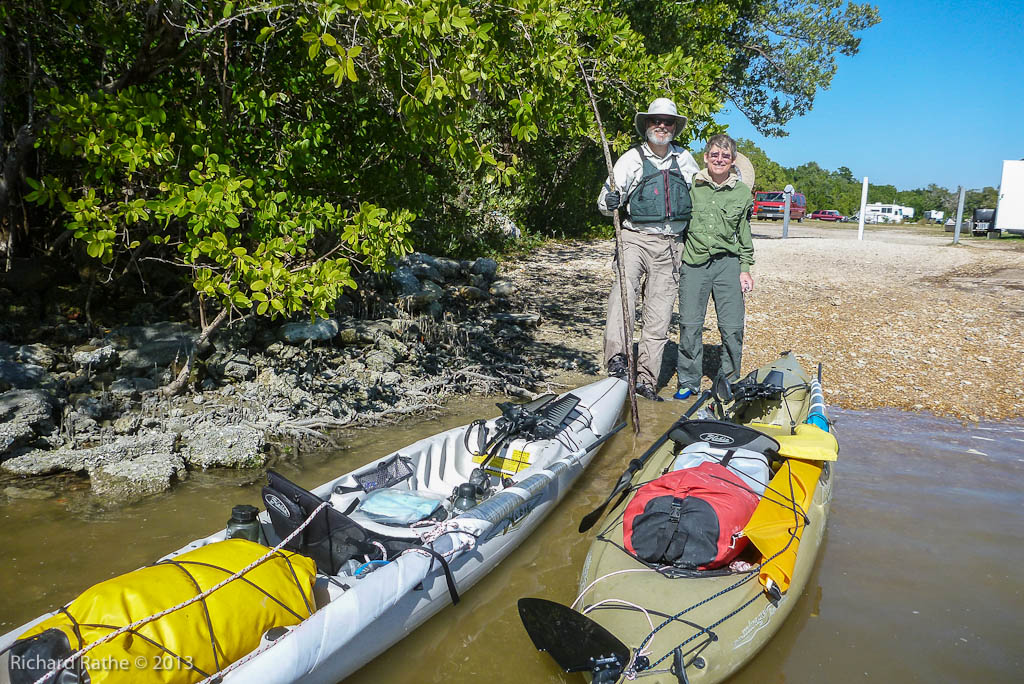
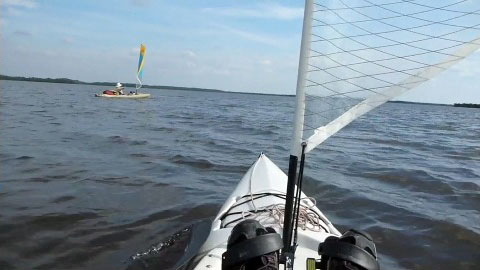
I recently purchased this waterproof camera to take along on my kayak trip to the Everglades. It cost just under $300 online. The results so far are impressive, especially the high-res video.

lumix-ts4

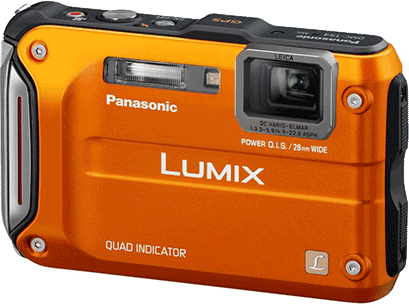
After a month I’ve become pretty familiar with its basic functions, but the PDF-only manual is thick and there are lots of bells and whistles I haven’t tried (such as time-lapse). Here is my quick review…

“Waterproof”

It seemed to survive the salt water nicely, though I did not open the battery/card door during the trip and did not use it underwater. I bought a floating wrist strap that worked well. Very nice not to worry about getting it wet! There are two caveats however: 1) It is very easy to get water or salt residue on the lens window. Inspect and clean it often. 2) There are controversies on the web regarding water damage, warranty service, and required replacement of the door seal. My impression is the company is beginning to listen to customers who had problems and is making maintenance easier.

Basic Photography

The basic functions are all there and reasonably well implemented. The location of the wide/tele buttons took some getting used to (they are on the back where you can hit them with your thumb). The Manual Mode is a bit odd in that you only have two choices for aperture (f3.3 and f10 at full wide). I thought it was broken at first. (Perhaps there are only two apertures available in full auto as well? This might be a reasonable design compromise for a small camera.) Switching to shutter speed takes another button press. This is clearly a design flaw since most of the adjustment comes from the shutter. In Manual Mode it should default to shutter speed and aperture adjustment should require the extra step!

Video

The video sequences I shot in the Everglades were truly impressive. I set the camera to capture high-res mp4. The raw files fill my desktop screen and I’ve had to reduce the resolution to use them on the web and DVD. I’ve edited the best clips together into a short movie so you can judge for yourself!
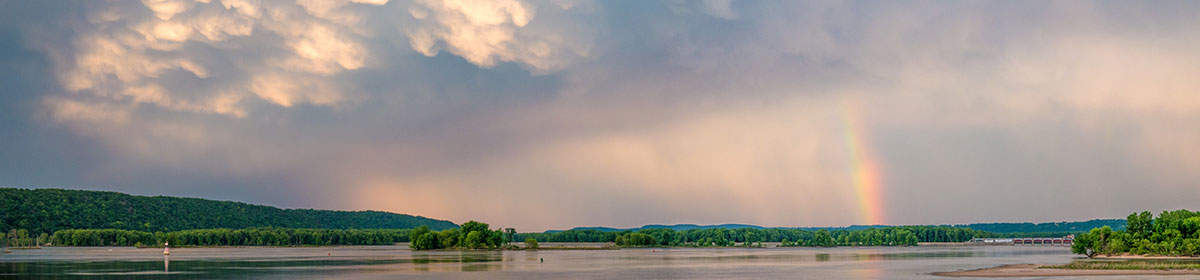
Panorama Mode

Based on one example, this seemed to work well…

philadelphia-panorama

 Handheld HDR

This is where the extra steps and awkwardness of Manual Mode became painfully apparent. The process was complicated by the fact that the “meter” hides itself between exposures, so I had to partially depress the shutter release each time I wanted to make adjustments. (Perhaps there is a setting somewhere that will override this? I should probably just revert to doing the exposure math in my head like we did back in the old days before meters became common. <smile>) That said I was able to get a few decent two-exposure HDR photos without too much frustration…

philadelphia-church-hdr

philadelphia-buidings-hdr

To get these quick-and-dirty high dynamic range (HDR) photos take two photos of the same scene with the same aperture at 1.5 and -1.5 EV. Then combine them in Photoshop or your favorite HDR software.

Conclusion

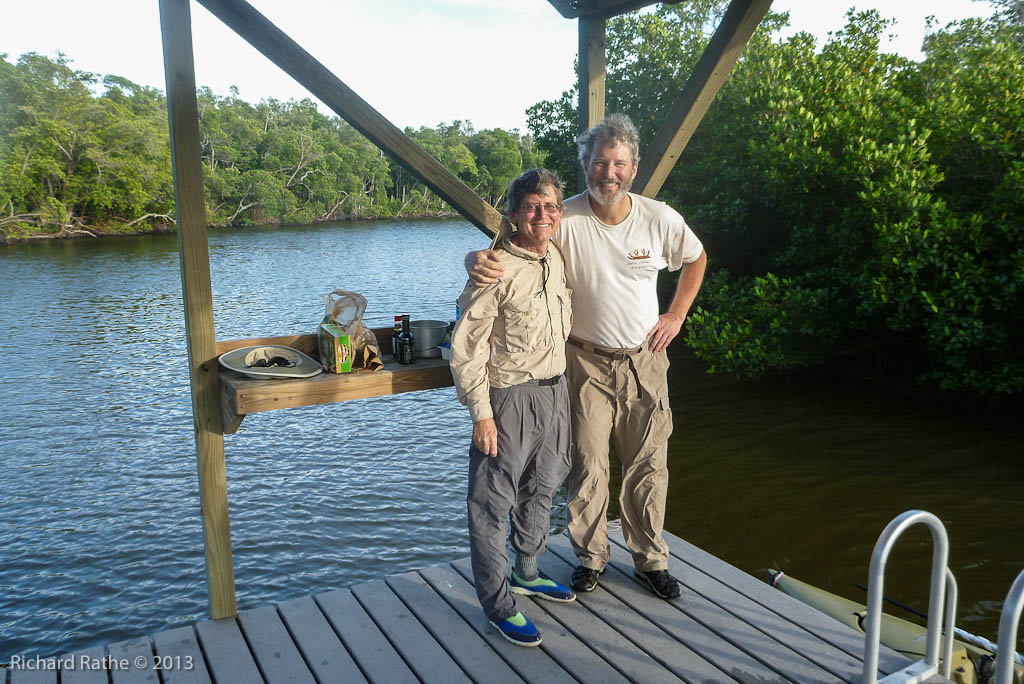
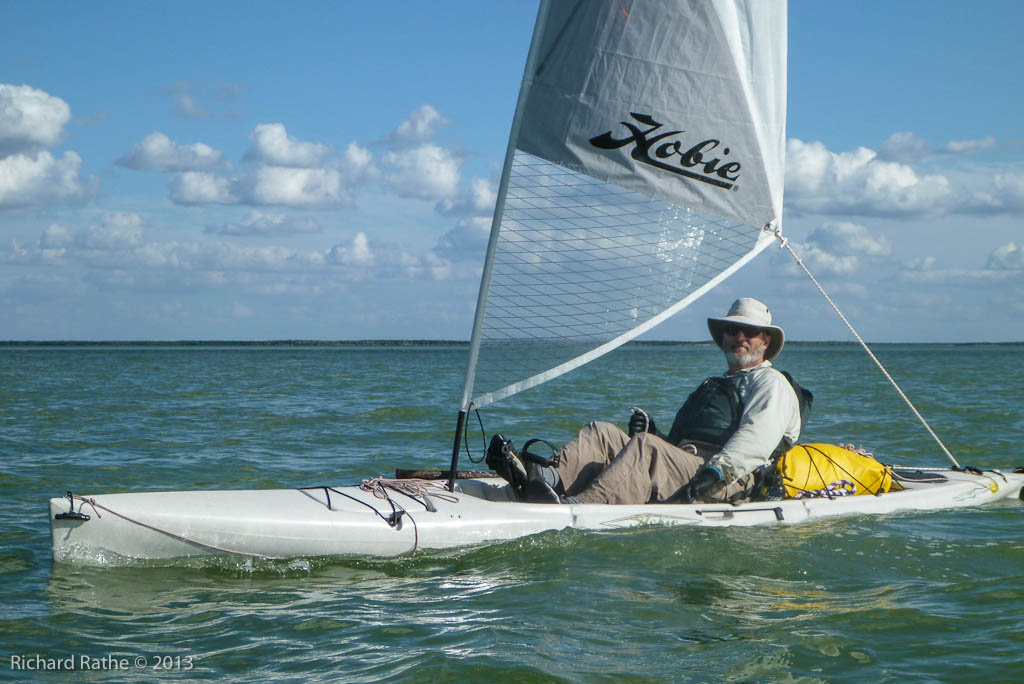
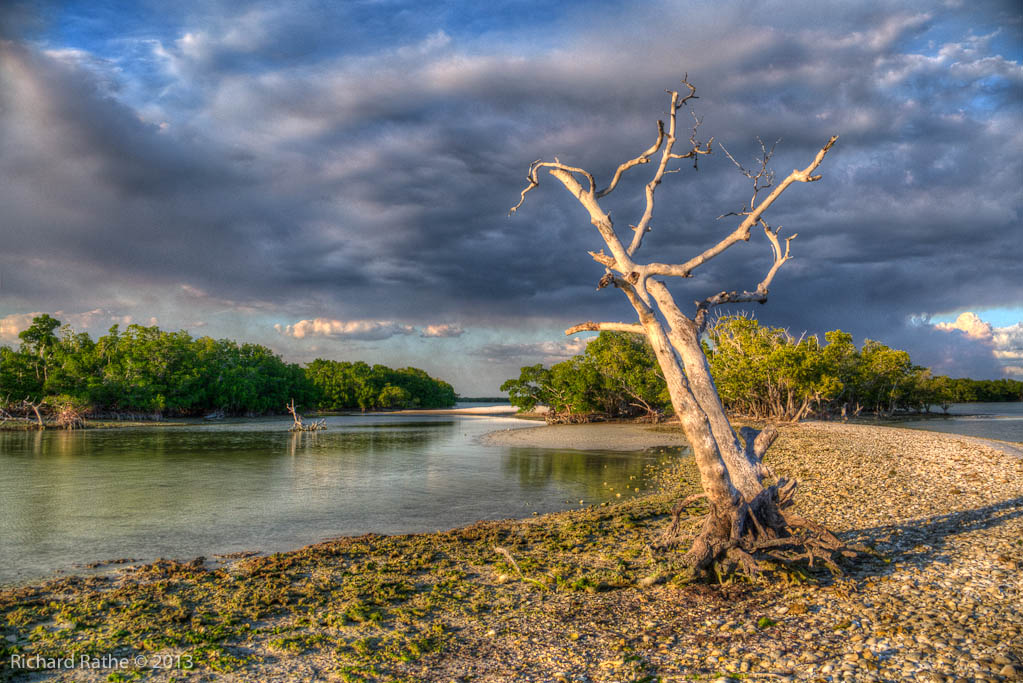
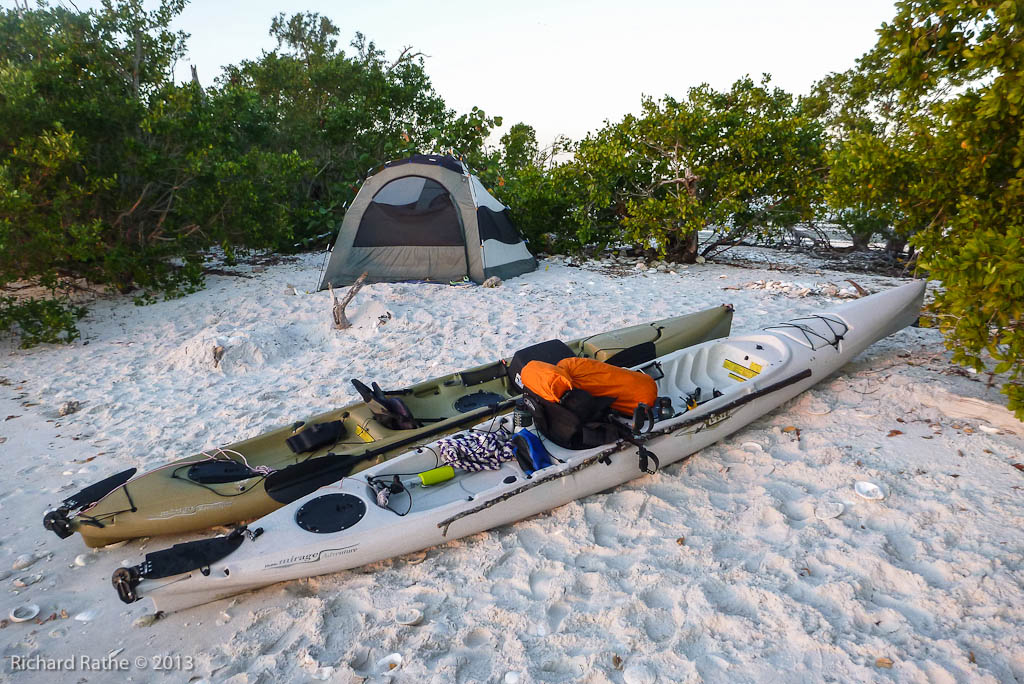
The gallery below shows a general sampling of the photos I’ve taken in the past few days. Overall I am quite pleased with this camera and its minor faults are more than compensated by being waterproof!

Everglades (Sail) Kayak Trip 2013

Just back from the Everglades with highlights too numerous to relate them all here. For a start I think we’ve hit on the perfect mode of transportation—pedal kayaks with sails! The only downside compared with a canoe is getting on/off the chickees. In every other respect they were superior to canoes and even other types of kayaks. We especially noticed how wind and waves were much less of the threat, and wind could often be put to good use! Unlike the sail canoe rig I’ve used in the past, the kayaks are much safer if they capsize.

Our route was aggressive and included a passage through Gopher Key, which is only possible at high tide. As you can see, we made extensive use of the sails with a prevailing winds from the north and northeast.

everglades-route-2013-small

I also tried a waterproof camera for the first time with good results, especially video! I’ve edited the clips together into a seven minute long high res feature. Be sure to click on the ‘full screen’ button if available!

Everglades Kayak Trip 2013
201 Mb Video

It was a joy to be able to keep a camera close at hand and not worry about getting it wet. I also got a few good bird and HDR shots with my other cameras [full gallery], but my photography time was limited because we were having too much fun just exploring! Here are a few highlights…

crooked-creek-chickee

First day we stayed at the new Crooked Creek Chickee near the head of the Lopez River. In spite of being just off the main channel the site has a secluded feel. It replaces the now defunct chickee on Sunday Bay (which we will miss!). The new chickee is nice with a few new features: high flat roofs, robust ladders, and elevated kitchen shelves.

kayak-sailing-gulf-of-mexico

The next day we sailed for the first time on the large bays along the way to the Plate Creek Chickee. We were excited to return to this historical location that existed before there was a national park. Alas, the original chickee has been razed and replaced by a new one set away from the small island. Another old place we will miss.

We sailed almost the entire next day. It was phenomenal!! Check out the video above to share some of the thrill. Unfortunately, in the heat of the moment getting the sails up, I lost track of my paddle. <frown> It was on a leash trailing behind as the boat took off and the leash failed due to our excessive speed. Ironically this occurred on the upper Lostmans River. Out in the Gulf of Mexico we sailed about a mile off-shore and reached New Turkey Key with plenty of time to explore and take pictures. Along the way I cut a black mangrove pole to replace my paddle. It worked remarkably well!

new-turkey-key-hdr

new-turkey-key-campsite

The next day we waited for the tide to start rising before heading up Charley Creek to reach Gopher Key. This is a magical place with birds everywhere! My conservative estimate is we saw over four hundred White Pelicans soaring, landing and fishing. No Avocets this time, but there were hundreds of small shore birds feeding and about a dozen Roseate Spoonbills. At one point we witnessed an (unsuccessful) attack from a Peregrine Falcon. It only lasted 20-30 seconds, but the ensuing pandemonium was a sight to behold! The falcon flew right over our heads as he left the scene with empty talons.

charleys-creek-low-bridge

We had an uneventful exit via Gopher Key Creek and pedaled up to the Sweetwater Chickee. We got out early the next day and caught the end of the outgoing tide to get quickly down to The Watson Place. While there we took the now canonical photo by the sugarcane caldron. We made our way down the lower Chatham River and out to the Gulf. We rested at the river mouth and watched a pair of Dolphins feeding on the incoming tide. On the way we saw or heard several Manatees coming up to breathe.

We got to sail some more on our way to Rabbit Key and our last night on the beach. Along the way we saw more White Pelicans and at least three Sea Turtles. I’m convinced that pedaling and sailing are much better than paddling for seeing wildlife. Waving your arms in the air is probably a bit more threatening. We again arrived with plenty of time to explore and had a small beach fire to keep the bugs away in the evening.

The next day we pedaled our way to Sandfly Pass and back to the Ranger Station. All and all this was an exceptional trip and I am completely enamored with the multi-power Kayaks! We found that we could avoid damaging the drive fins by judicious choice of route. Wind and waves were much less of a problem and even became our ally when we put up the sails!

end-of-the-trail