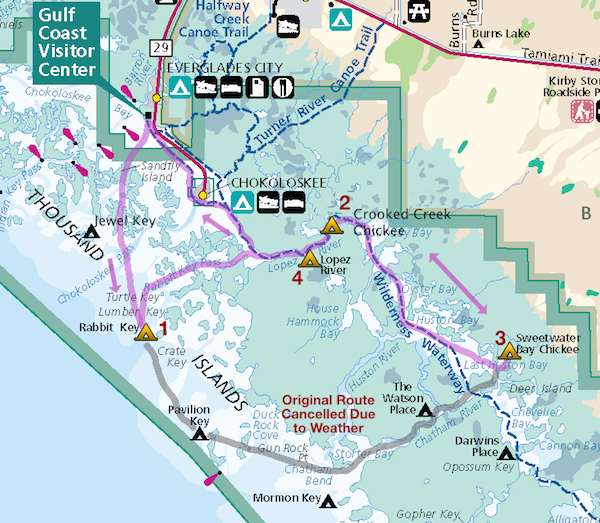
This year we returned to the northern part of the park. The original plan had been a “grand tour” loop with two beach sites and two chickees. However, the forecast was calling for high winds on the last two days where we would be exposed out on the Gulf of Mexico. On the drive down I called and amended our permit to camp at Lopez River on the last night. [Photo Gallery]
Day 1 (Rabbit Key)
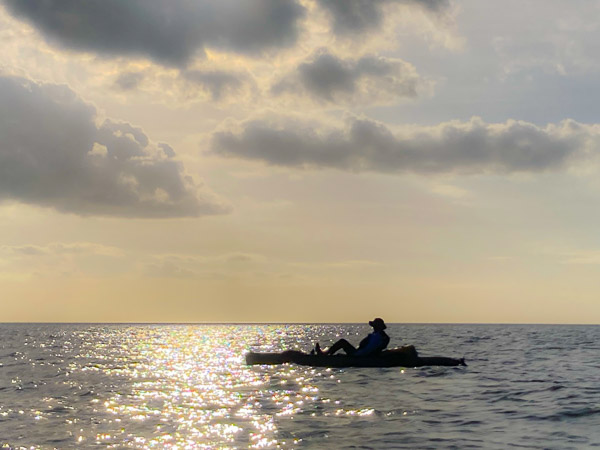
We left a day after the new moon (the beginning of the lunar Year of the Rabbit) so the tide was especially low. We had to motor through the mud with our legs to get out to where there was enough water to float. We would later have to fight an incoming tide going through Sandfly Pass.
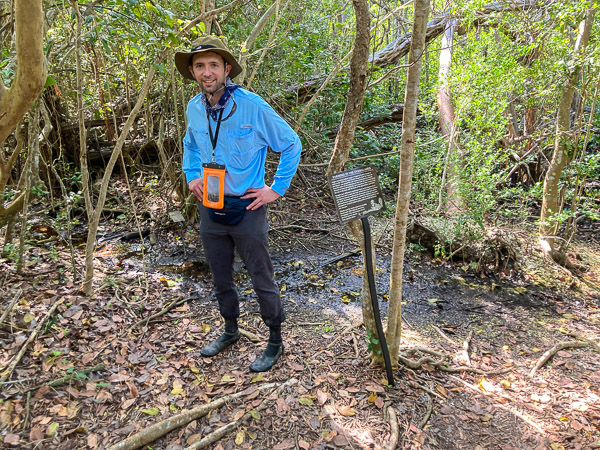
We did a bit of walking around the old homestead and saw what was left of the old cistern and artesian well. Also saw our first dolphin fishing along the shore there.
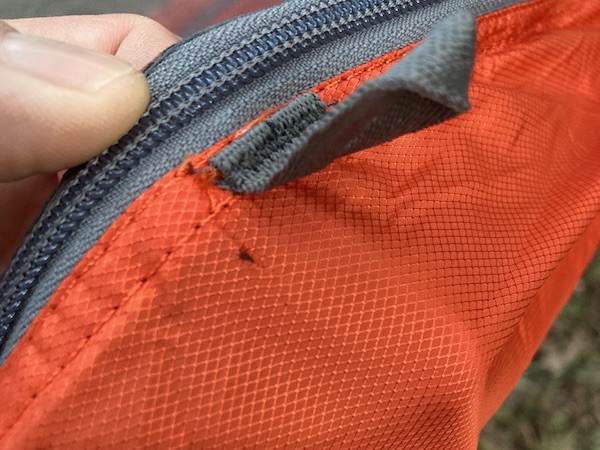
Soon afterward my drive failed (while fighting the current of course!). Specifically one of the “flippers” delaminated and pulled away from the steel rod that supports it. Thus started a series of field repairs (outlined below) as we continued to limp along out to Rabbit Key.
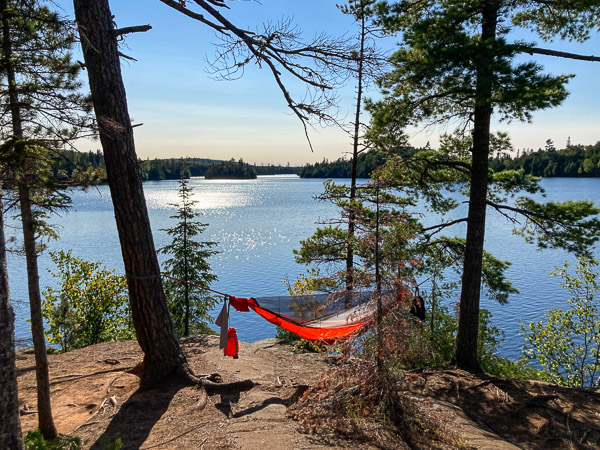
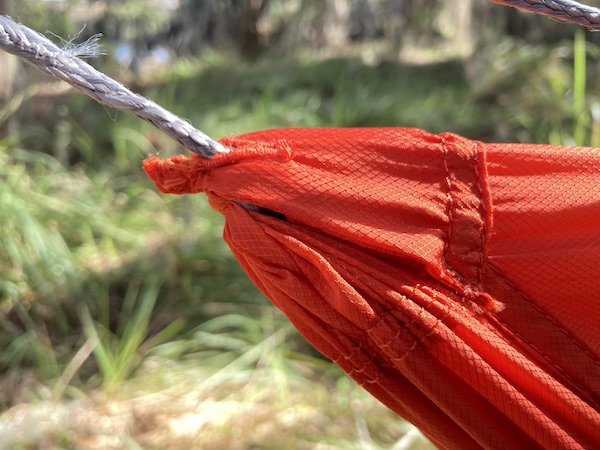
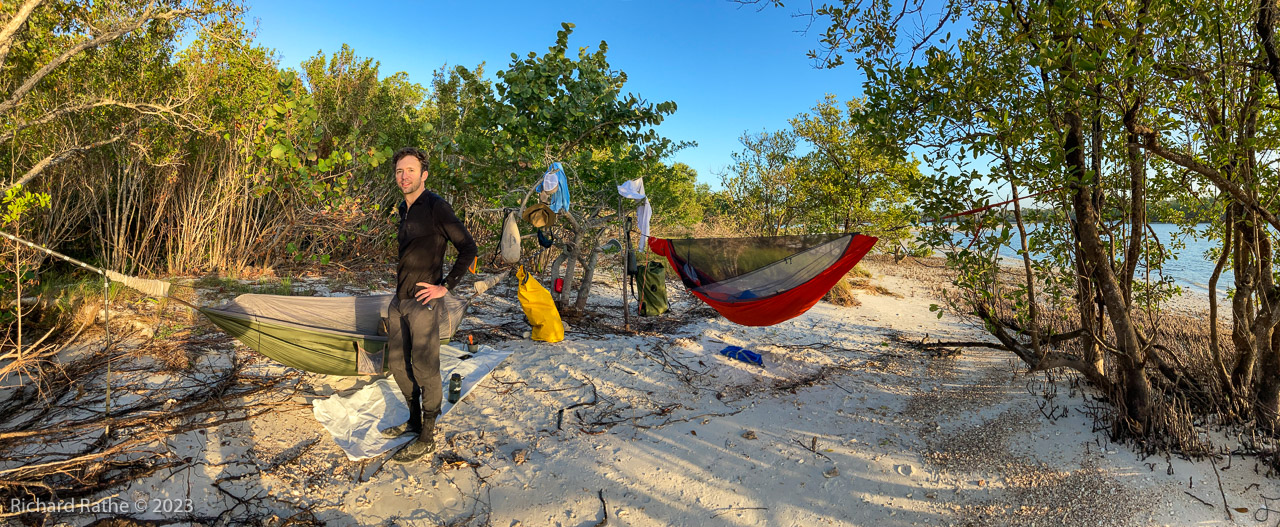
The best campsites have moved around over the years as hurricanes have remodeled the island. Our usual site in front of the sand spit (left point above) was taken so we explored a site further down near the high tide line. The only problem was the central tree was broken and stunted so we were hanging pretty low with ground cloths under our butts. The breeze blew all night so there were no bugs.
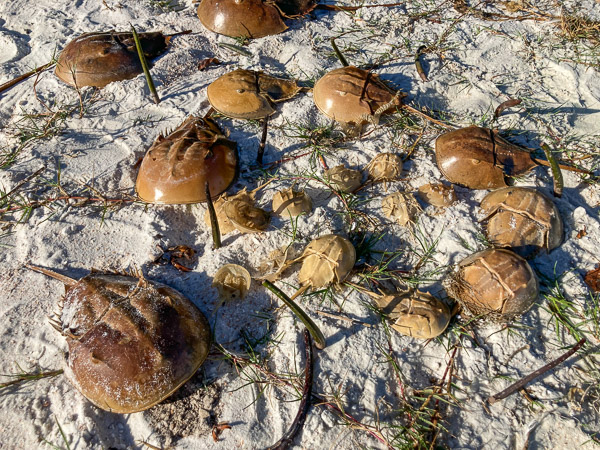
The next day when the tide was out we took a walk around our little isle. Because of the recent new moon the Horseshoe Crabs (Limulus polyphemus) were about.
Field Repairs
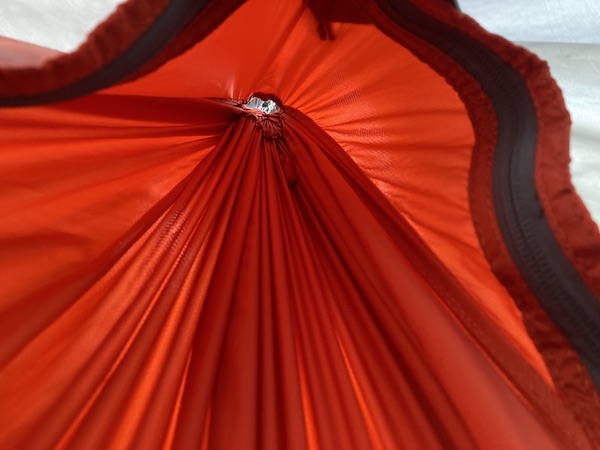
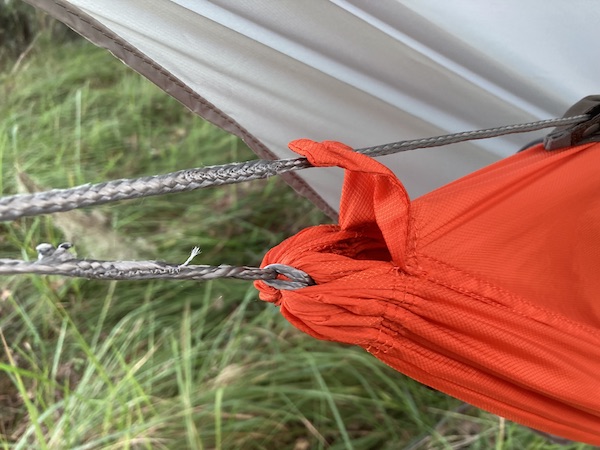
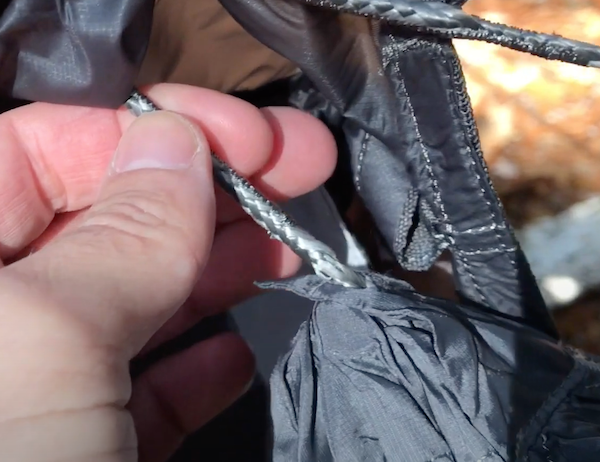
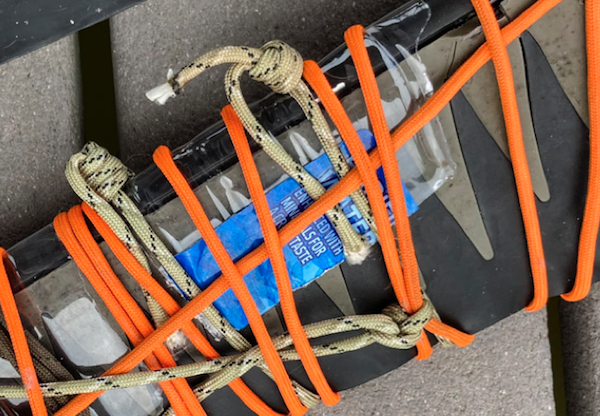
I used duct tape for my first attempt to repair my drive. This lasted about an hour. The adhesive would not stand up to submersion in salt water. Next I tried a mummy wrap with paracord. This worked better, but the bottom knot kept falling off. On the second day I cut out strips of plastic water bottle and attached these with rope using scaffold knots. [Click for Example] This did the trick and I was able to complete the trip — peddling all the way!
Selected Video Clips
Day 2 (Crooked Creek Chickee)
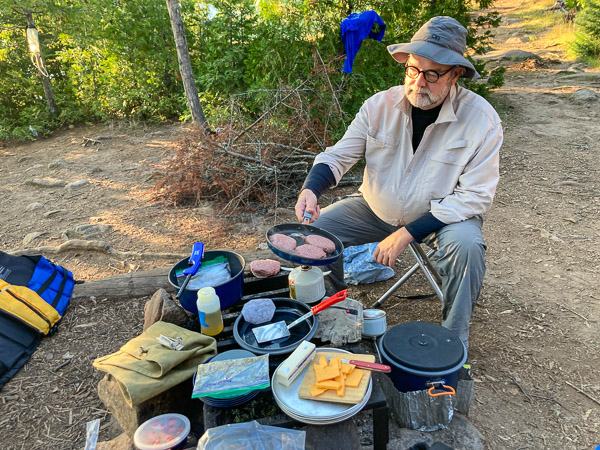
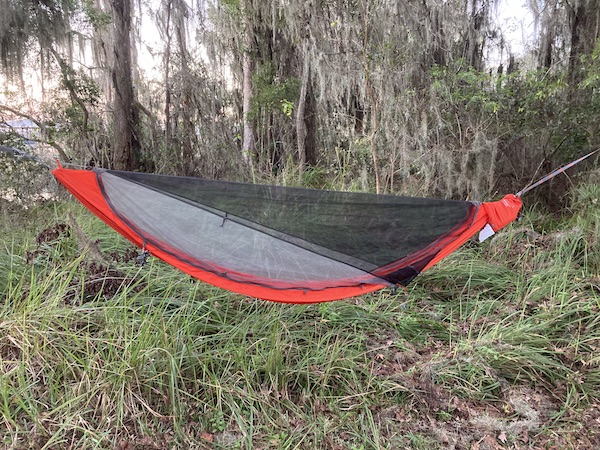
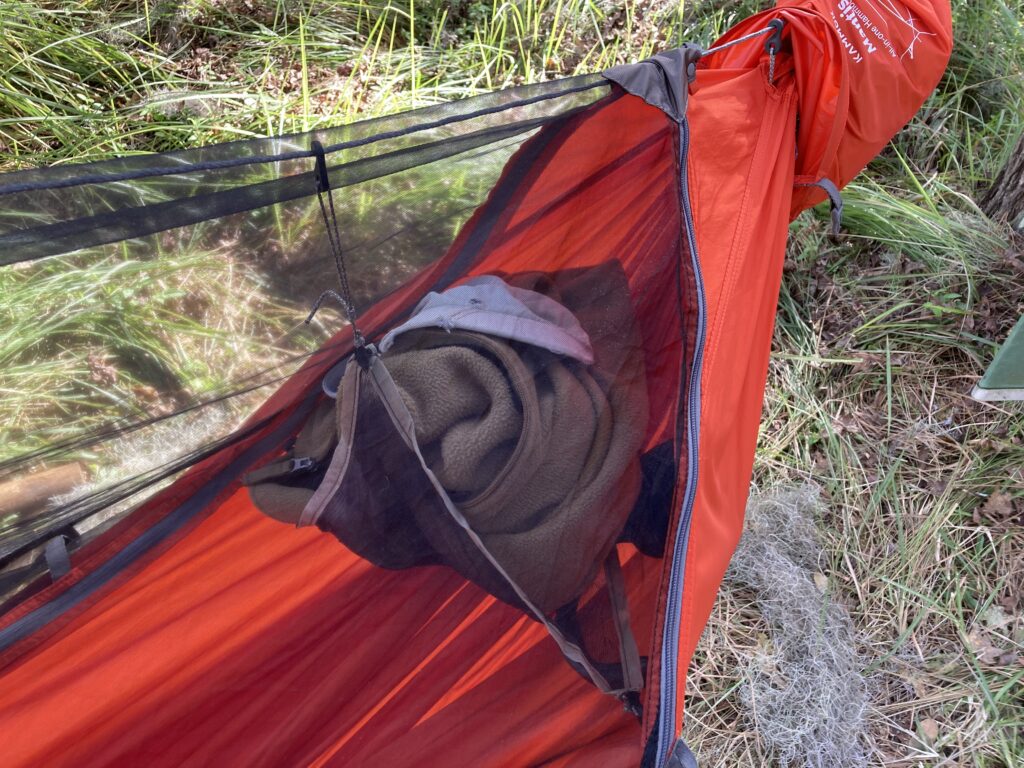
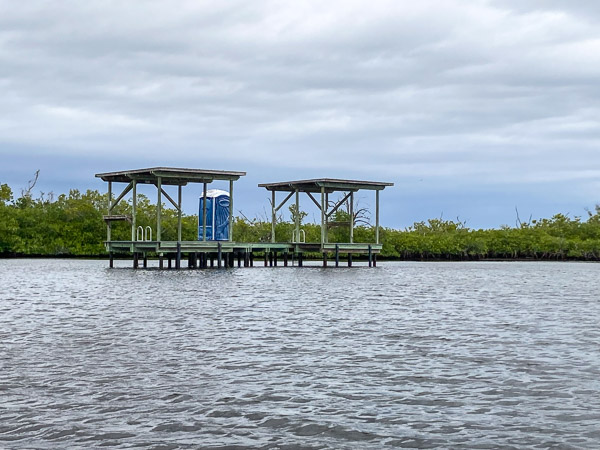
We waited for the tide to turn and start rising before we left Rabbit Key. This lead to an easy passage through Rabbit Key Pass and up the Lopez River to Crooked Creek Chickee. We had a nice swim, started cooking dinner, and hung our hammocks before the wind died and it got buggy.

Day 3 (Sweetwater Chickee)
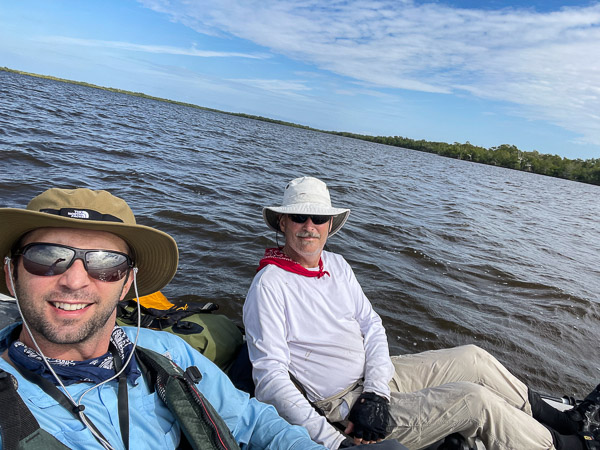
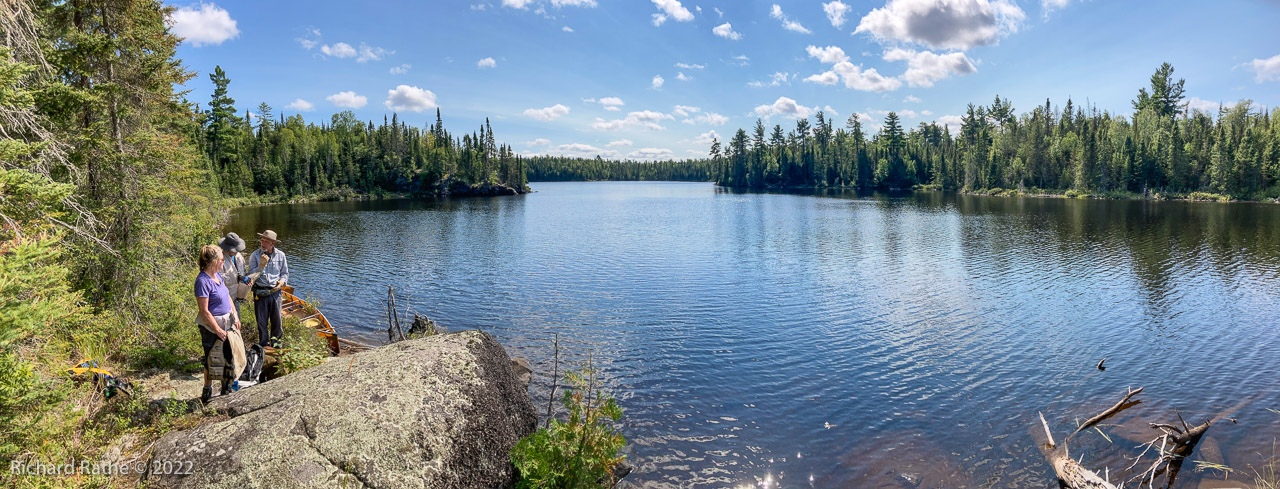
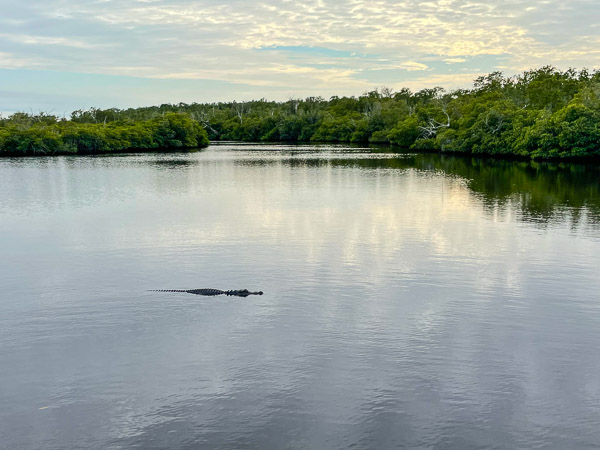
The next day was mostly spent crossing four large bays. We had a bit of a cross/tailwind but no real problems. When we got to the chickee however we had a bit of unwelcome attention from an eight foot alligator that was acting like it expected to be fed. Normally gators will be curious but generally do not hang around and get progressively closer!
The evening was nice with a bit of breeze and only a few bugs. We had a comfortable night except for the heavy breathing! I woke upseveral times in the night and could hear wet, sonorous breathing a few feet away from the chickee. It was not a dolphin. Every ten minutes or so there would be 2-3 breaths in exactly the same place! I thought “Gee, is that gator stalking us?!” I looked several times with a flashlight and never saw a thing. If a gator was there on the surface I should have seen its eyes reflecting orange. Very strange! In the morning the breathing was occuring and the mystery was solved. A small manatee had come to sleep next to us overnight! Very cool!!
Day 4 (Lopez River)
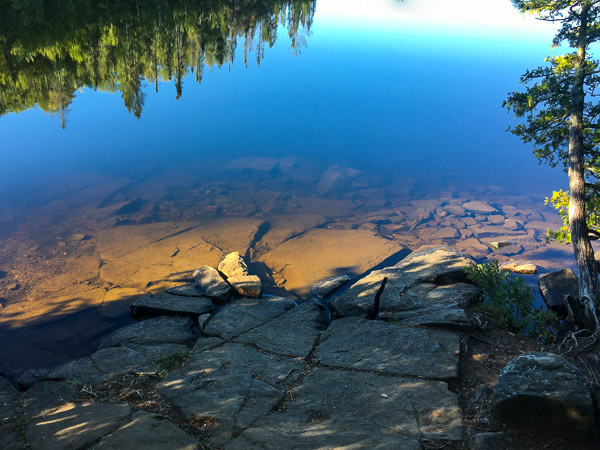
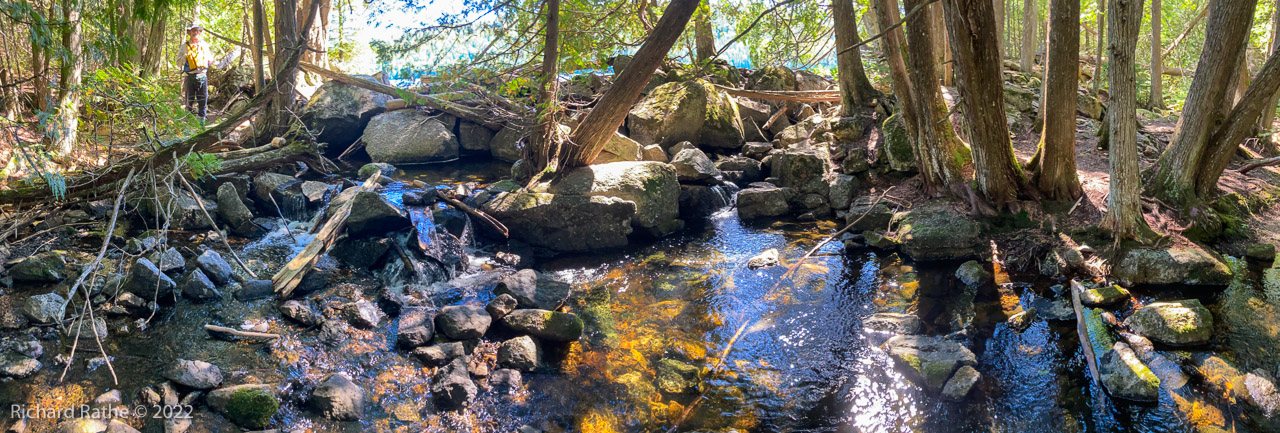
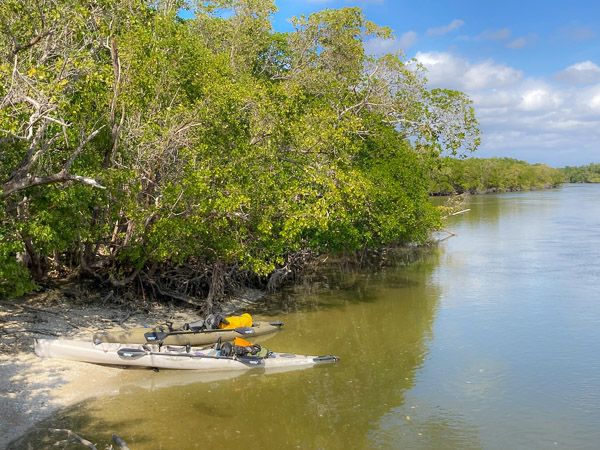
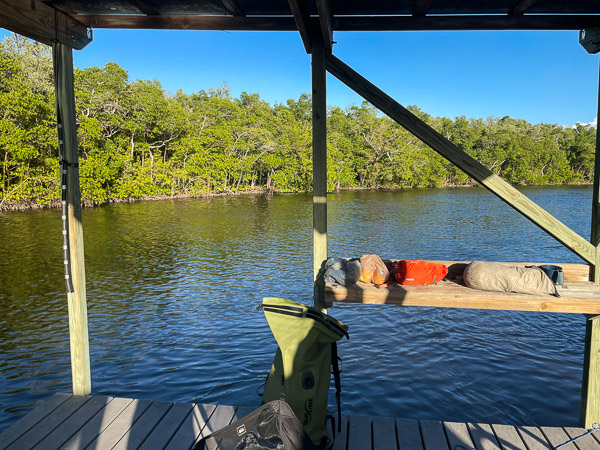
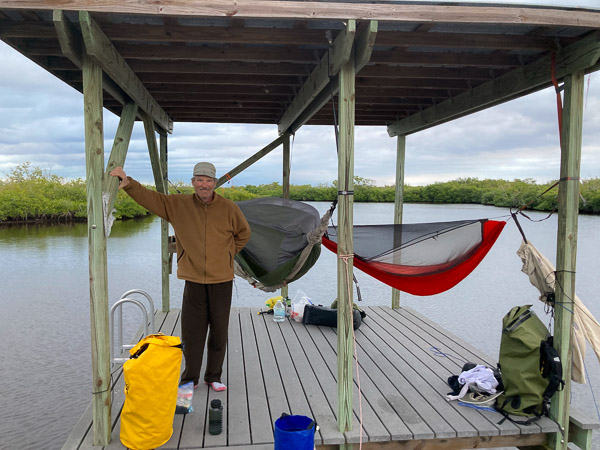
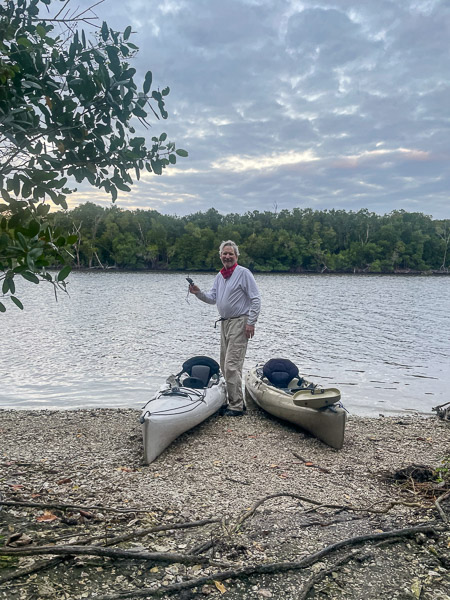
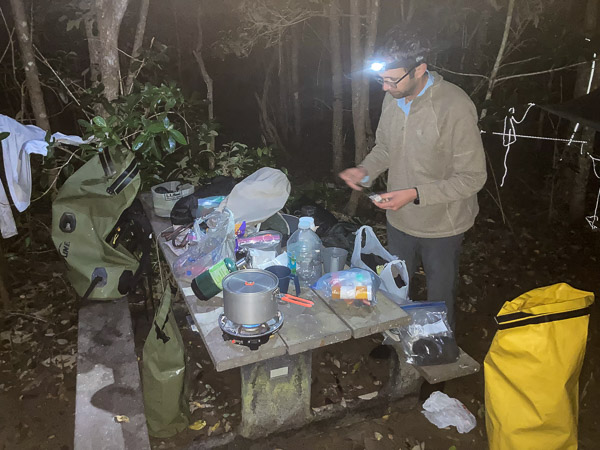
Apparently the Park Service has a new rule that you can’t stay on the same chickee twice in one trip, so we camped at the Lopez River ground site on our last night. I had stopped there for lunch before but never stayed overnight. There was a party already on the primary site, so we took the secondary next to the large ruin of the cistern. Both sites have nice deep shell mound approaches, and we sat down by the water while we ate our dinner and finished our box of wine. There was a breeze and it was about ten degrees cooler so bugs were few.
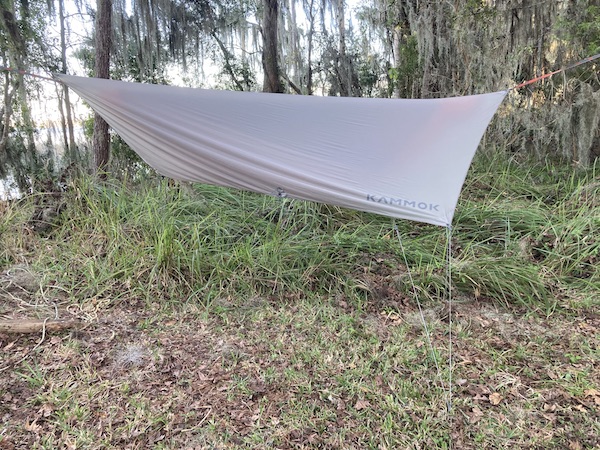
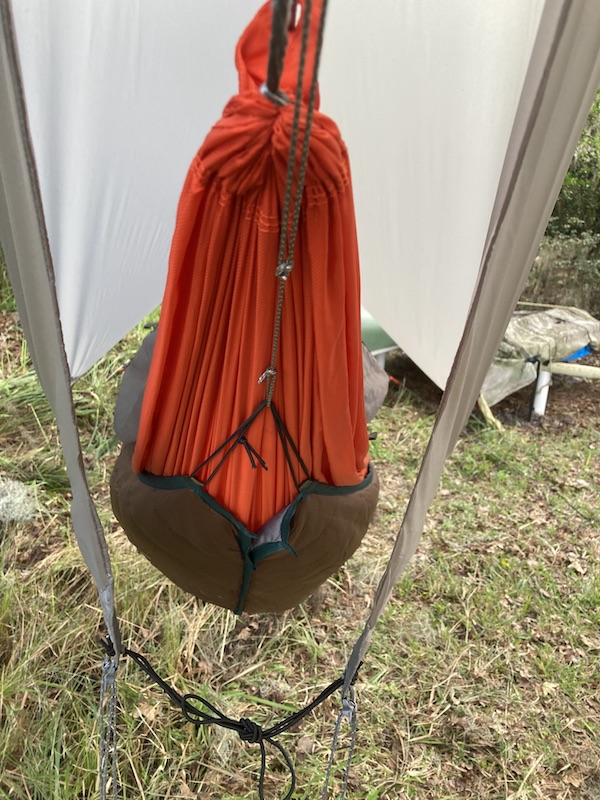
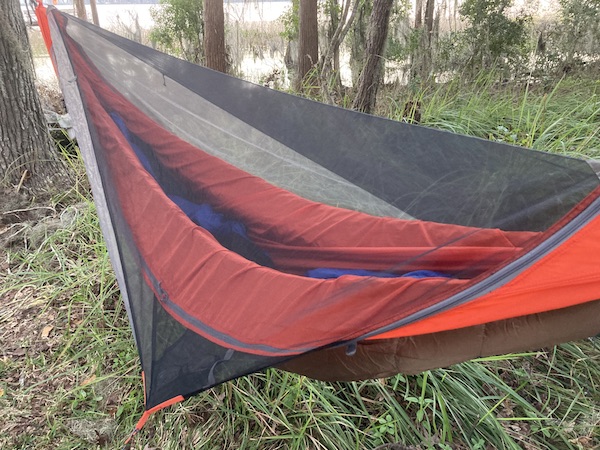
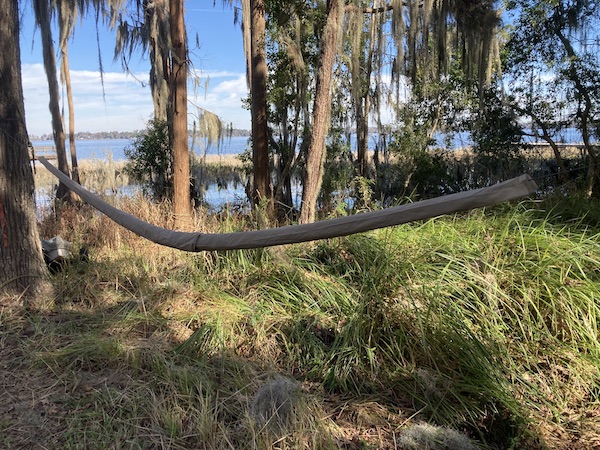
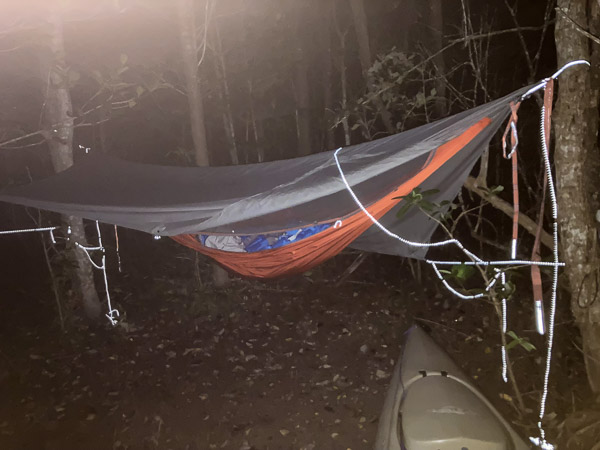
The site itself is small and set within mangroves, with a compacted mud surface and a picnic table. The hammocks were perfect in this setting!
Day 5 (Return to Civilization)
We got up before dawn the next day to beat the incoming tide. We circled around Chokoloskee Island rather than take the narrow canal behind the causeway. As predicted the wind rose and was probably every bit of 12-15 mph with gusts. We were glad not to be out on the Gulf!
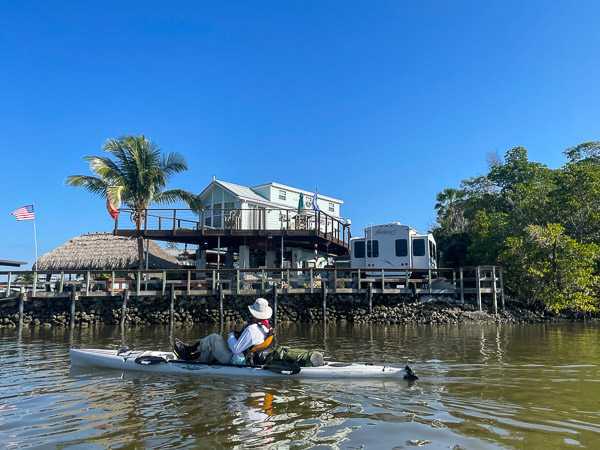
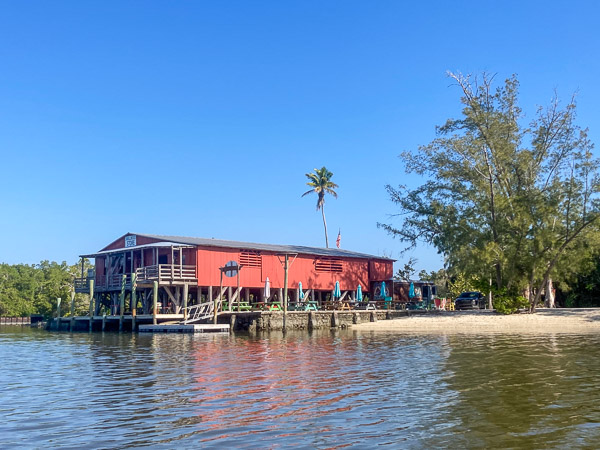
Even after all these years this was the first time I’d gone this way, giving us a chance to see the Smallwood Store from the water. This is where, in 1910 the alleged murderer Edgar J. Watson (see “The Watson Place” campsite within the Park) met his end at the hands of a local posse who had gathered to arrest him. The excellent historical novel “Killing Mister Watson” is based on these events.
We peddled across the lagoon and back to the ranger station without difficulty. And thus ended an eventful but enjoyable trip!